This guide explains how to integrate your AJIO seller account with Base so you can manage orders, shipping, and inventory from a single dashboard. The process includes registering your POB user on AJIO, connecting your account in Base, configuring shipping automation, and running tests to validate the integration.
Base does not automatically fetch listings or catalog information from AJIO. However, once the API connection is active, the system can sync orders and inventory as long as product SKUs match across both platforms.
Before you begin, it’s important to follow each step precisely. Integration won’t function correctly without completing the required registrations and credential setup in AJIO Seller Central.
Prerequisites
Ensure the following before starting the integration
- You have an active AJIO seller account
- You have a valid POB user ID from AJIO. This ID typically begins with the prefix DV and is alphanumeric
- You have obtained the API password linked to your POB user ID
- You have confirmed API access for shipping from AJIO. This must be enabled by your AJIO account manager
If you have not yet received your POB credentials, you need to request them by creating a new POB user on the AJIO Seller Portal
Step 1: Create a New POB User on AJIO
AJIO requires sellers to register each POB (Point of Business) user through the Seller Central interface. This step is mandatory because the shipping API credentials are only issued after a valid POB user is added and approved
To add a new POB user
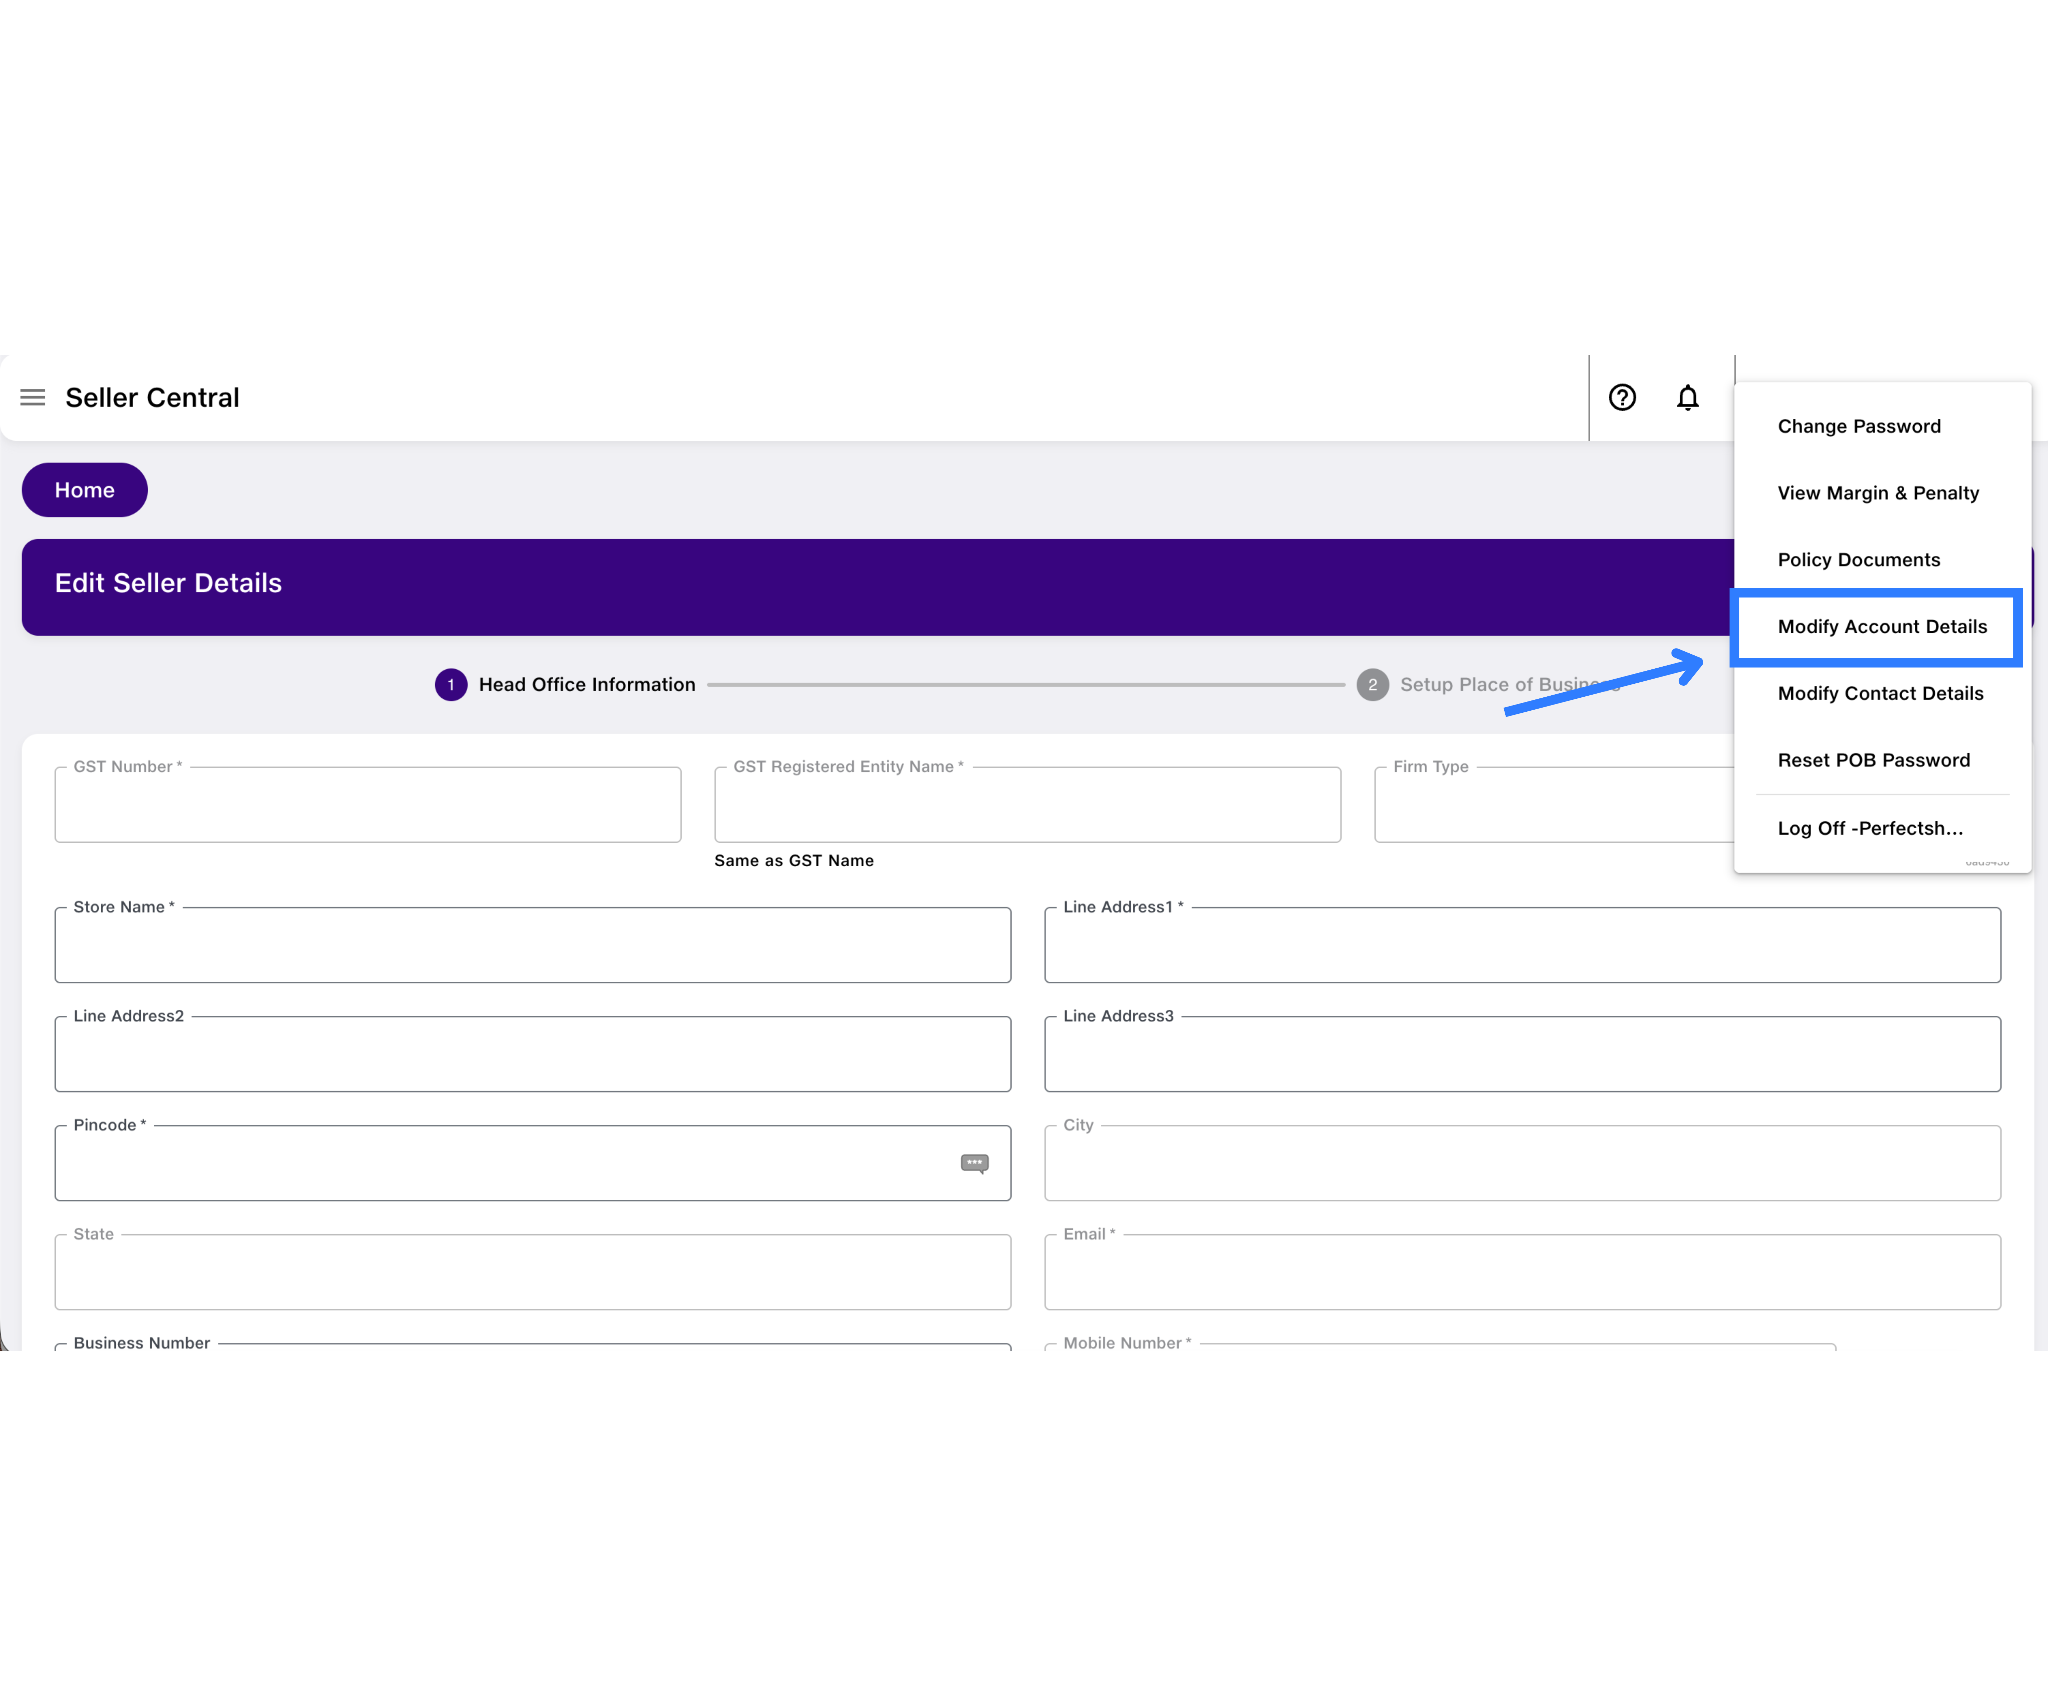
- Log in to AJIO Seller Central using your main seller credentials
- Navigate to Account and then select Modify Account Details
- Click on Add New POB User
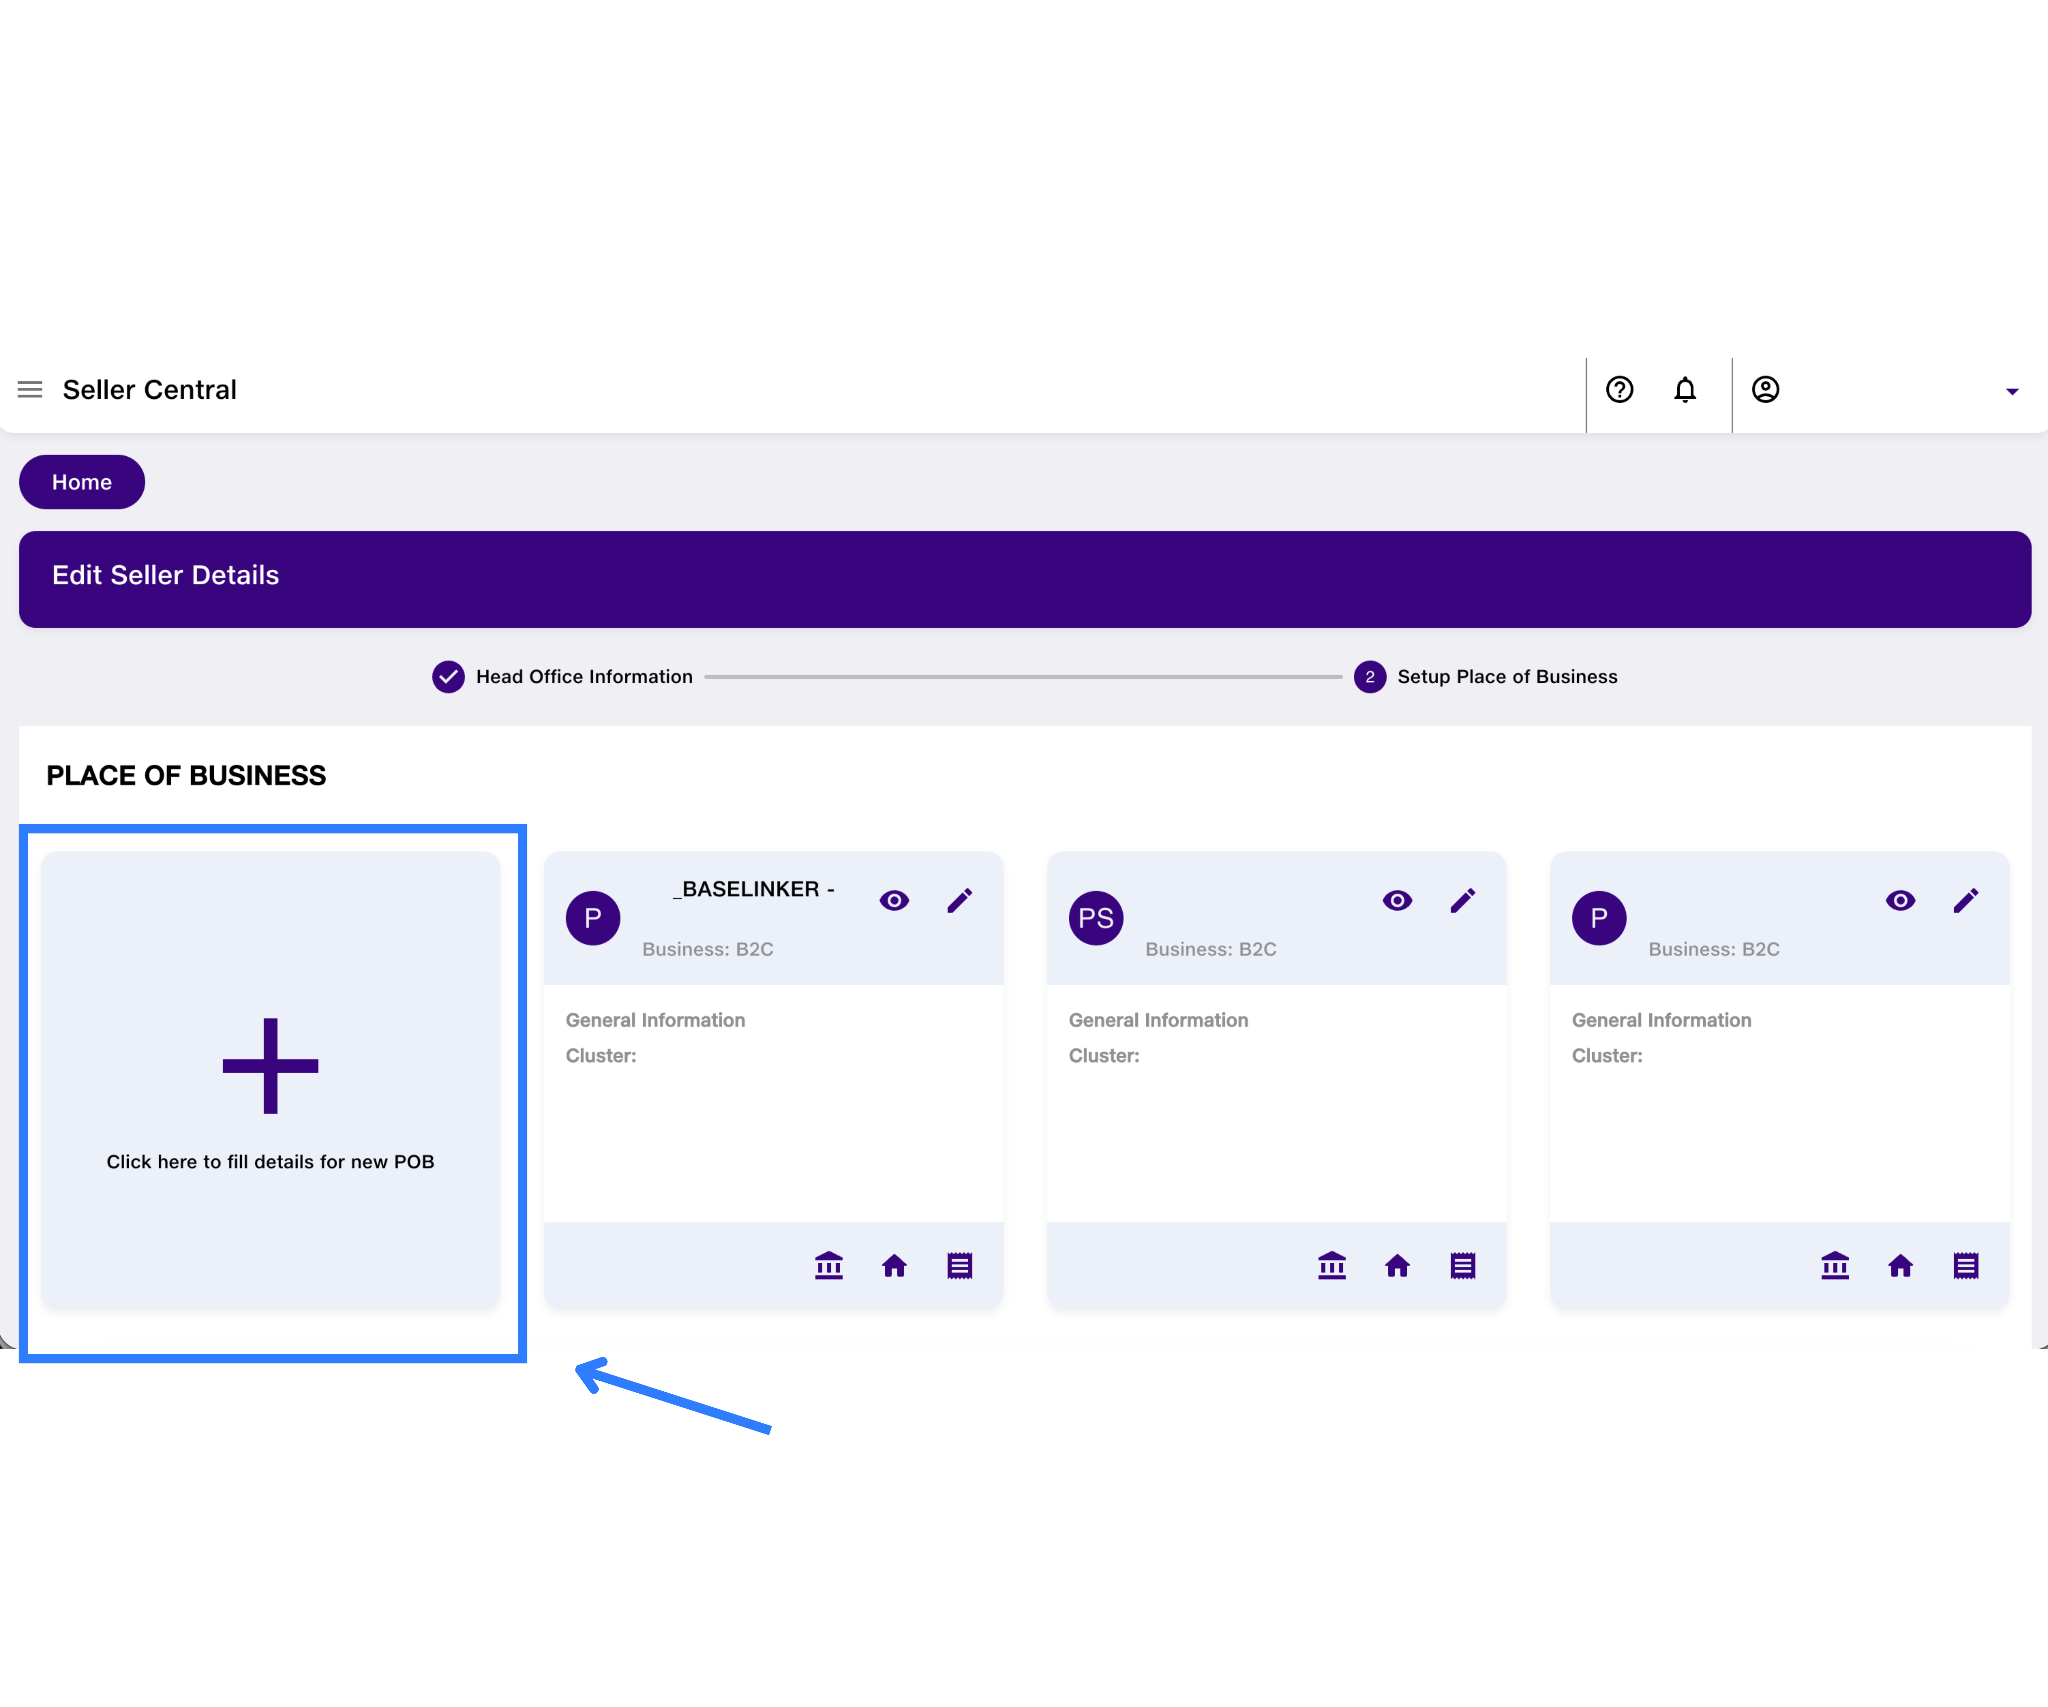
- Fill in all required fields including store or warehouse address, GST number, bank account details, and invoice format
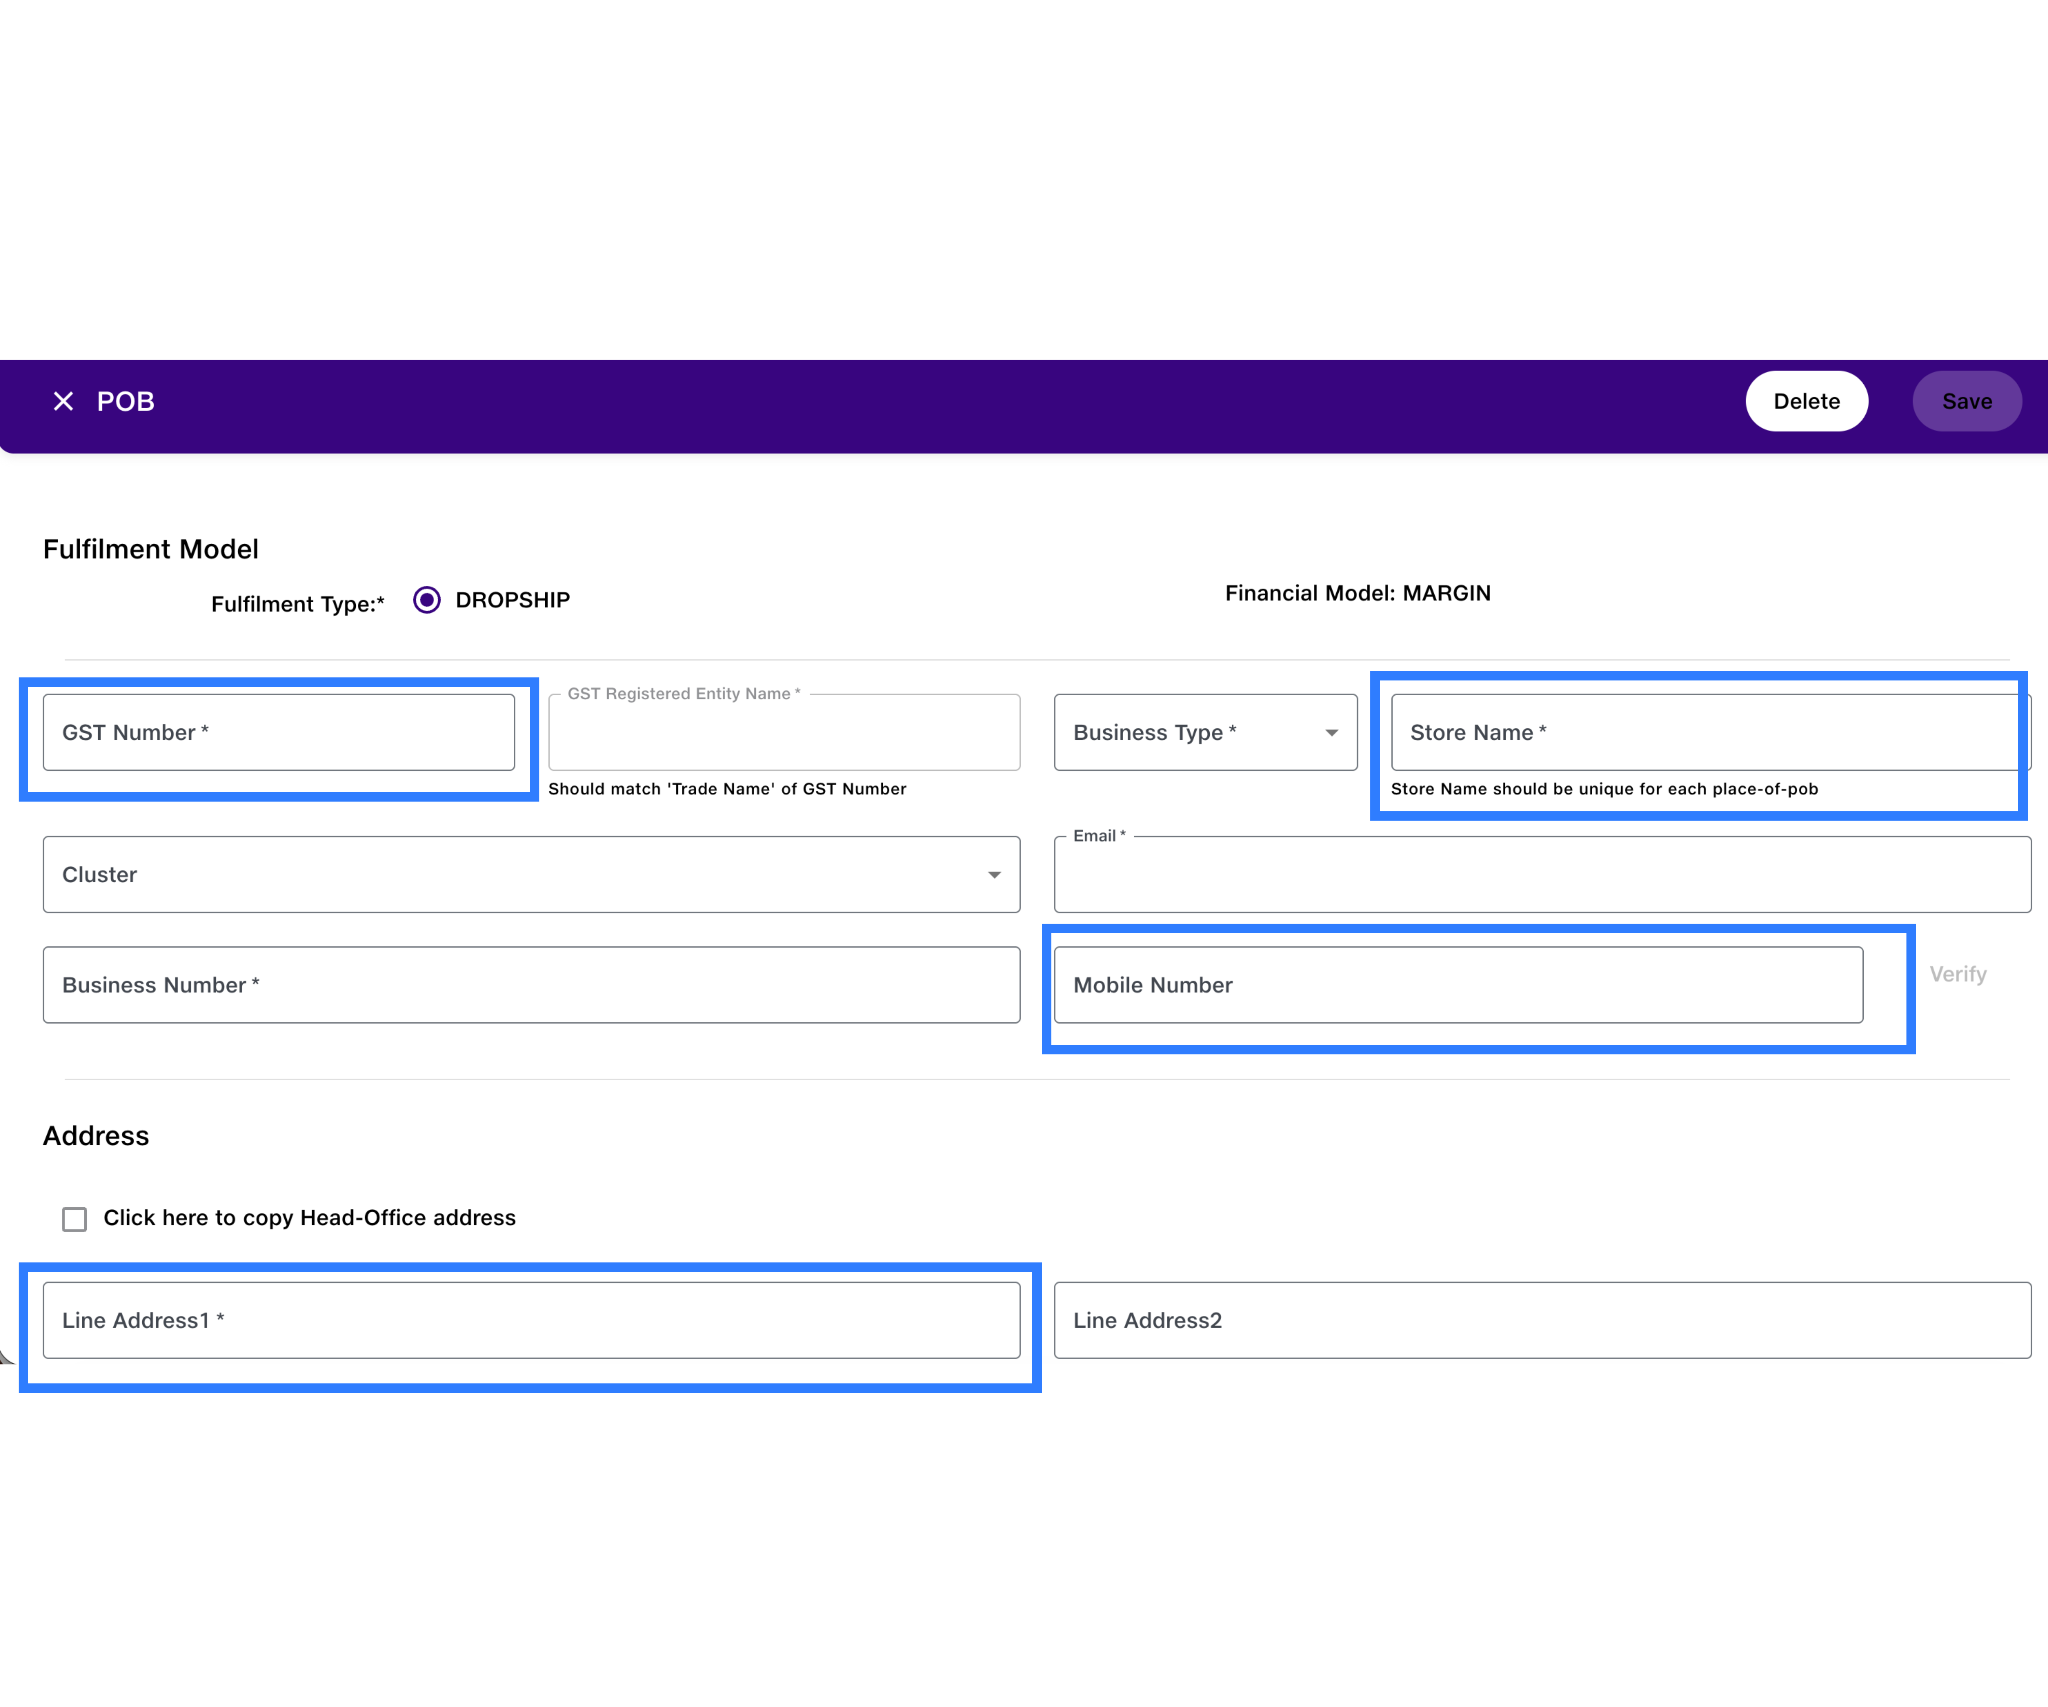
- Click Save, then click Submit
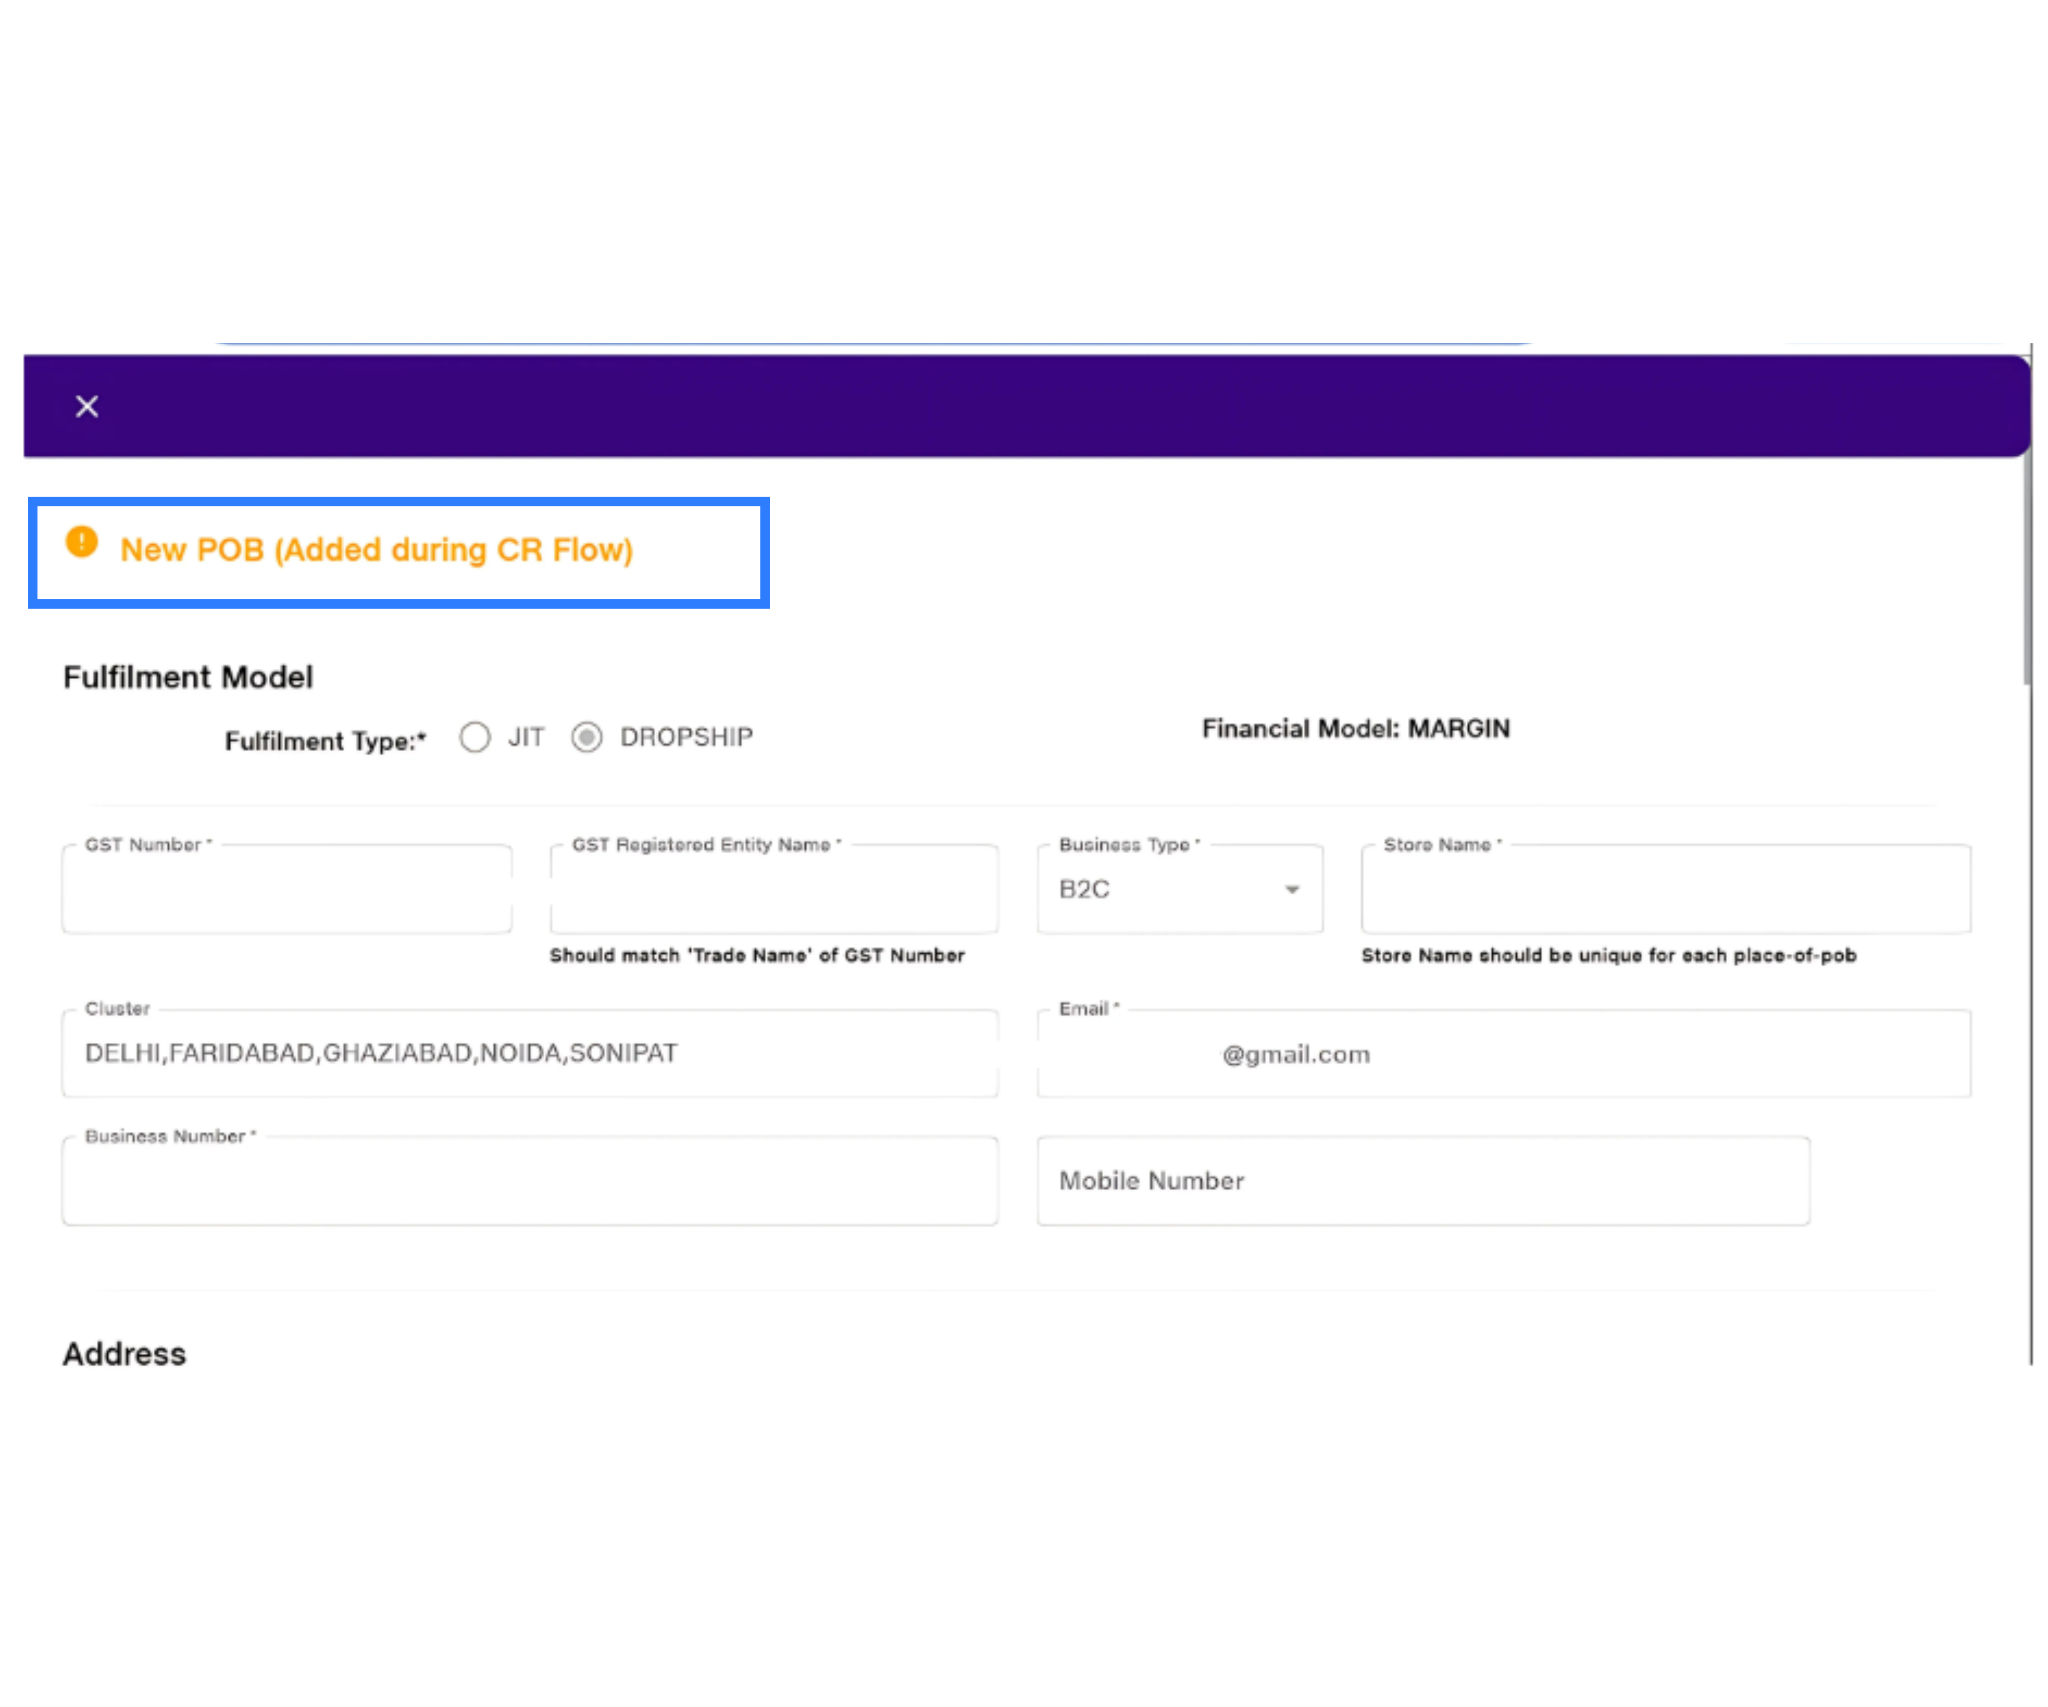
- Once submitted, the request goes to the AJIO operations team for approval. The approval process may take a few days.
- After approval, AJIO will issue your API credentials for the newly created POB user.
- You must follow up with your AJIO account manager or designated POC to receive the POB API credentials. These are required to activate the integration in Base

Step 2: Connect AJIO to Base
After obtaining your API credentials, log in to your Base account to connect your AJIO account
Steps to connect
- Go to the Base dashboard and log in with your admin credentials
- From the left sidebar, click on Integrations
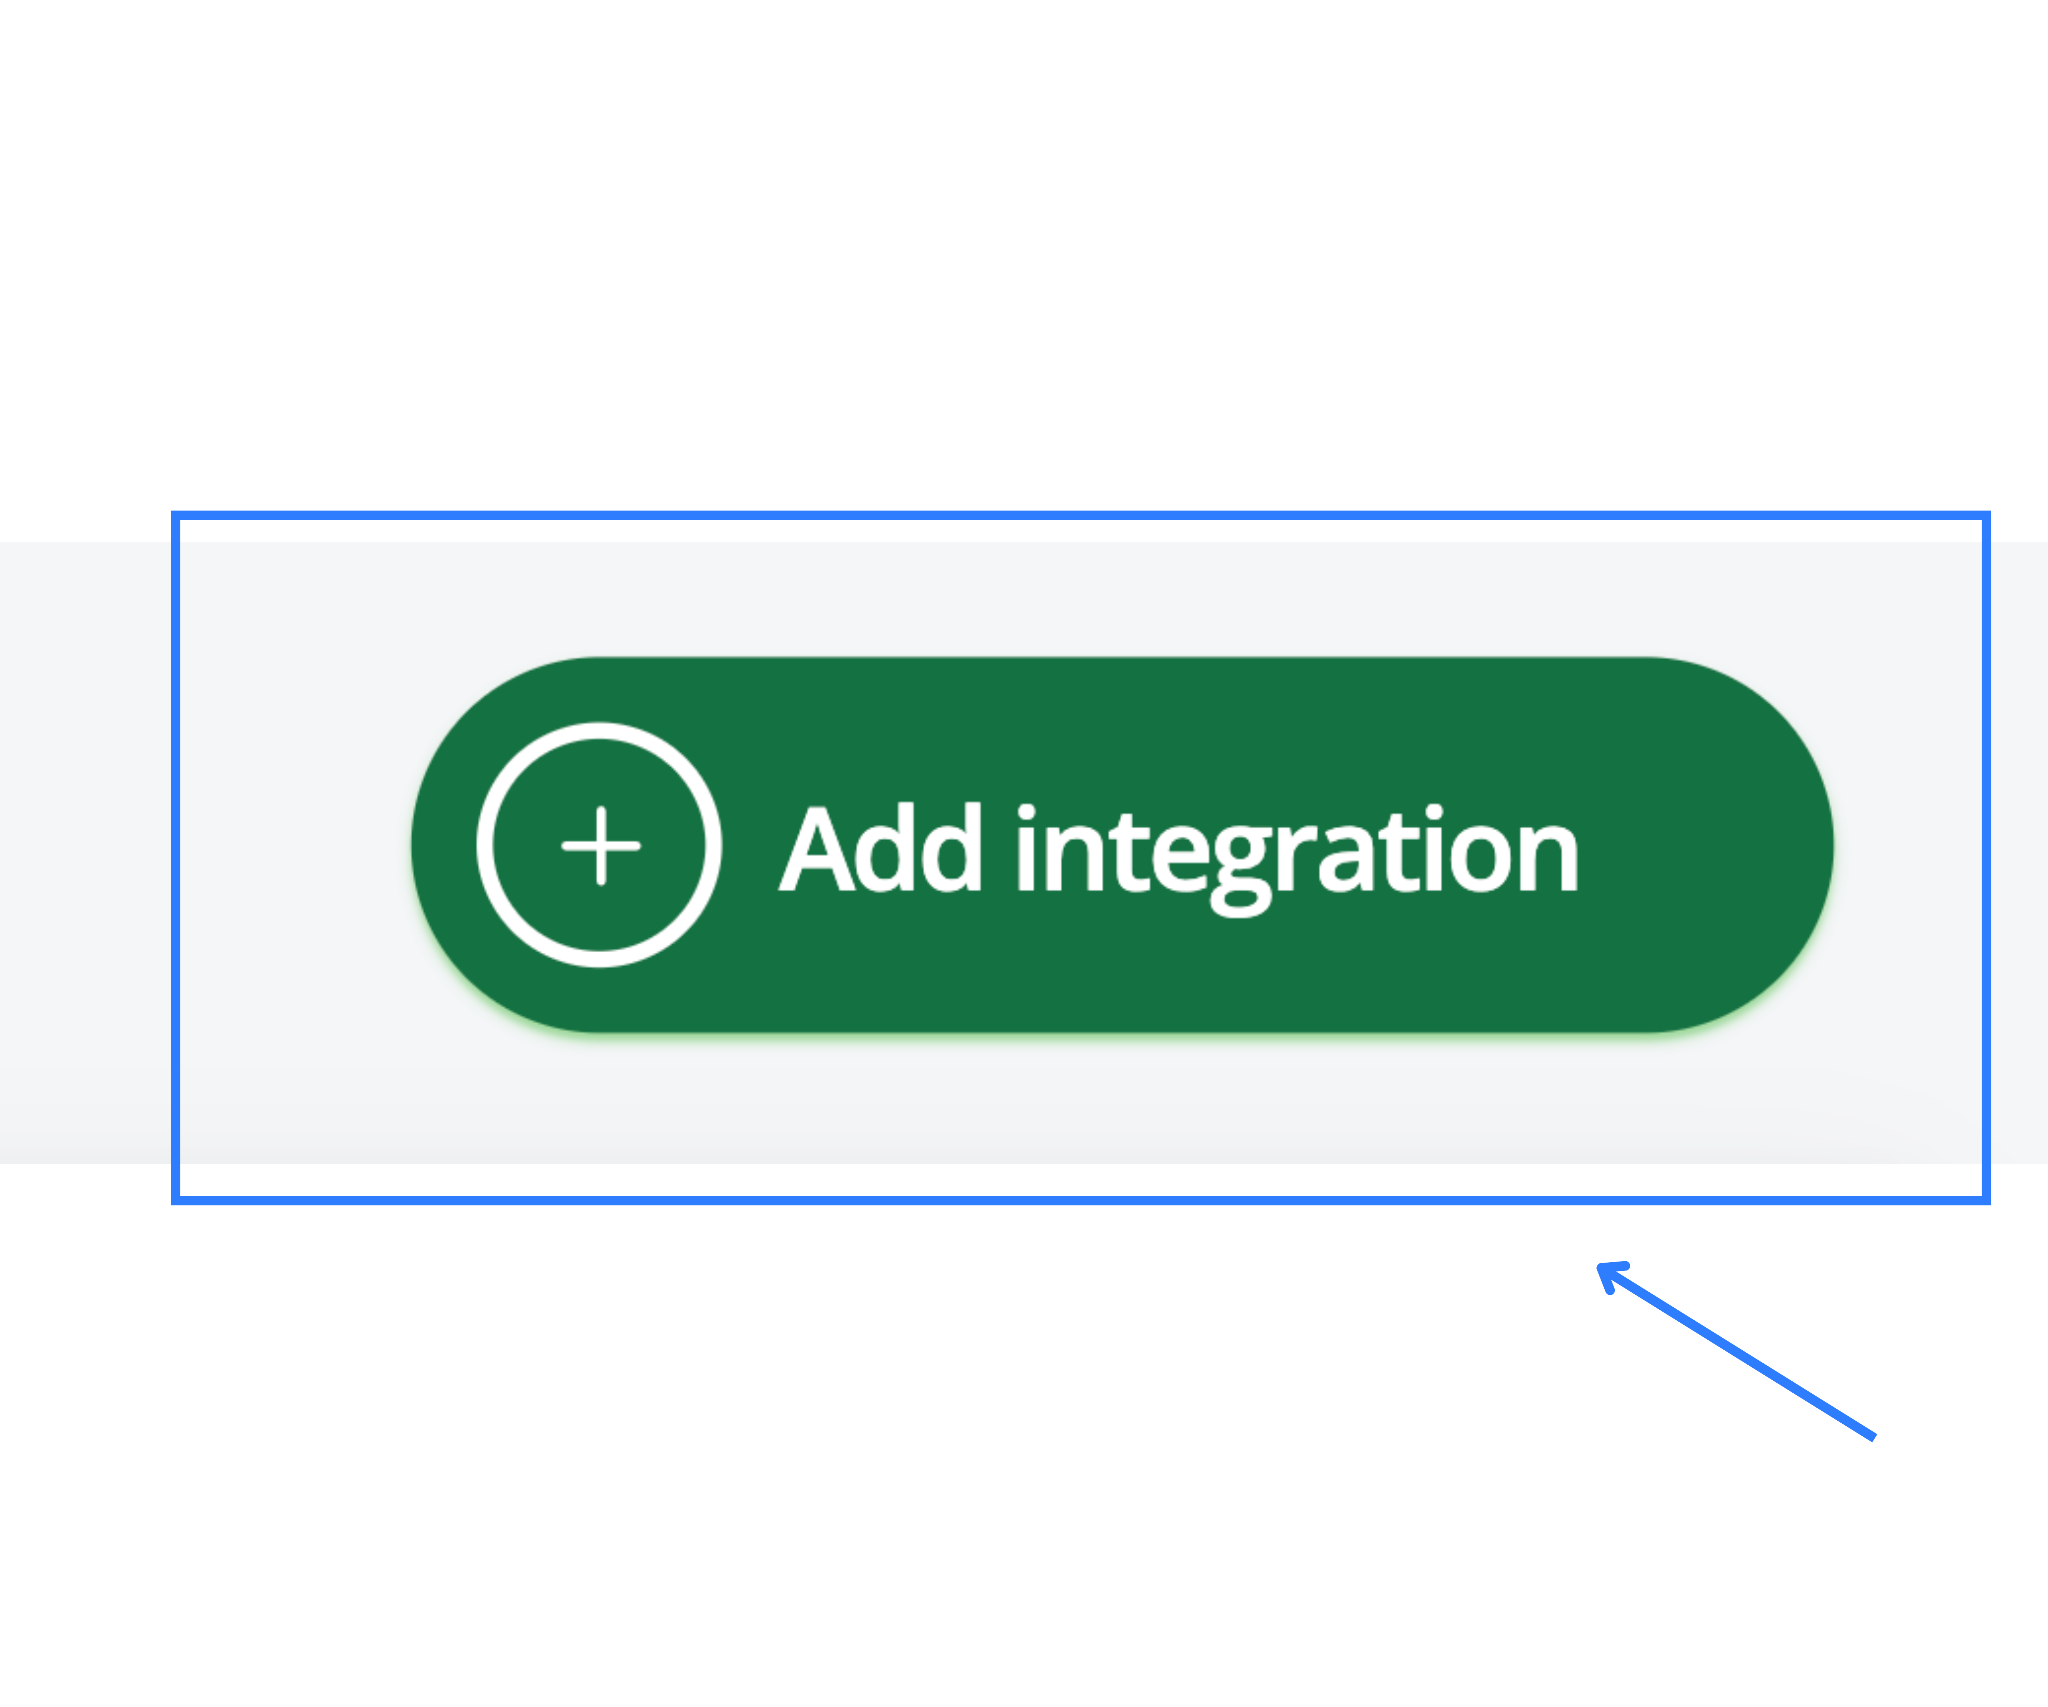
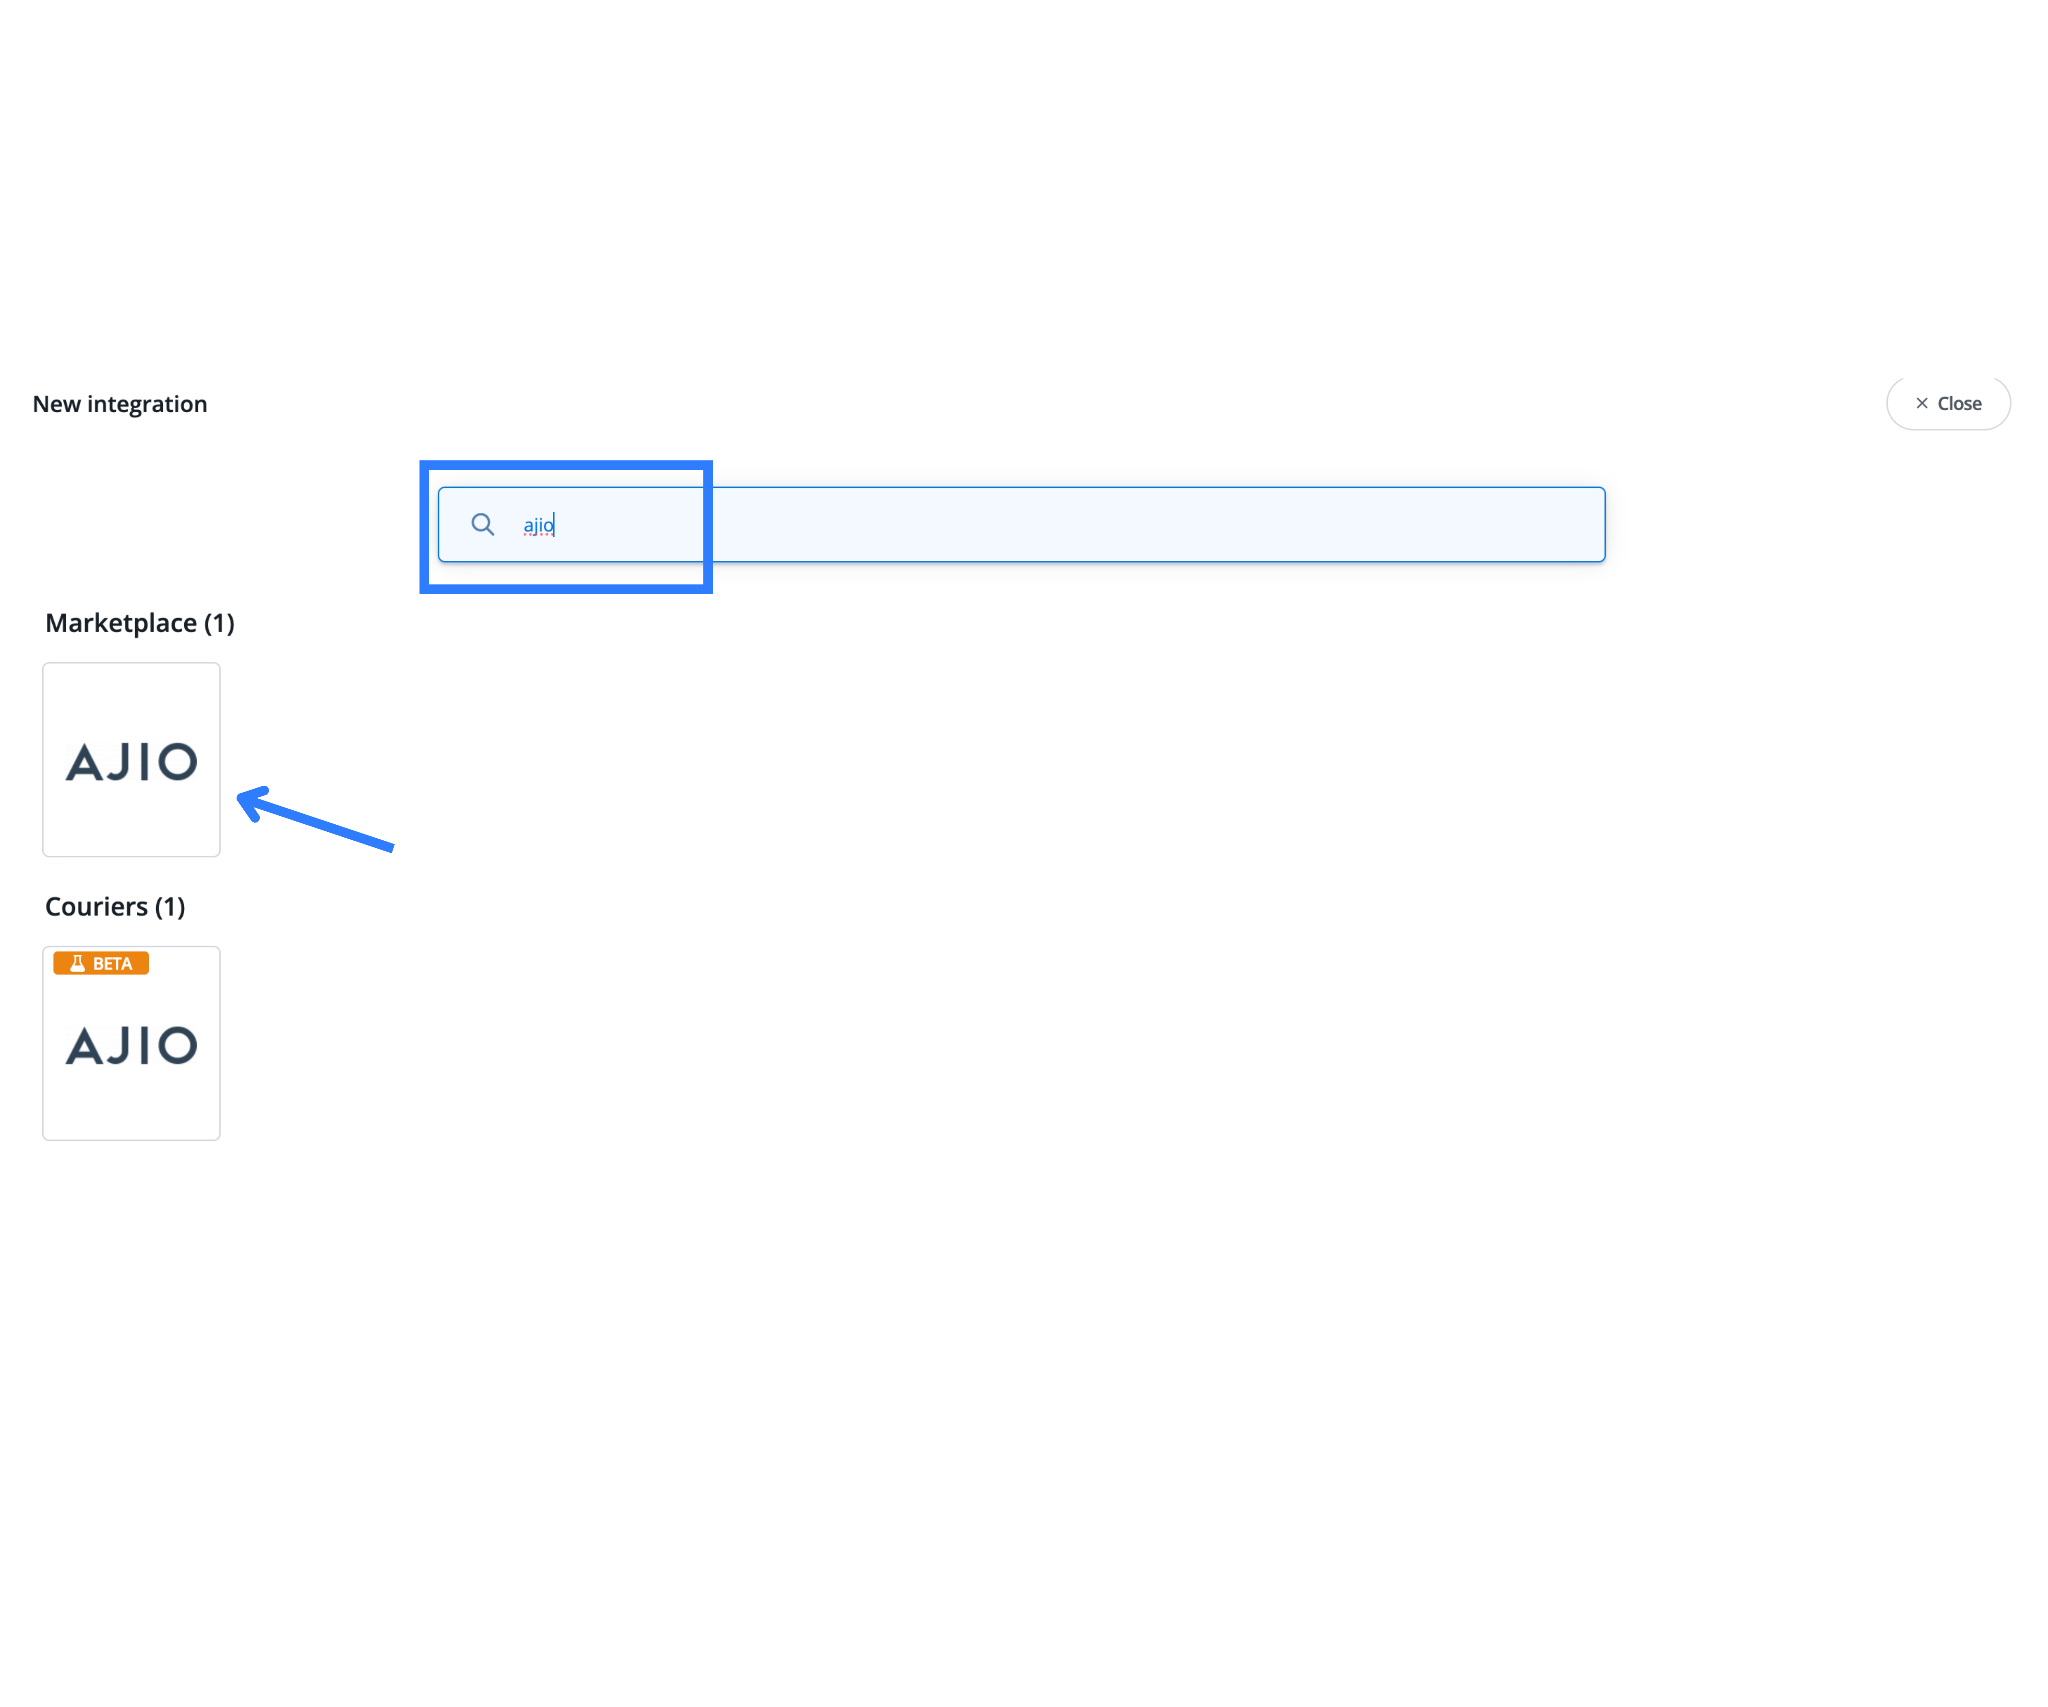
- In the integrations list, search for AJIO and click on it
- Enter the following details when prompted
- Username: your AJIO POB ID (example DV123456)
- Password: the API password you received from AJIO
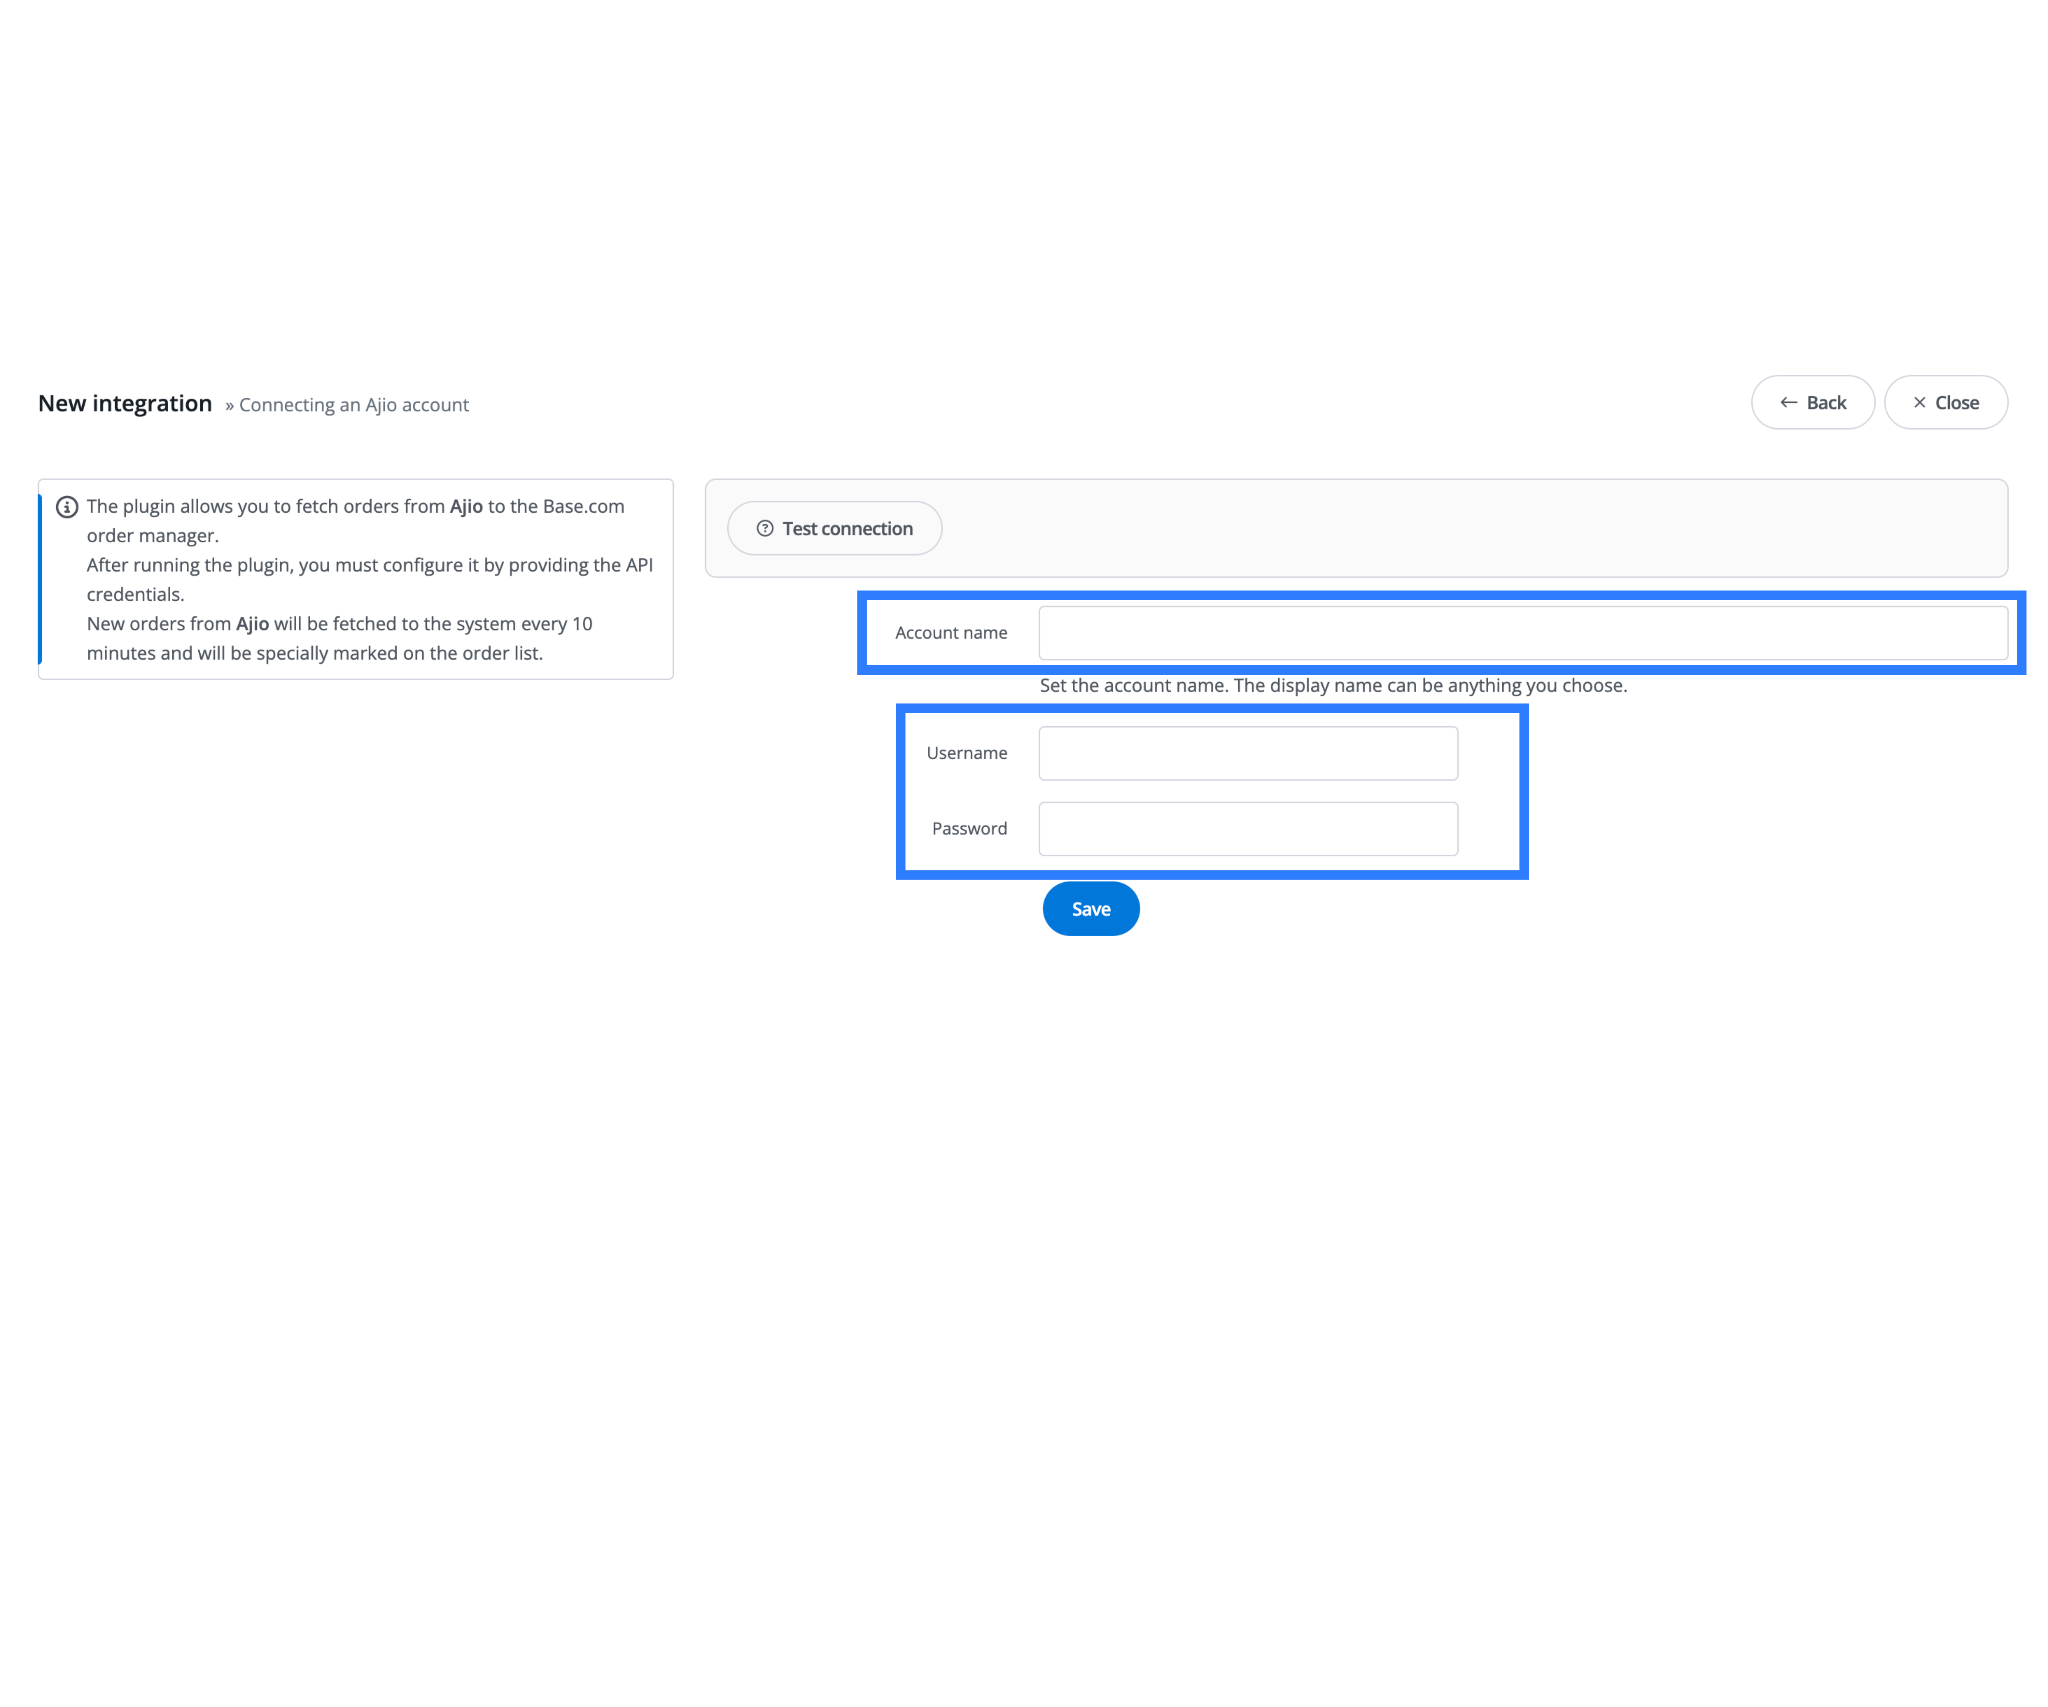
- Click Save to complete the integration
If you operate from multiple warehouses or dispatch locations, you can define and connect multiple POB IDs. Each POB user will correspond to a unique warehouse or fulfillment point
Step 3: Configure AJIO Shipping in Base
Once your account is connected, you need to set up how Base will handle shipping activities related to AJIO orders. This includes configuring automatic label printing, order tracking updates, and customer notifications
To configure shipping
- Go to the Integrations page again
- Search for AJIO (couriers) and select the courier integration tile
- Choose your connected AJIO account from the dropdown
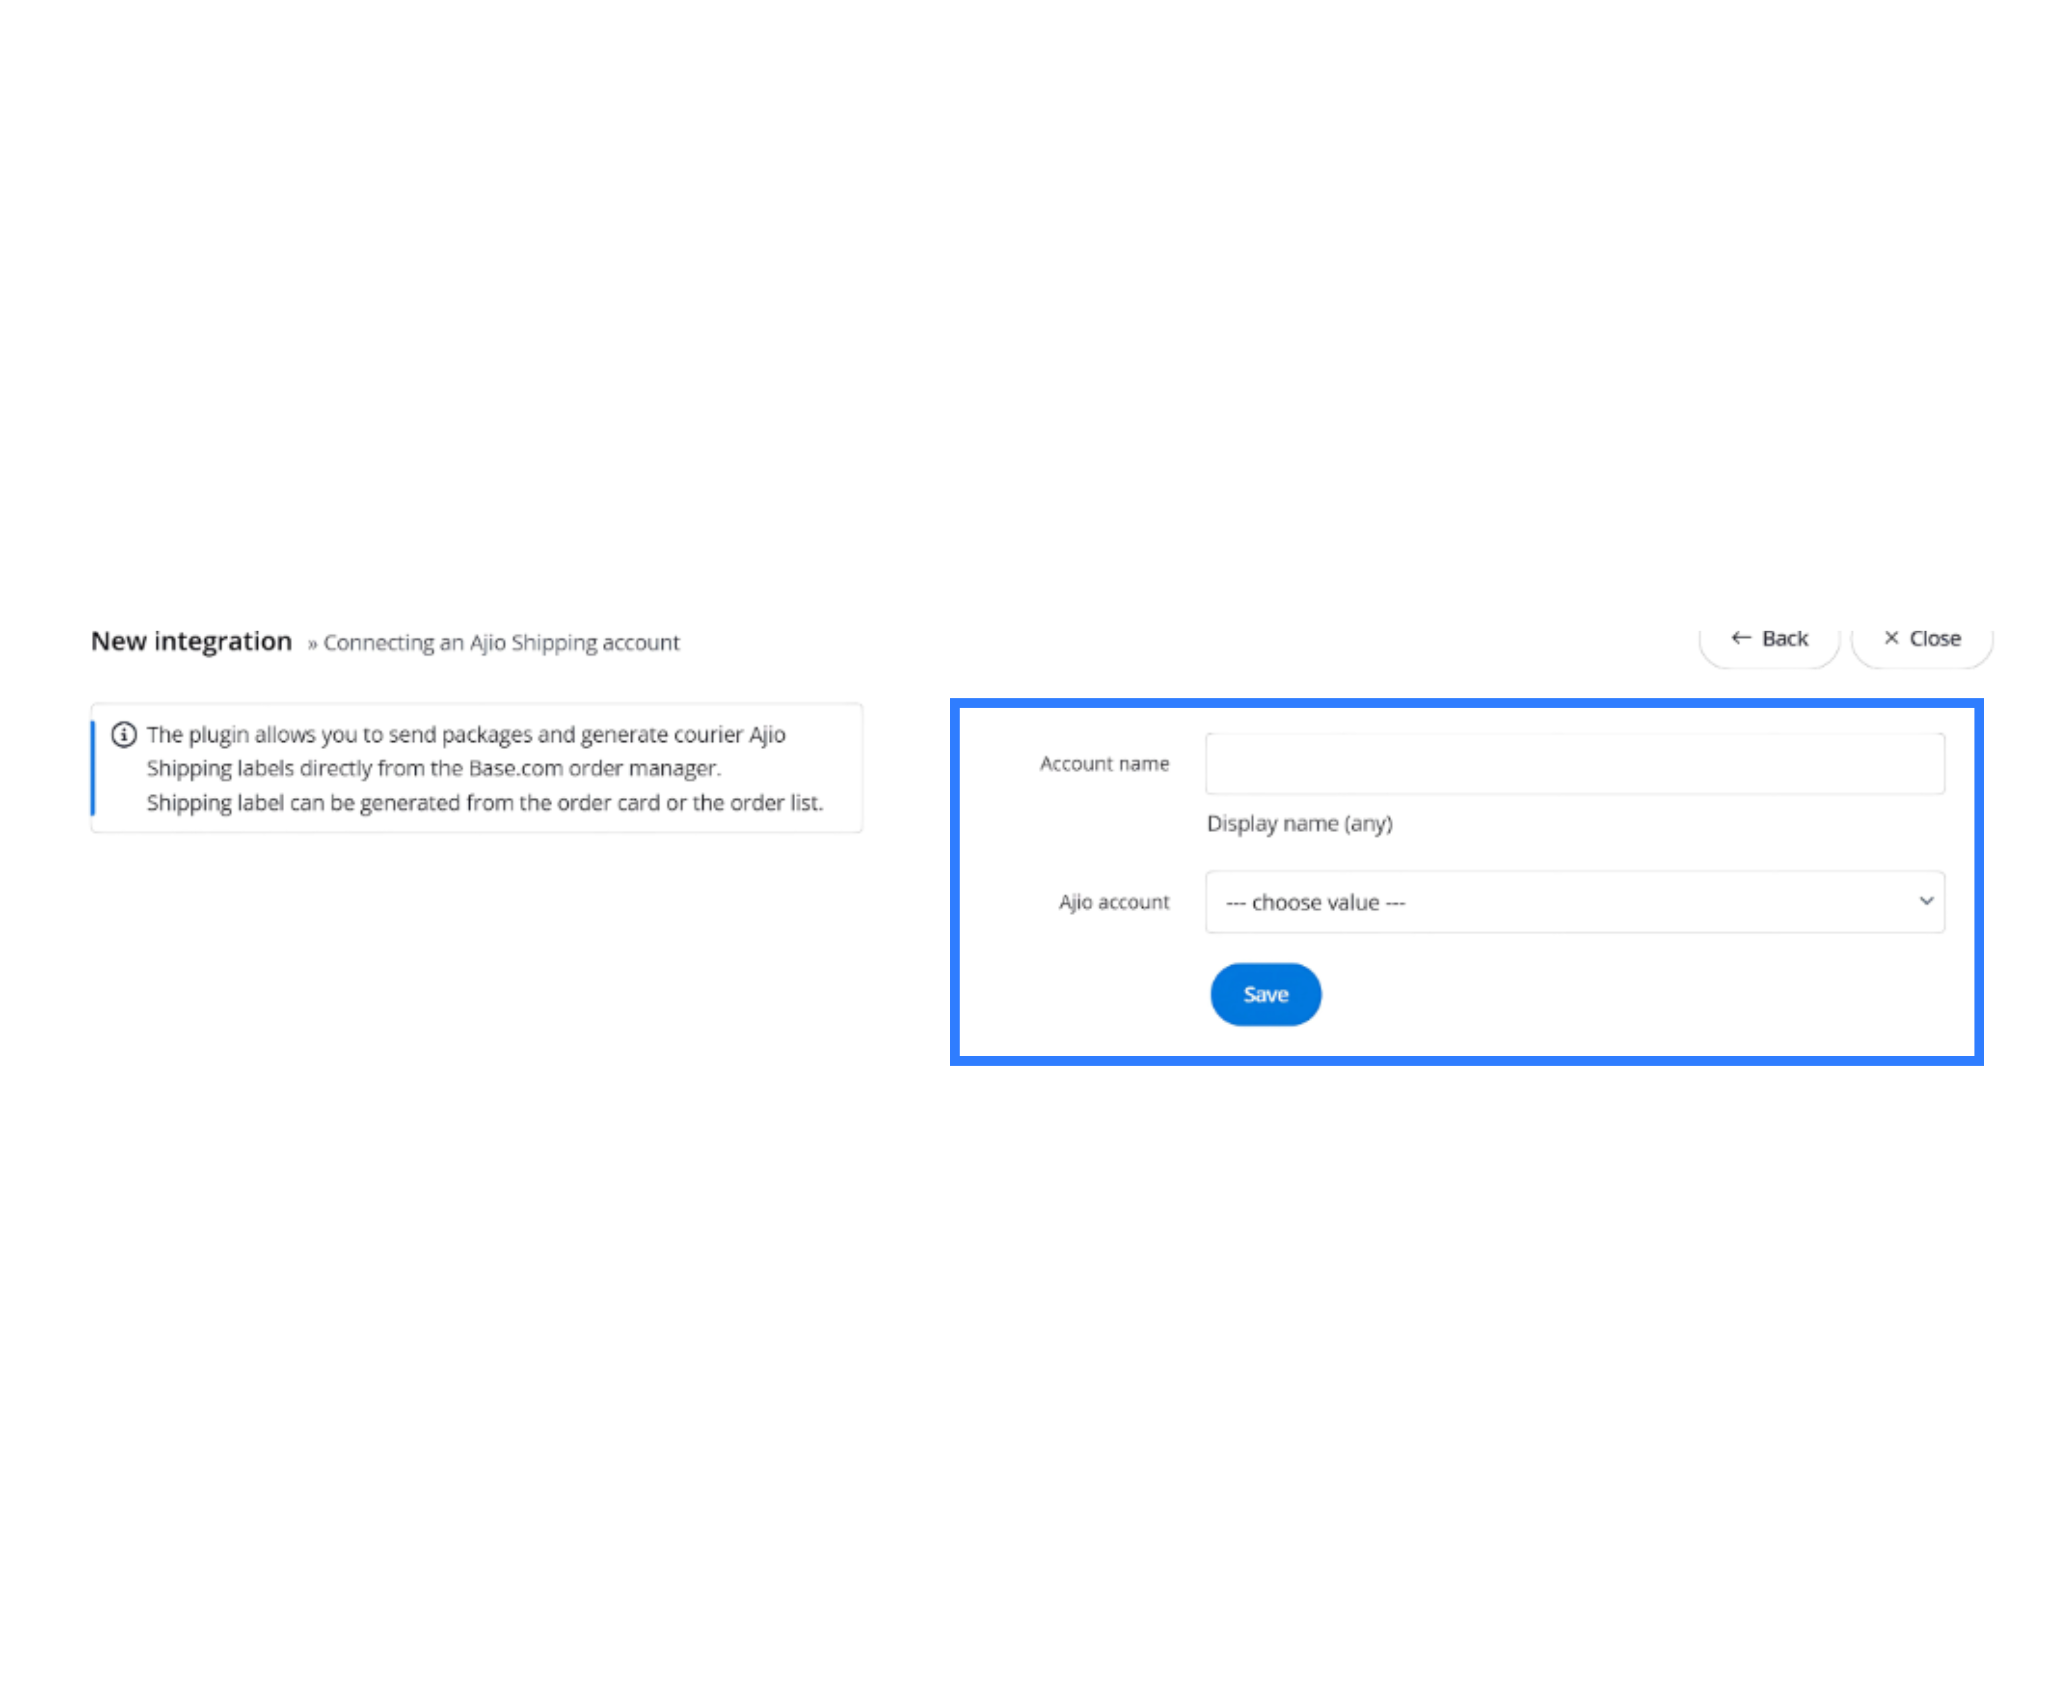
- Configure the following shipping automation settings based on your business needs
- Auto-print shipping labels when orders are marked ready
- Auto-forward tracking numbers to customers and AJIO
- Auto-send order notifications to customers on key shipment milestones such as dispatch or delivery
Enabling these settings ensures that Base can process AJIO orders from label generation to delivery with minimal manual intervention
Step 4: Run a Test Order
To ensure the integration is correctly configured, run a full test of the order processing flow. This will help verify that labels are being generated, tracking numbers are assigned, and orders reflect correctly in AJIO Seller Central
Test checklist
- Create a test order in your Base account. Assign the order to the AJIO courier
- Attempt to generate the shipping label from the Base interface
- Confirm that a tracking number is assigned
- Check if the order is visible and correctly updated in AJIO Seller Central
- Review the generated invoice and shipping label for accuracy
If the test fails at any step, verify that the POB credentials are accurate and that shipping API access is enabled. You may also contact Base support for help reviewing the integration logs
Step 5: Prepare Your Product Listings
Base does not pull listings from AJIO. All product listing and catalog creation must be done manually on the AJIO Seller Central platform. However, to ensure inventory sync works correctly, product SKUs in your Base catalog must exactly match the SKUs used in AJIO
Best practices for listing management
- Use consistent SKUs across both platforms
- Ensure pricing, GST, and inventory values match between systems
- Avoid using duplicate SKUs or overlapping barcodes
- Upload clear product images and accurate descriptions in AJIO Seller Central
Product uploads, category assignments, and compliance with AJIO listing standards must be handled on the AJIO side. Base will only sync orders and inventory based on SKU matching
Step 6: Inventory Synchronization
Base can push real-time inventory counts to AJIO as long as the SKUs are consistent. This ensures that your product stock is updated regularly, avoiding overselling or stockouts
To enable inventory sync
- Navigate to the Stock section in your Base dashboard
- Enable Live Synchronization
- Verify that each product is assigned the correct SKU and mapped to the correct warehouse
Base will now begin pushing updated stock levels to AJIO. Any changes made in Base will reflect on AJIO for the corresponding SKUs, depending on the frequency of the sync cycle
Make sure you regularly update your Base inventory and avoid manual adjustments on AJIO that may cause discrepancies
Step 7: AJIO Order Lifecycle in Base
Once your integration is complete, AJIO orders will automatically start appearing in your Base order panel. The platform will guide you through the order processing lifecycle, including printing labels, changing order status, and handing over packages for delivery
Typical order statuses in Base
- Pending Label: Order received, awaiting label generation
- Picking: Optional step if enabled in your workflow
- Pending RTD: Order packed and ready for dispatch
- Pending Handover: Shipment is awaiting pickup by AJIO logistics
Base can automatically generate invoices and shipping labels for each order. You can print them individually or in batches using the installed Base printer tool
Once the shipping label is generated, Base will send a Ready to Ship notification to AJIO. From this point, the order is eligible for pickup
Step 8: Label and Manifest Generation
Label generation is handled directly within Base after an order is created. The manifest can also be generated in bulk for easier handover during pickup
Steps to generate documents
- Go to the Orders tab in Base
- Select the AJIO orders ready for dispatch
- Click on Generate Label and Invoice
- Once labels are created, click Generate Manifest for a grouped document
Present the manifest and physical packages during courier pickup. You may also configure Base to auto-generate these documents for each order to reduce manual steps
Step 9: Tracking and Status Updates
As shipments move through the delivery cycle, Base can update tracking status both to customers and back to AJIO. This includes updates on pickup, in-transit, delivery attempts, and final delivery
Ensure the following settings are active in your AJIO courier integration panel in Base
- Auto-send tracking numbers to customers
- Auto-forward shipment milestones to AJIO
- Enable shipment status notifications via email or SMS (if applicable)
Tracking is critical for performance metrics and customer experience. If your AJIO shipping integration supports it, Base can also import delivery confirmation scans to close the order in the system
Troubleshooting Common Issues
If your AJIO integration is not working as expected, use the table below to diagnose and resolve the most frequent setup and operational issues.
| Issue | Resolution |
| Orders not syncing to Base | Check if POB credentials are correctly entered and shipping API access is granted. |
| Label generation fails | Ensure package weight and dimensions are entered. These fields are required for shipping. |
| Inventory not updating on AJIO | Confirm SKU consistency and check if Live Synchronization is enabled in the Base Stock tab. |
| Missing tracking numbers | Ensure auto-forward settings are enabled in the courier configuration. |
Conclusion
Integrating AJIO with Base provides a centralized, automated workflow for sellers handling high order volumes. The setup process includes registering your POB user in AJIO Seller Central, connecting your account in Base using API credentials, configuring shipping rules, and running validation tests. Once live, you can manage orders, track shipments, and update inventory without switching platforms
While listing and catalog management still needs to be done manually on AJIO, the integration ensures your fulfillment pipeline runs smoothly and at scale. Make sure your product data is consistent, follow the shipping best practices, and leverage Base’s automation settings to save time and reduce manual errors
If you encounter issues during setup or operations, consult your AJIO account manager or reach out to Base support for assistance.
Activate Base.com for your AJIO operations and scale high-volume order processing with automated courier handling and centralized control.
Frequently Asked Questions
Q1. Can I connect multiple AJIO POB users or warehouses to Base?
Yes. You can connect multiple POB IDs in Base, each representing a different warehouse or dispatch location. This helps manage region-specific fulfillment, ensures accurate stock allocation, and allows AJIO pickups from the nearest warehouse to the customer.
Q2. Does Base automatically sync product listings from AJIO?
No. Base does not fetch product listings or catalogs from AJIO. You must upload and manage all listings directly in AJIO Seller Central. However, Base will sync orders and inventory automatically if product SKUs match exactly between both systems.
Q3. How frequently does Base update stock and order statuses on AJIO?
Base pushes stock updates to AJIO in real time or at defined intervals, depending on your synchronization settings. Order statuses, labels, and tracking updates are instantly communicated once an order moves through each stage, ensuring both systems stay aligned without manual intervention.