Base Printer is a tool designed to make daily printing tasks in your warehouse, packing area or front office faster and easier. Instead of downloading PDF files, opening print dialogs or switching between different courier windows, Base Printer lets you print labels, invoices, receipts and reports directly from your Base panel with a single click. The system sends the print job straight to your selected printer, so your team can stay focused on packing orders, serving customers or preparing shipments. This guide explains every step of the setup process in clear detail and shows how sellers in India can use Base Printer to speed up operations, prevent errors and keep printing consistent across their team.
1. Downloading and Installing Base Printer
The first step is to install the Base Printer desktop application, which connects your Base account to your physical printers.
- Log in to your Base panel using your admin credentials so you can access the integrations area.
- Navigate to Integrations from the left-hand menu, because this is where all system connections are managed.
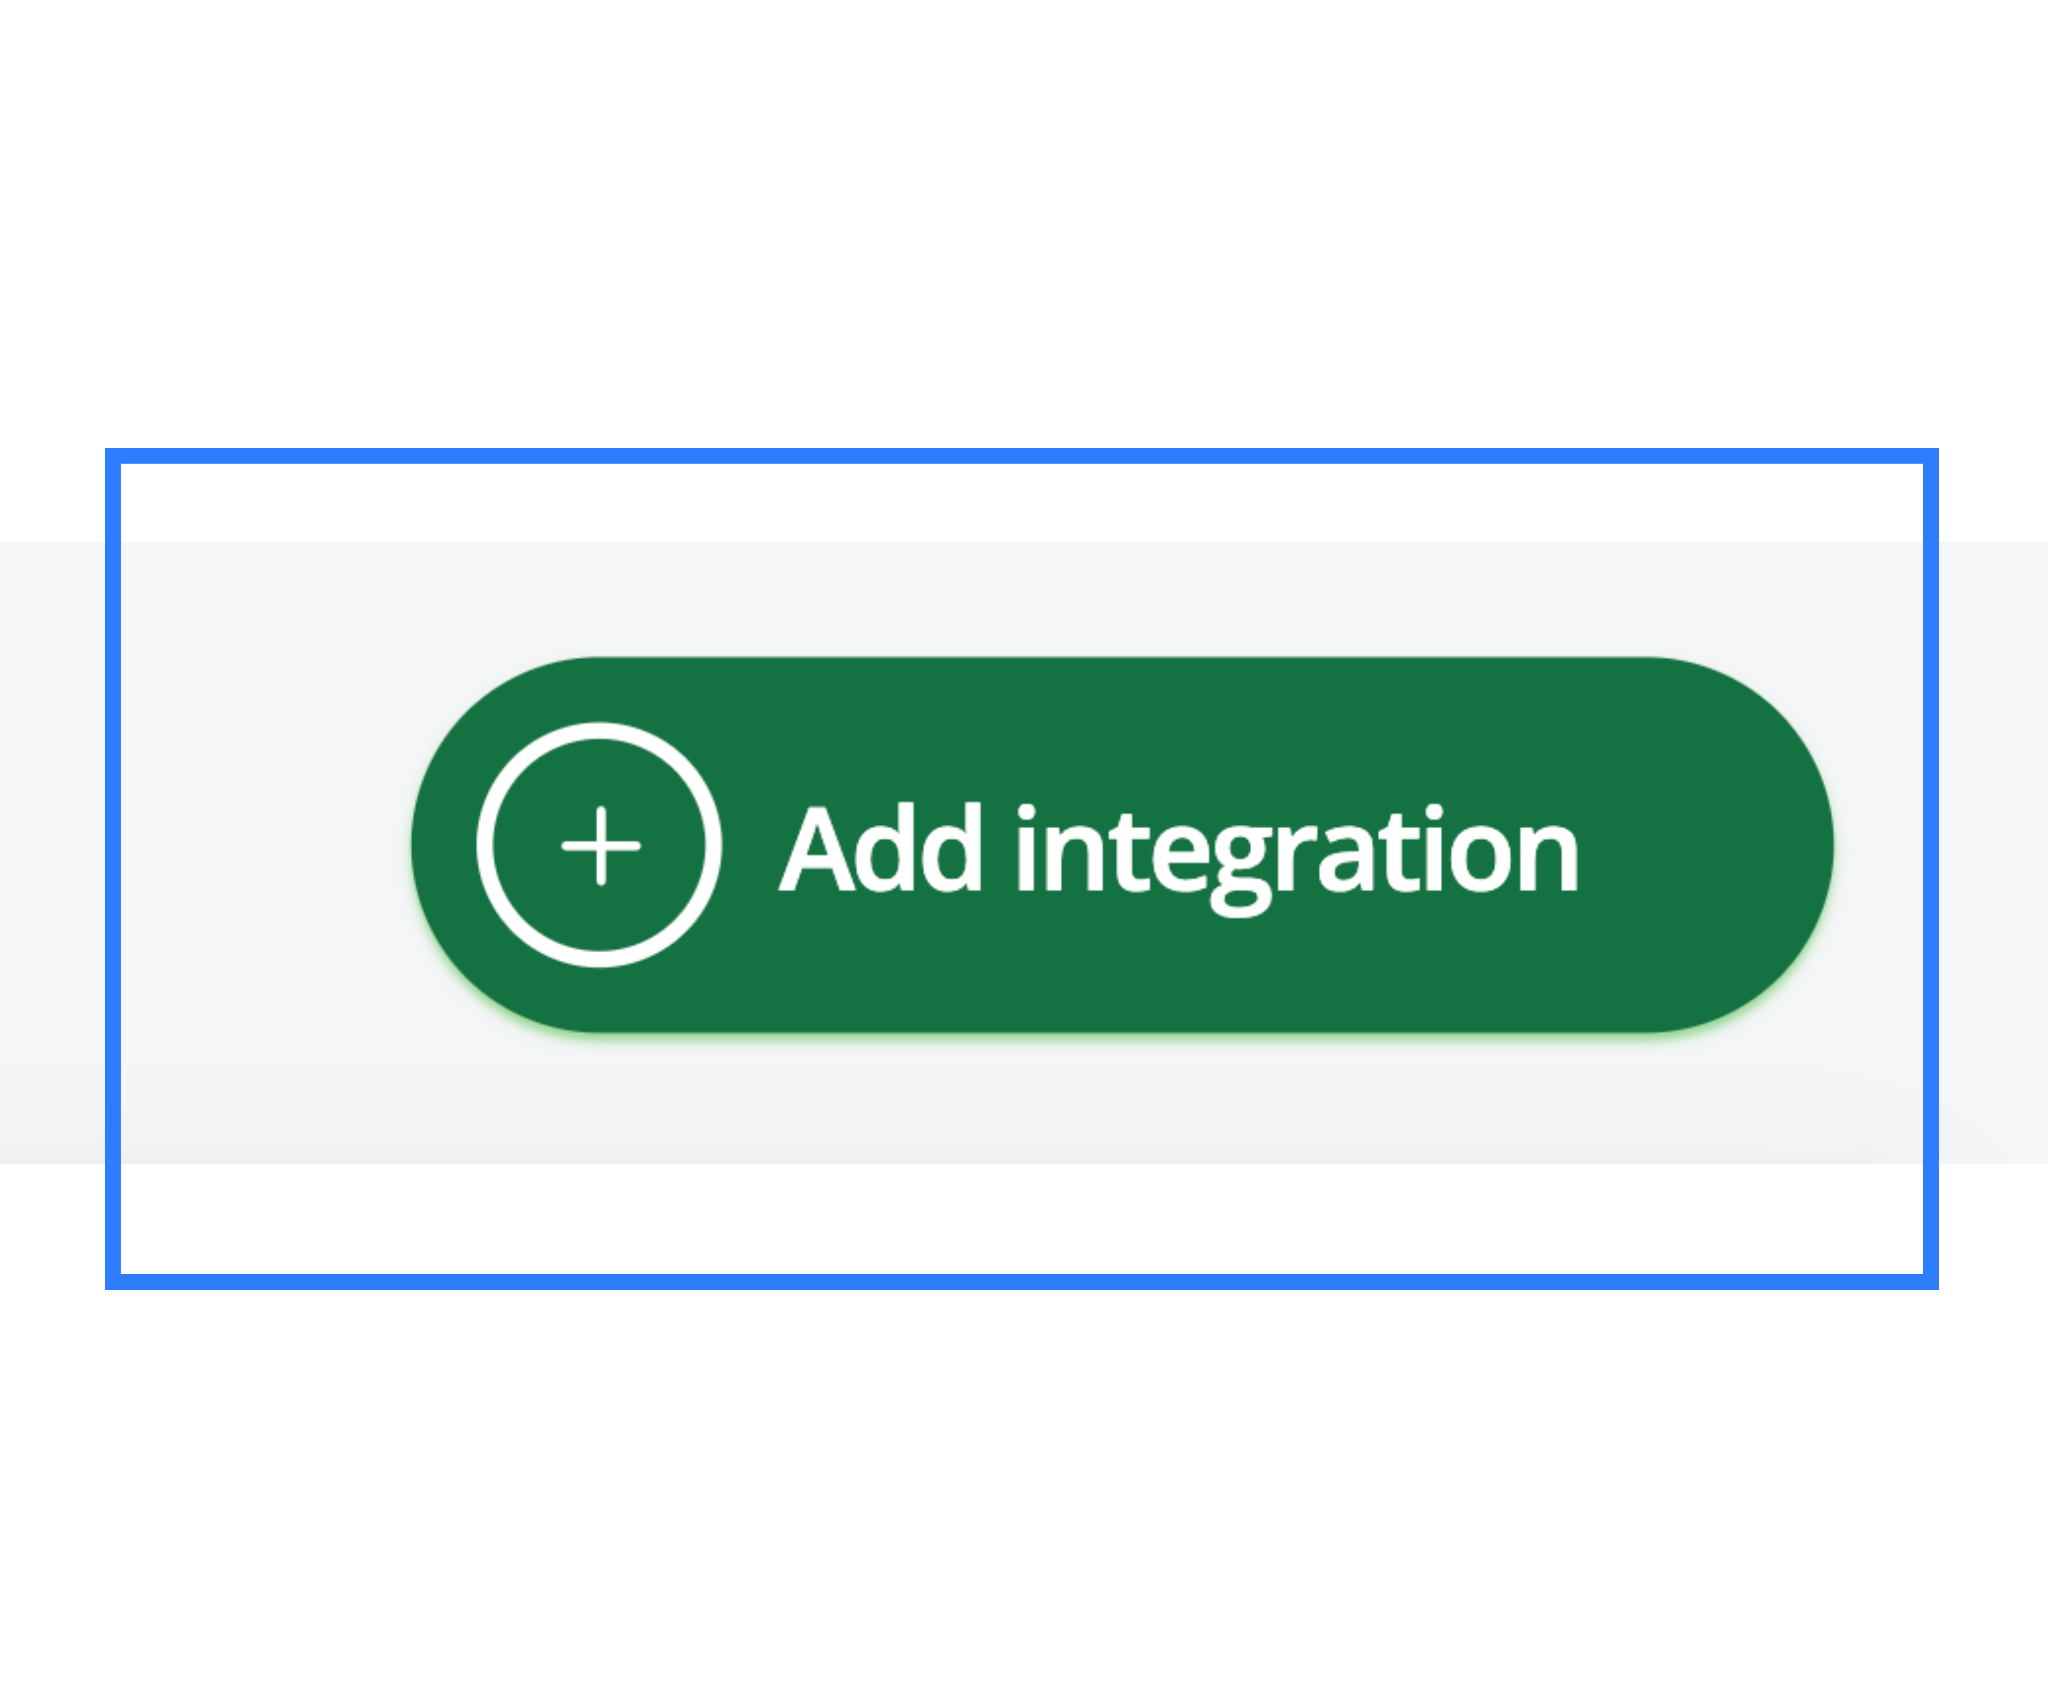
- Click + Add Integration, which opens the full list of integrations available in your Base system.
- Type Base Printer in the search bar or scroll until you find the Base Printer tile. This tile identifies the built-in printing integration.
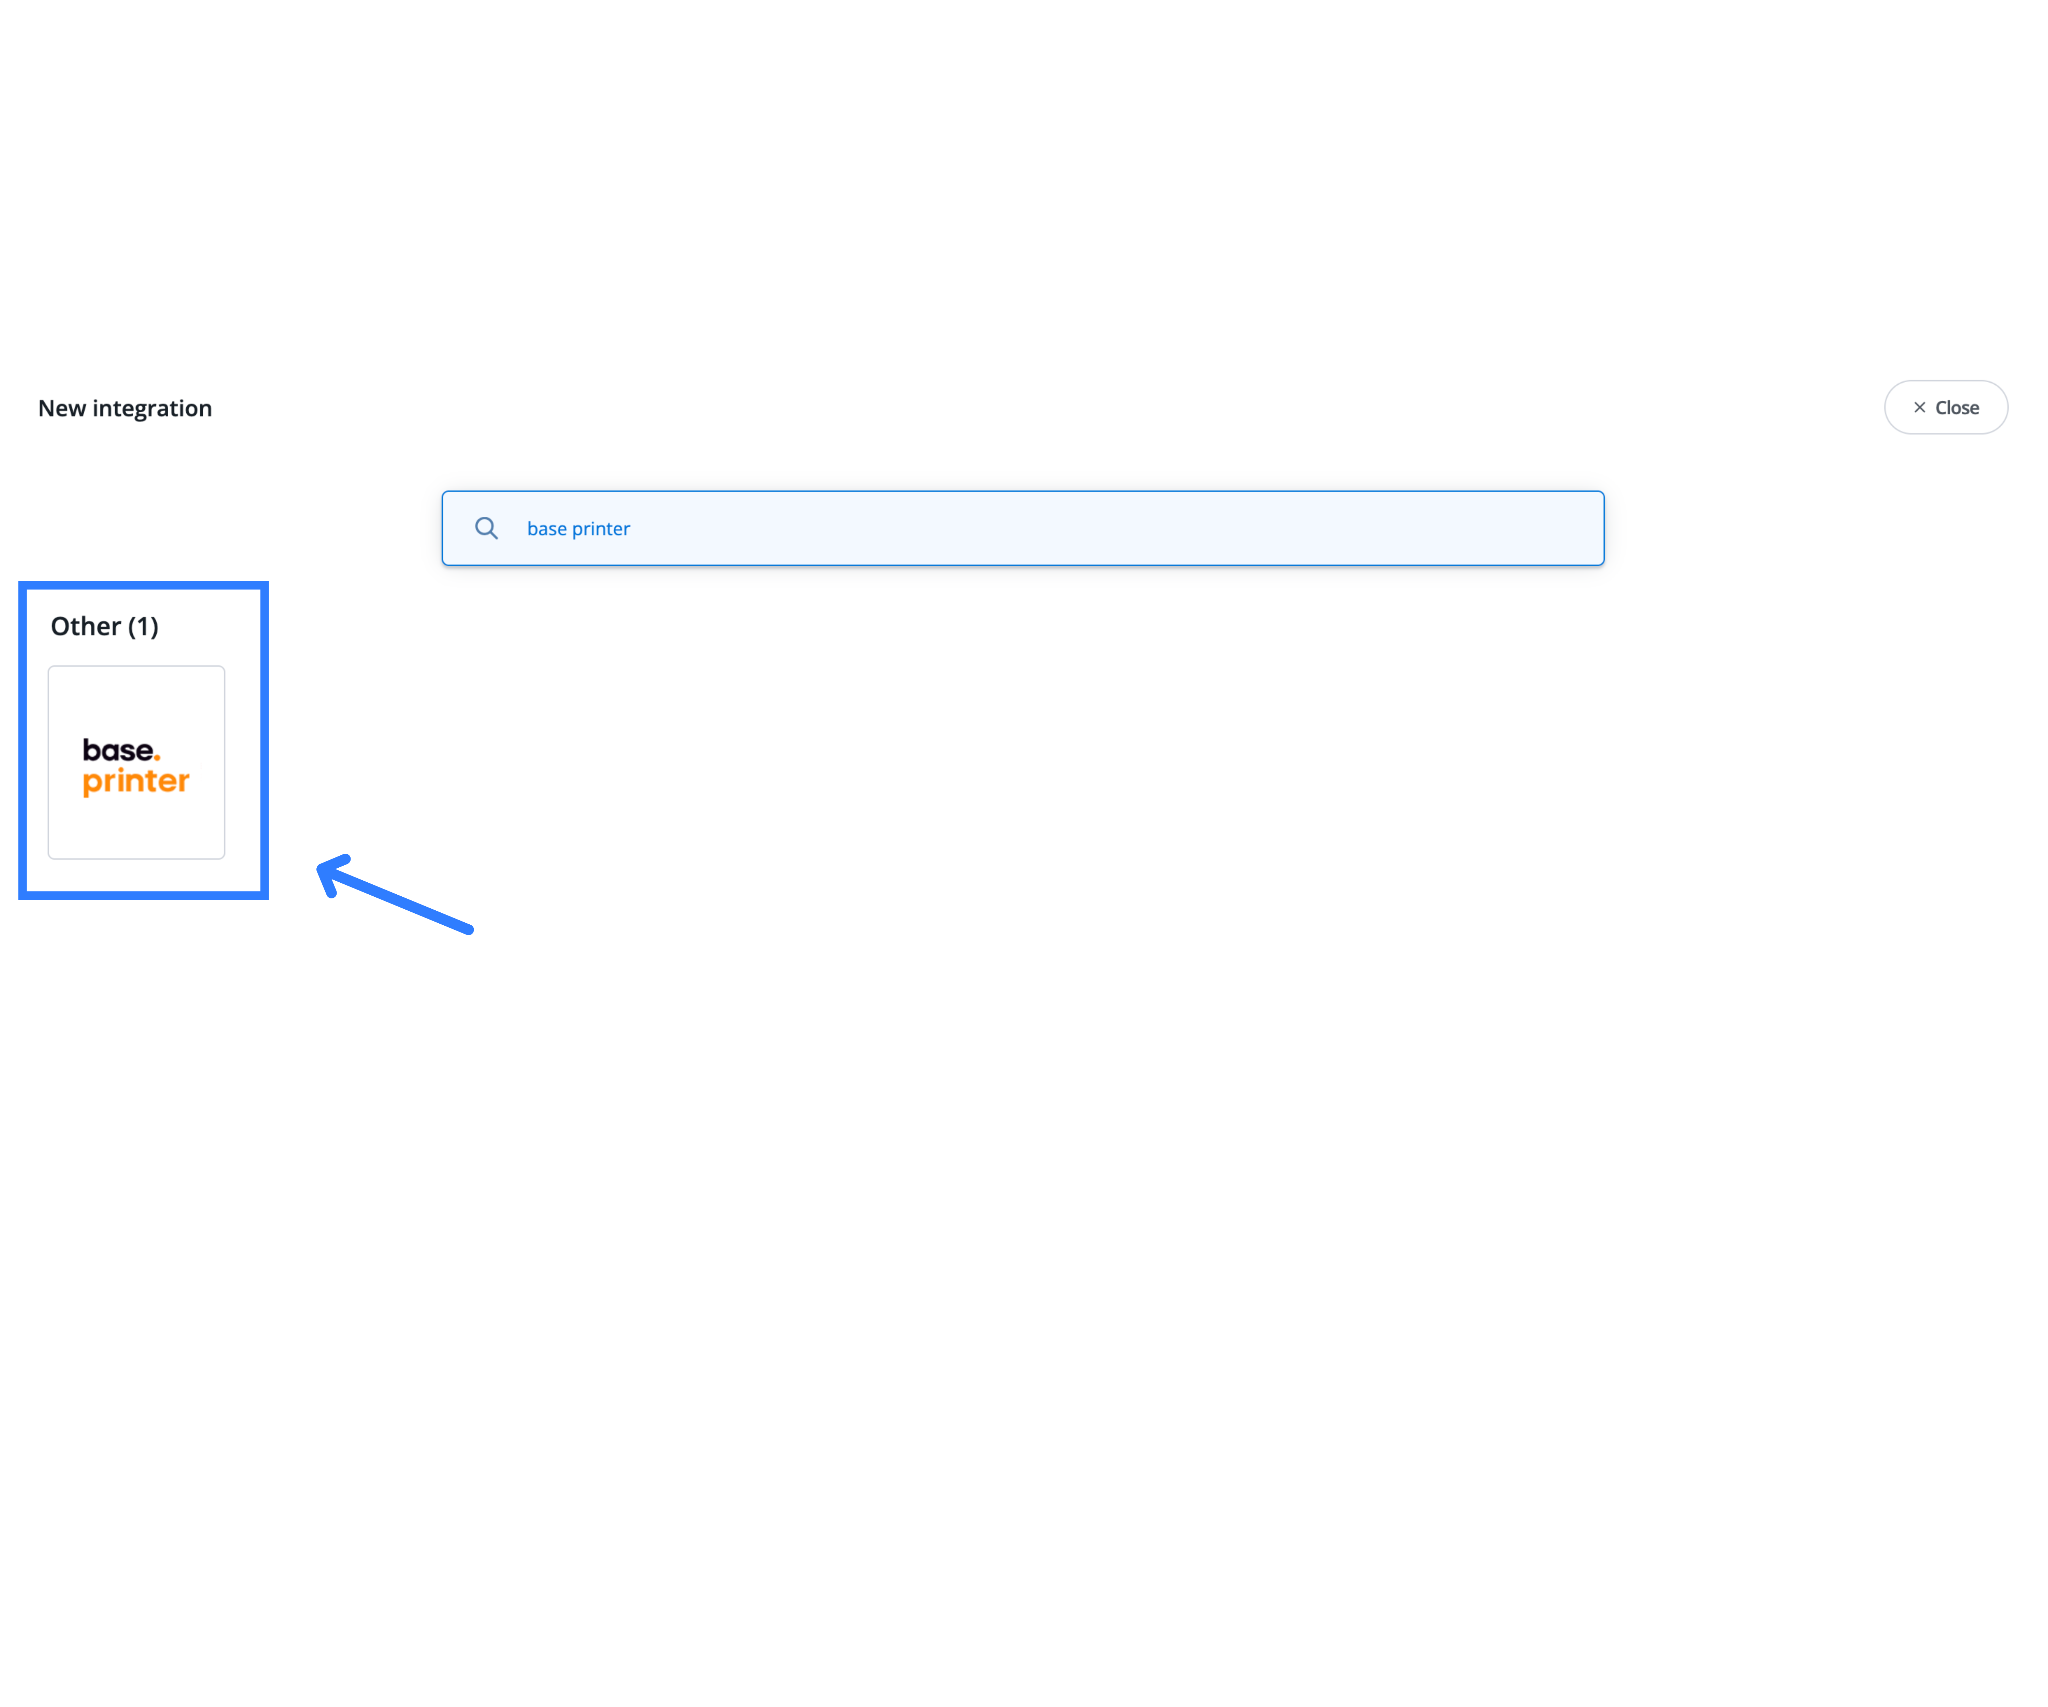
- Click the Base Printer tile to open the integration page, where you will see download links for the desktop app.
- Download the installer appropriate for your computer. Base Printer supports Windows, macOS (both Intel and Apple Silicon) and Linux, so you can install it on almost any warehouse or office machine.
- The download comes directly from printer.cdn.baselinker.com, which is the official distribution source.
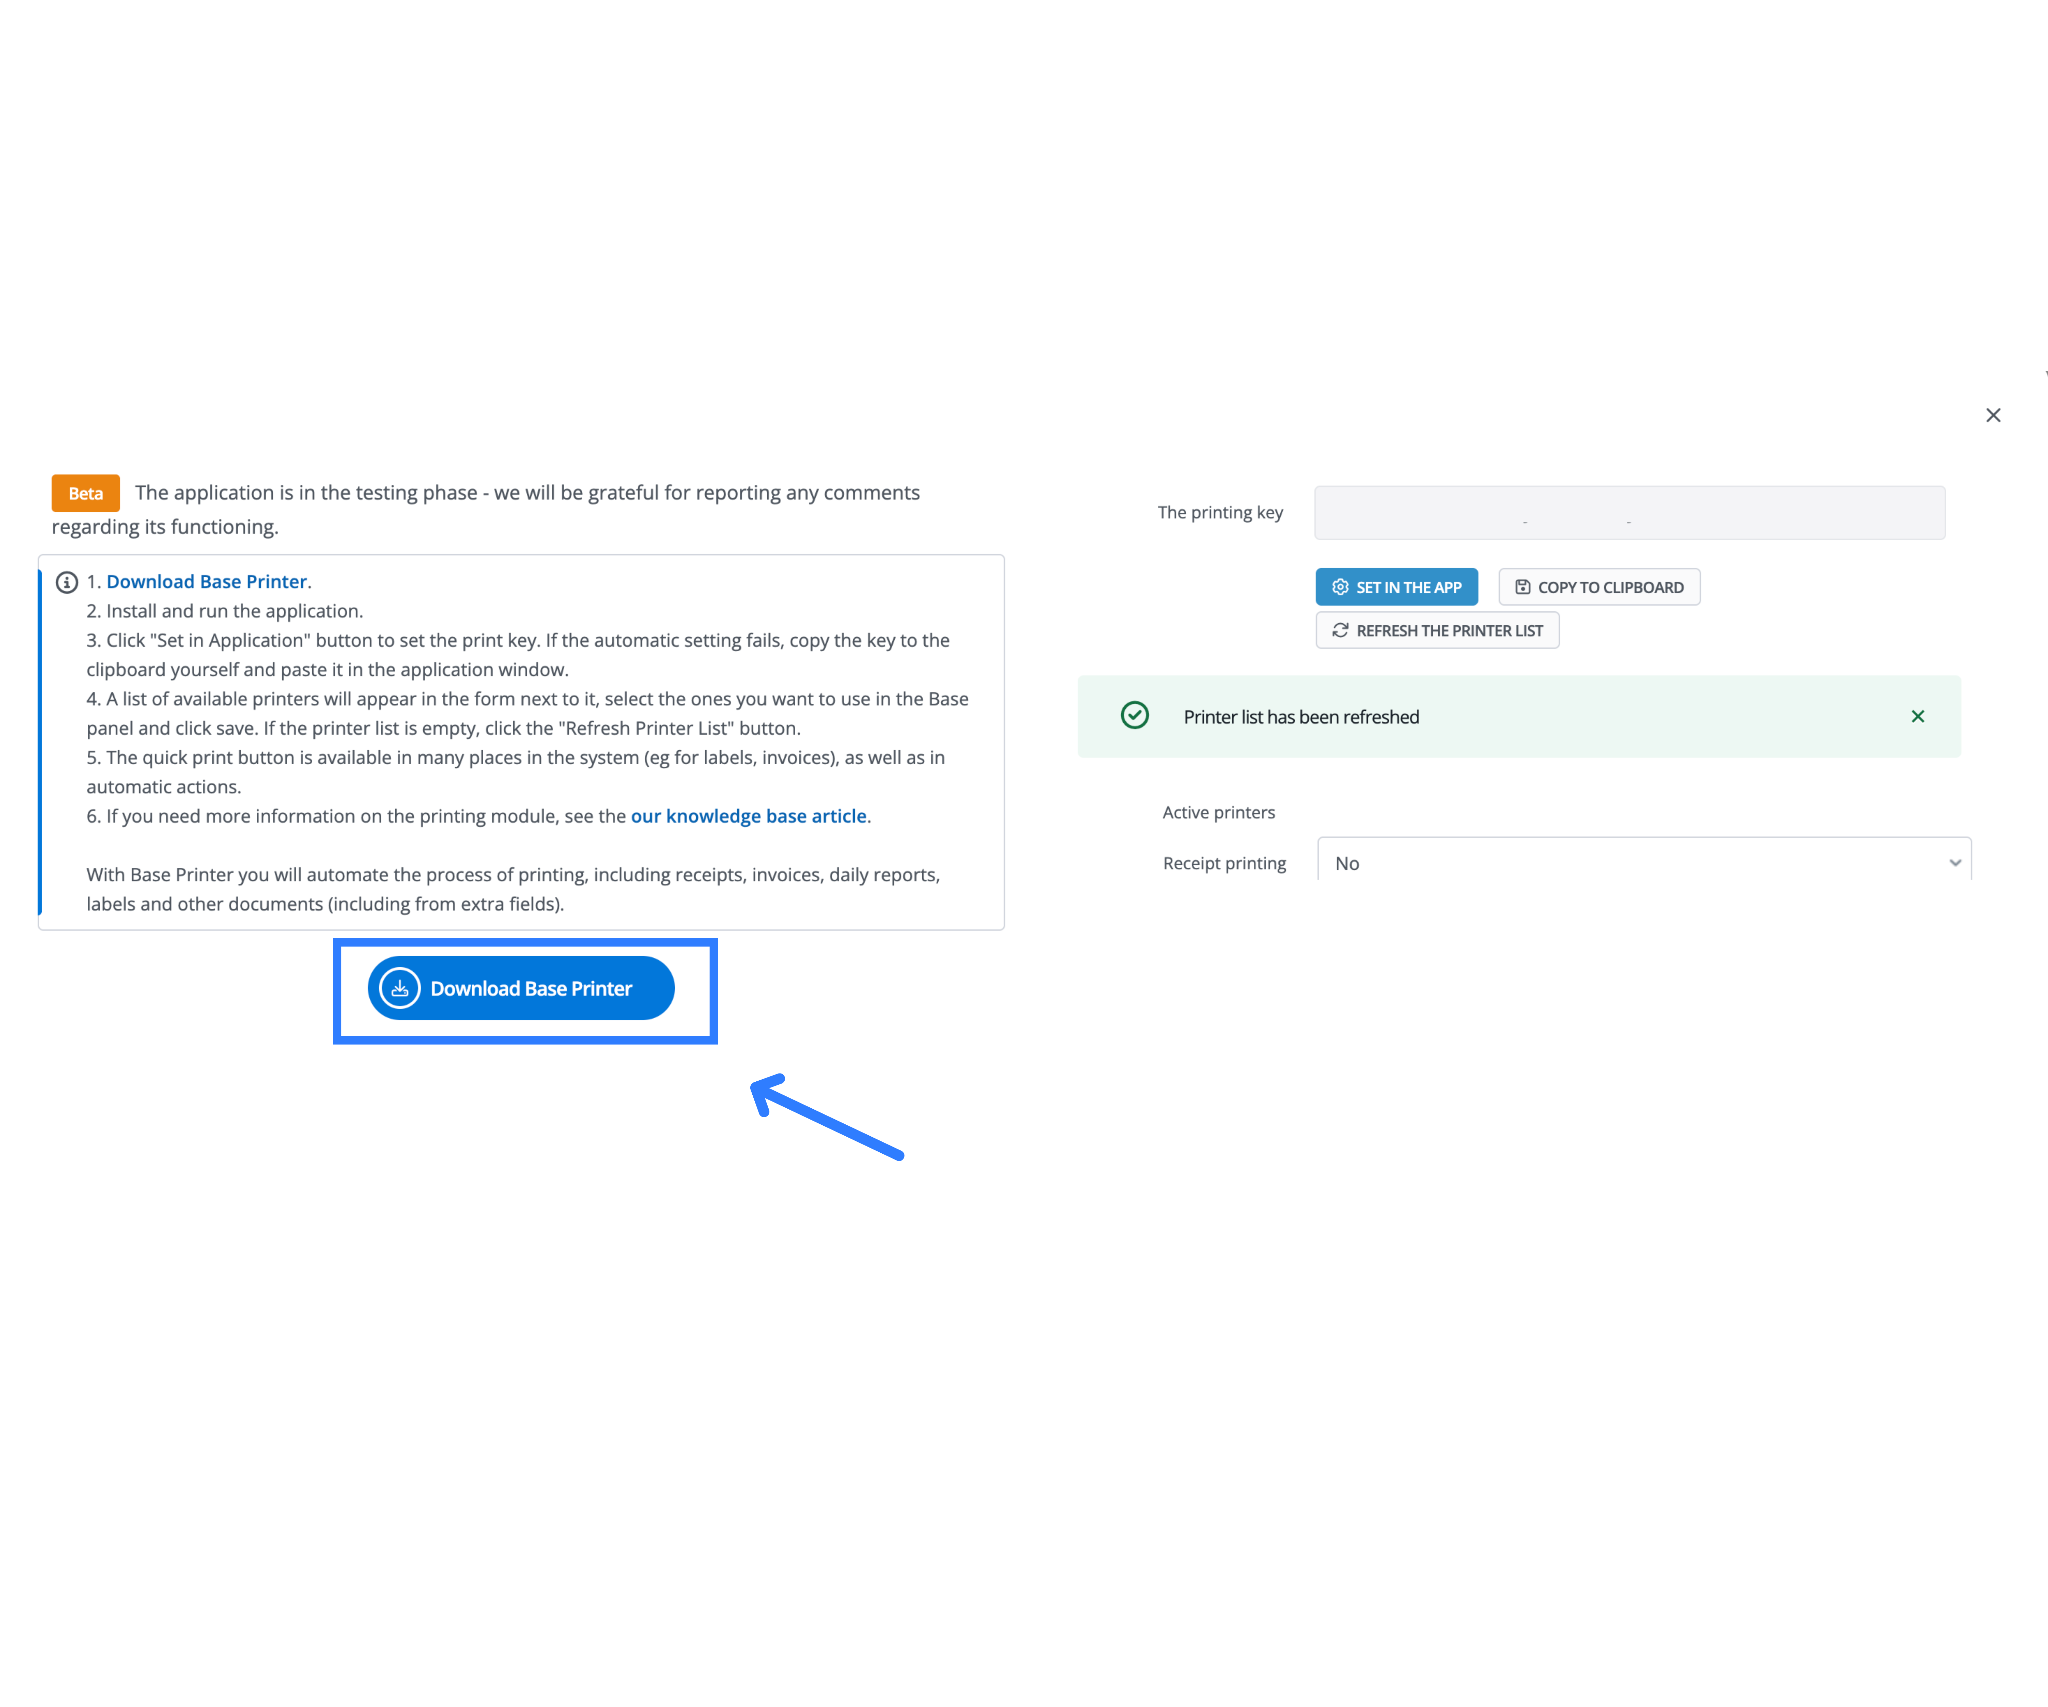
- Once downloaded, run the installer. Follow your computer’s prompts to complete the installation.
- After installation, launch the Base Printer app. It must be opened on the same PC or Mac that has access to your printers, because this is the device that will send the print jobs.
2. Connecting Your Base Account Using the Printing Key
To link your Base panel to the Base Printer app, you need to use a unique Printing Key.
- Go back to your Base panel, inside the Base Printer integration page.
- You will see a Printing Key, which is a secure identifier that connects your Base account to the desktop app.
- Copy the Printing Key carefully so it matches exactly.
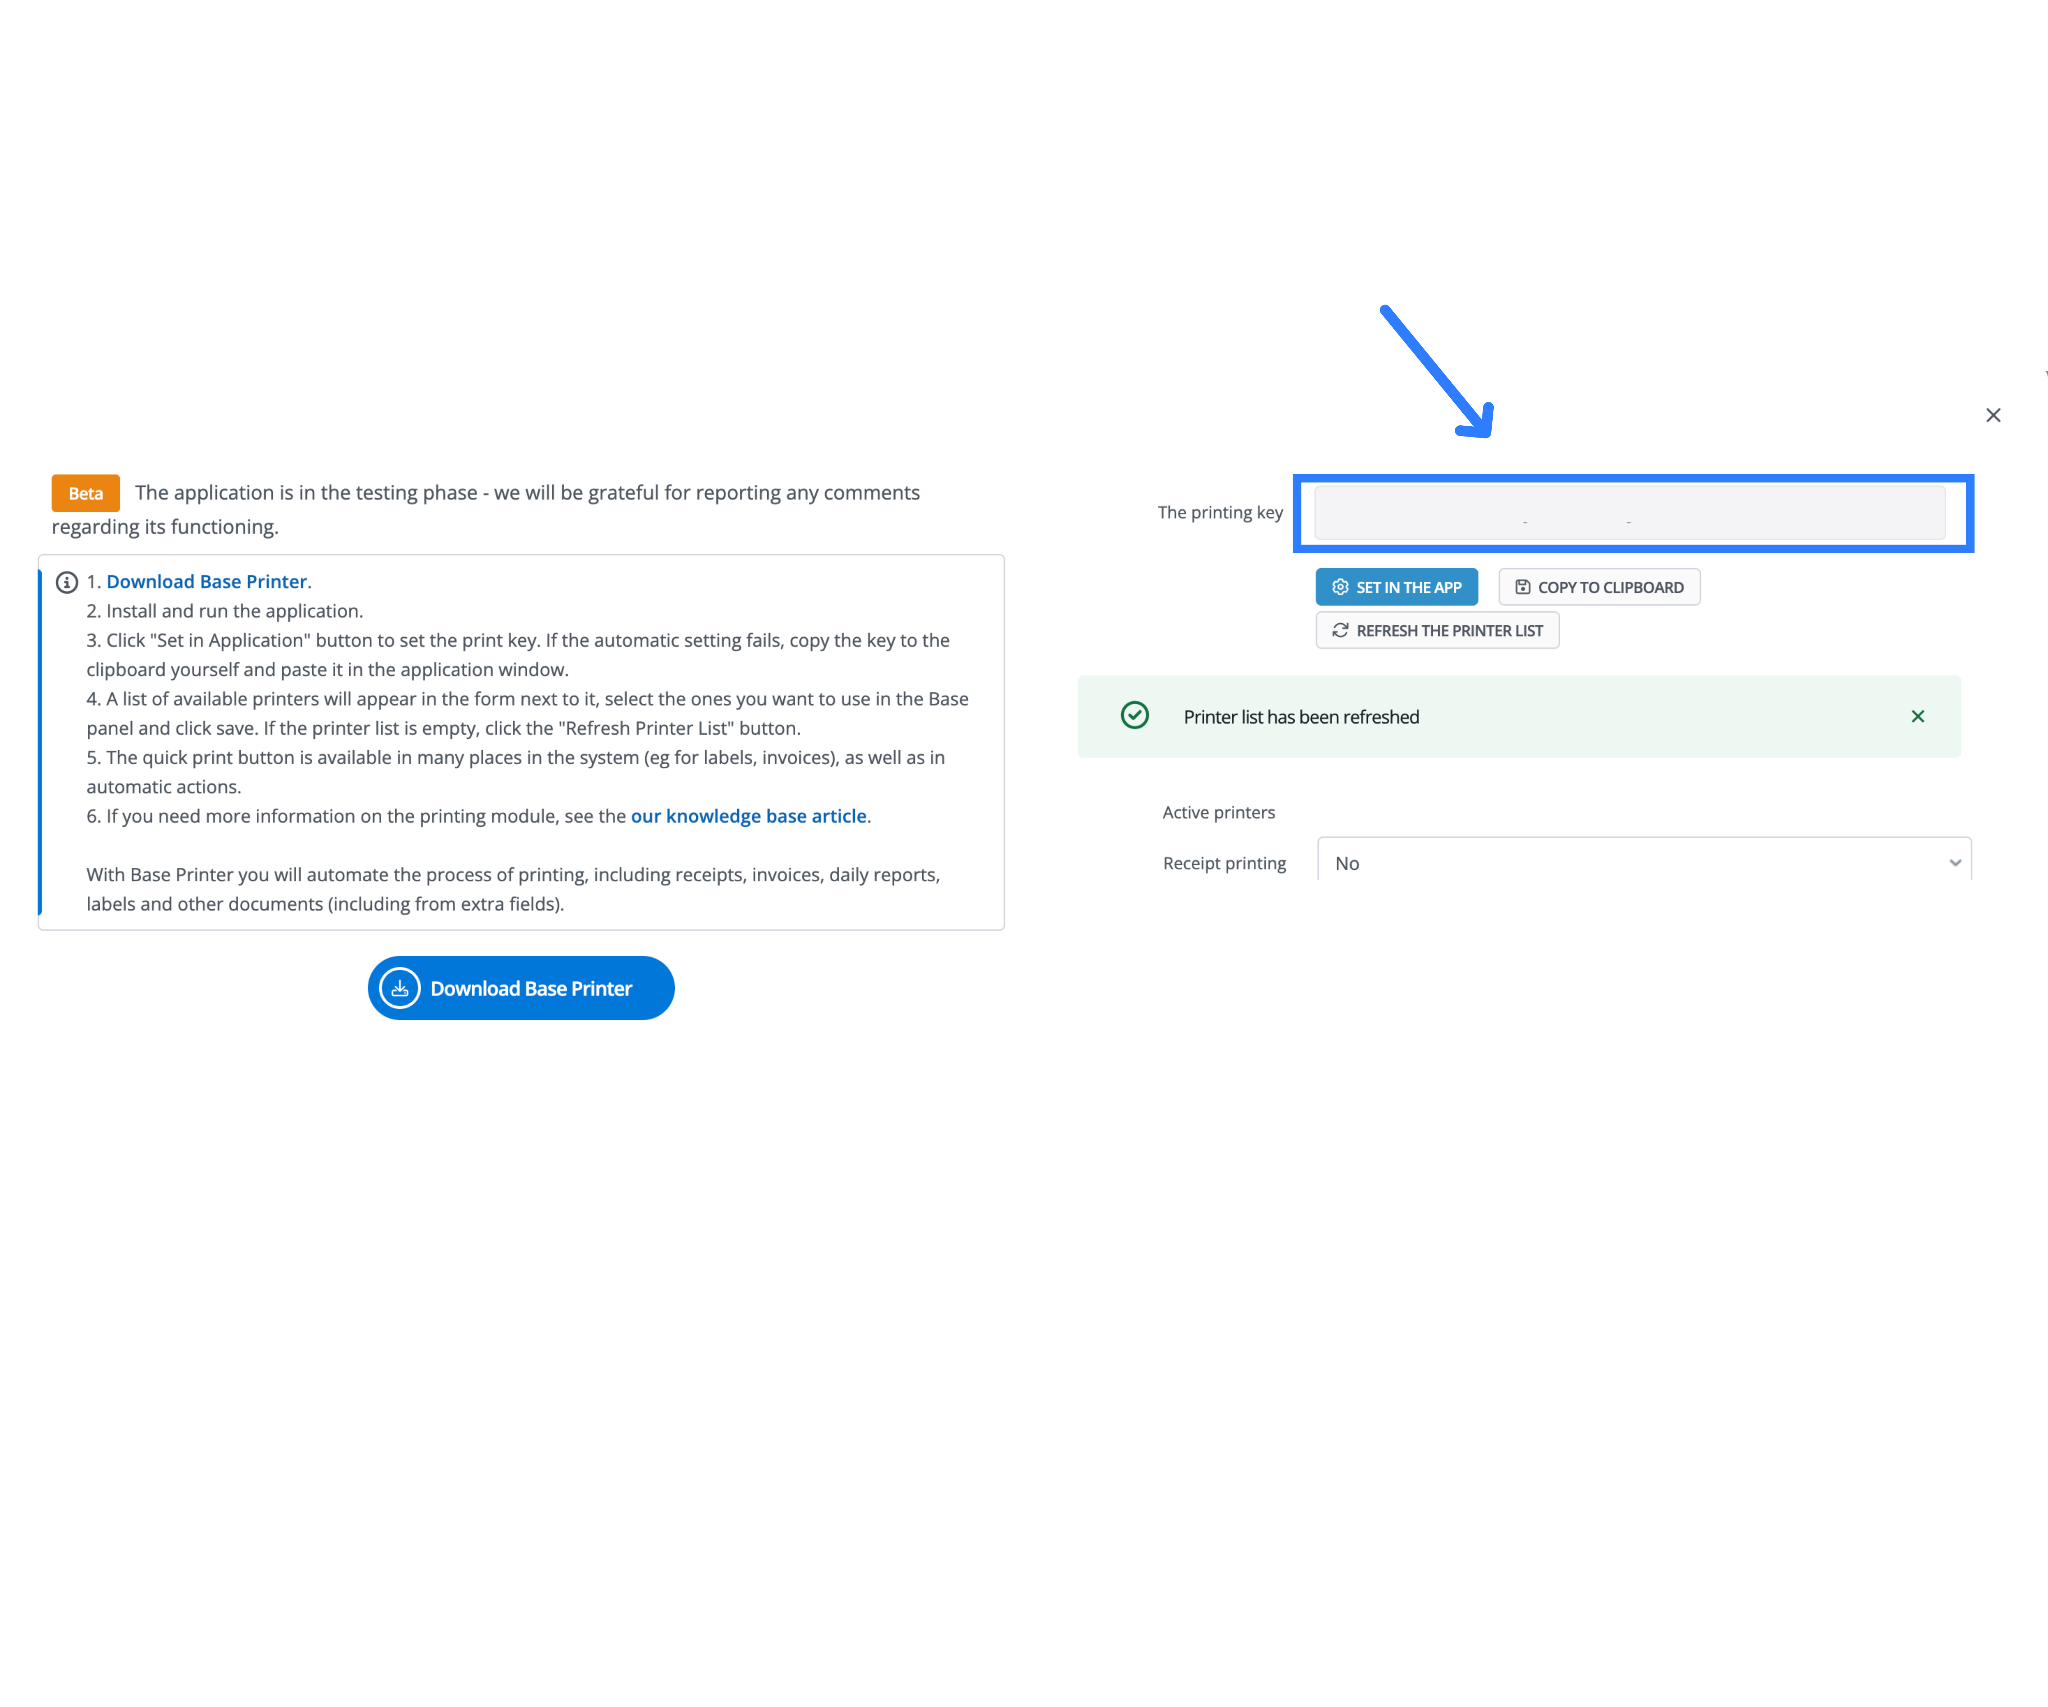
- Return to the Base Printer desktop app.
- Click the button labeled Set in the App, or paste the key into the field that appears inside the app.
- When you confirm the key, the desktop app establishes a secure link with your Base account. This step ensures that only your account can send print jobs to your printers.
This connection is essential because it allows Base to send print commands directly, without any browser downloads or file previews.
3. Selecting and Saving Your Printers
Once the Base Printer app is connected, you need to specify which printers you want Base to use.
- In the desktop app, click the Refresh printer list so the app can detect every printer installed on that computer.
- Choose the printers you want to use. A warehouse may use multiple devices, such as:
- A thermal printer for 4×6-inch courier labels
- An A4 or letter-size printer for GST invoices and packing sheets
- A receipt printer for counter sales
- Select each printer you want to activate for Base.
- Save your choices.
- The selected printers become available inside your Base account for one-click printing.
This setup ensures that every document prints from the correct device without manual selection each time.
4. Printing Documents With One Click
Once everything is connected, printing becomes extremely fast and simple.
- Whenever you see a Print icon next to a document in your Base panel, such as a courier label or invoice, you can click it immediately.
- Base sends the print job directly to the selected printer through the Base Printer app.
- There is no need to download any files, open PDF readers, or click through long printing dialogs.
- This saves a significant amount of time during busy hours, especially when processing large batches of orders.
For Indian sellers, this is especially helpful because you often need to print both the courier label and the GST invoice for every parcel, and keeping these tasks fast prevents bottlenecks.
5. Optional: Automatic and Hands-Free Printing
If you want to automate printing even further, you can set up Automatic Actions inside Base.
- Automatic Actions allow the system to trigger printing when a defined event occurs.
- For example, when an order moves to the Packed status, the system can automatically print the courier label and the invoice without any user clicking Print.
- If a worker scans a barcode during picking, Base can print the needed document instantly.
- This hands-free approach is ideal for high-volume warehouses where teams need to process many orders quickly.
Automation reduces manual steps and keeps your flow consistent during peak order times.
6. Recommended Setup for Indian Teams
Indian warehouses often have different team roles, such as picking staff, packing staff, billing teams and POS cashiers. Each role uses a different type of printer. Base Printer allows you to set default printers per employee.
- Pickers can use the thermal label printer by default.
- Billing staff can use the A4 printer for GST invoices.
- POS staff can use the receipt printer directly.
This prevents errors, such as an employee accidentally printing a large GST invoice on a small thermal label roll or printing a courier label onto A4 paper. Each user gets the correct printer automatically.
Key Features Required for Indian Businesses
Base Printer delivers fast, accurate and compliant printing tailored to Indian workflows. It simplifies label, invoice and receipt printing so teams can work faster without manual downloads or extra tools.
1. Direct Printing From Base
Instead of downloading and opening files, Base Printer sends documents directly from your Base panel to your printer. This is ideal for bulk order handling and for businesses that want to simplify their team’s daily routine.
2. Automatic Printing
You can trigger printing based on order status, barcode scans or shipment creation, making tasks faster without extra clicks.
3. Unlimited Printers
You can connect thermal printers, standard office printers and receipt printers, and assign them as needed for each employee.
4. Receipt Printing
Receipts can include cashier name, register name, order numbers, tax numbers and barcodes, making them useful for physical stores.
5. Included in Your Subscription
There are no extra printing fees. Base Printer is included with every Base plan.
Troubleshooting and Best Practices
If something doesn’t print the way you expect, most issues can be fixed quickly by checking the Base Printer app, your printer settings or your Printing Key. The table below lists the most common problems and the simple steps to resolve them.
| Issue | What to Check | How to Fix |
| Printers not showing up | The Base Printer app may not be running or your printers may not be detected. | 1. Make sure the Base Printer app is open on the PC/Mac.
2. Click Refresh printer list in the integration page. 3. Confirm printers are turned on and properly connected. |
| Wrong printer selected | A user may be sending documents to the incorrect device. | 1. Set default printers per employee to prevent mix-ups.
2. Review selected printers in the Base Printer desktop app. |
| Nothing prints when clicking Print | The app might not be linked or may be offline. | 1. Check that your Printing Key is linked correctly.
2. Ensure the Base Printer app is online. 3. Try a test print to validate the connection. |
| Thermal label prints too small or rotated | Printer driver or label format settings may be incorrect. | 1. Check your printer’s driver settings.
2. Set the label size to 100×150 mm (4×6 inches). 3. Confirm your courier integration is using the correct label layout. |
Comparing Base Printer to Other Printing Tools
When choosing a printing solution for your warehouse or front office, it helps to understand how Base Printer stacks up against other tools. The table below shows the key differences so you can see why most teams prefer the built-in Base Printer option.
| Tool | Type | Key Features | Limitations |
| Base Printer (included) | Built-in Base printing tool | One-click printing, automatic printing, supports multiple printers, receipt printing, user-level defaults, no extra subscription required | Works only within the Base ecosystem (by design) |
| PrintNode (separate service) | Third-party cloud printing service | General-purpose cloud printing, works with many systems | Requires paid subscription, extra setup, not designed specifically for Base |
| ShipStation Connect (part of another OMS) | Printing tool for ShipStation | Connect-and-print concept for ShipStation users | Tied to ShipStation, cannot integrate into Base, limited to their workflows |
Teams usually choose Base Printer because it is included, simple, fast and designed specifically for Base workflows.
Click here, to know how to integrate Flipkart into Base.com and start your ecommerce scaling journey.
Frequently Asked Questions (FAQs)
1. How do I install Base Printer and which devices does it support?
Download the Base Printer app from the integration page, install it on your computer and link it using your Printing Key. The app works on Windows, macOS (Intel/Apple Silicon) and Linux.
2. What types of printers can I use with Base Printer?
You can connect thermal label printers like Zebra, A4 printers like HP or Canon and receipt printers. You can also set default printers per employee.
3. What documents can Base Printer print?
You can print courier labels, GST invoices, receipts, packing lists and daily reports. These can be printed with one click or through automation.
4. Does Base Printer support automatic and remote printing?
Yes. You can enable auto-printing using Automatic Actions, and you can print remotely as long as the Base Printer app is running on the connected computer.
5. What if printing does not start or doesn’t work correctly?
Check that the Base Printer app is running, ensure your Printing Key is correctly linked and confirm the printer list is refreshed. Most issues resolve with these steps.