The Blinkit + Base integration enables approved Blinkit vendors to centralize their complete PO fulfillment workflow within Base, without relying on manual coordination, spreadsheets, or repeated logins into Blinkit portals.
Blinkit operates on a controlled vendor ecosystem, where onboarding, fulfillment rules, dispatch windows, and compliance checks are tightly governed. Base does not override these controls. Instead, it works as a fulfillment execution layer, ensuring that Blinkit POs are fulfilled accurately, on time, and with full item-level visibility.
Once integrated, Base allows sellers to:
- Receive Blinkit purchase orders automatically
- Schedule delivery appointments for POs
- Track SKU or article-wise fulfillment
- Send ASN before dispatch
- Monitor OTIF, fill rates, and PO expiry outcomes
This integration is especially valuable for high-volume sellers supplying multiple Blinkit hubs across cities.
Blinkit Vendor Model: How It Works
Understanding Blinkit’s vendor structure is critical before integration.
Blinkit is an invite-only platform for Q-commerce fulfillment, meaning vendors are approved and enabled directly by Blinkit. Each vendor operates under one or more Vendor IDs, which act as the primary identifiers for all fulfillment activity.
Key aspects of Blinkit’s vendor model:
- Vendors cannot self-onboard technically
- Vendor IDs are created and controlled by Blinkit
- A single seller may operate multiple Vendor IDs
- Vendor IDs may represent:
- Different regions or cities
- Separate product categories
- Distinct dispatch or warehouse locations
- Blinkit assigns Category Managers to approved vendors
- Compliance such as FSSAI, GST, and APOB is enforced at platform level
Because of this structure, Vendor ID enablement is mandatory before Base integration.
Vendor ID Enablement: Mandatory First Step
Vendor ID enablement is the process where Blinkit internally whitelists a vendor’s ID for use with the Base.com platform. Without this approval, Base cannot fetch purchase orders or allow fulfillment actions.
This step ensures:
- Only approved vendors can access PO data
- Fulfillment actions align with Blinkit’s partner model
- Dispatch locations are properly mapped
Who initiates enablement?
Currently:
- Blinkit performs the technical enablement
- Sellers do not submit technical enablement themselves
Important points:
- Each Vendor ID must be enabled separately
- Enablement is linked to unique dispatch locations
- Integration cannot proceed without confirmation
- Vendor IDs not enabled will fail validation in Base
Typical timelines:
- Average: 3–5 business days
- Maximum: 1–2 weeks depending on Blinkit’s internal review
Integration Setup in Base
Once Blinkit confirms that Vendor IDs are enabled for Base, sellers can proceed with integration inside Base.
Prerequisites
Before adding the integration, ensure:
- Blinkit has approved and enabled your Vendor ID(s)
- You have the correct Vendor ID details
- Dispatch locations are finalized
- Internal operations team is aligned on PO handling
Step-by-Step Integration Walkthrough
Step 1: Log in to Base
The integration process begins by accessing your Base seller account.
You must log in using authorized seller credentials that have permission to manage integrations. These credentials are typically assigned to operations managers, supply chain heads, or platform admins within the organization. Only users with integration-level access can add or modify marketplace connections.
Once logged in, you land on the Base Dashboard, which serves as the central control panel for orders, inventory, dispatch, and integrations across all connected platforms.
This step ensures that:
- The integration is mapped to the correct seller account
- Vendor IDs are linked to the right operational entity
- All subsequent PO data flows into the correct Base workspace
Step 2: Navigate to Integrations
From the Base Dashboard, navigate to the integrations section using the following path:
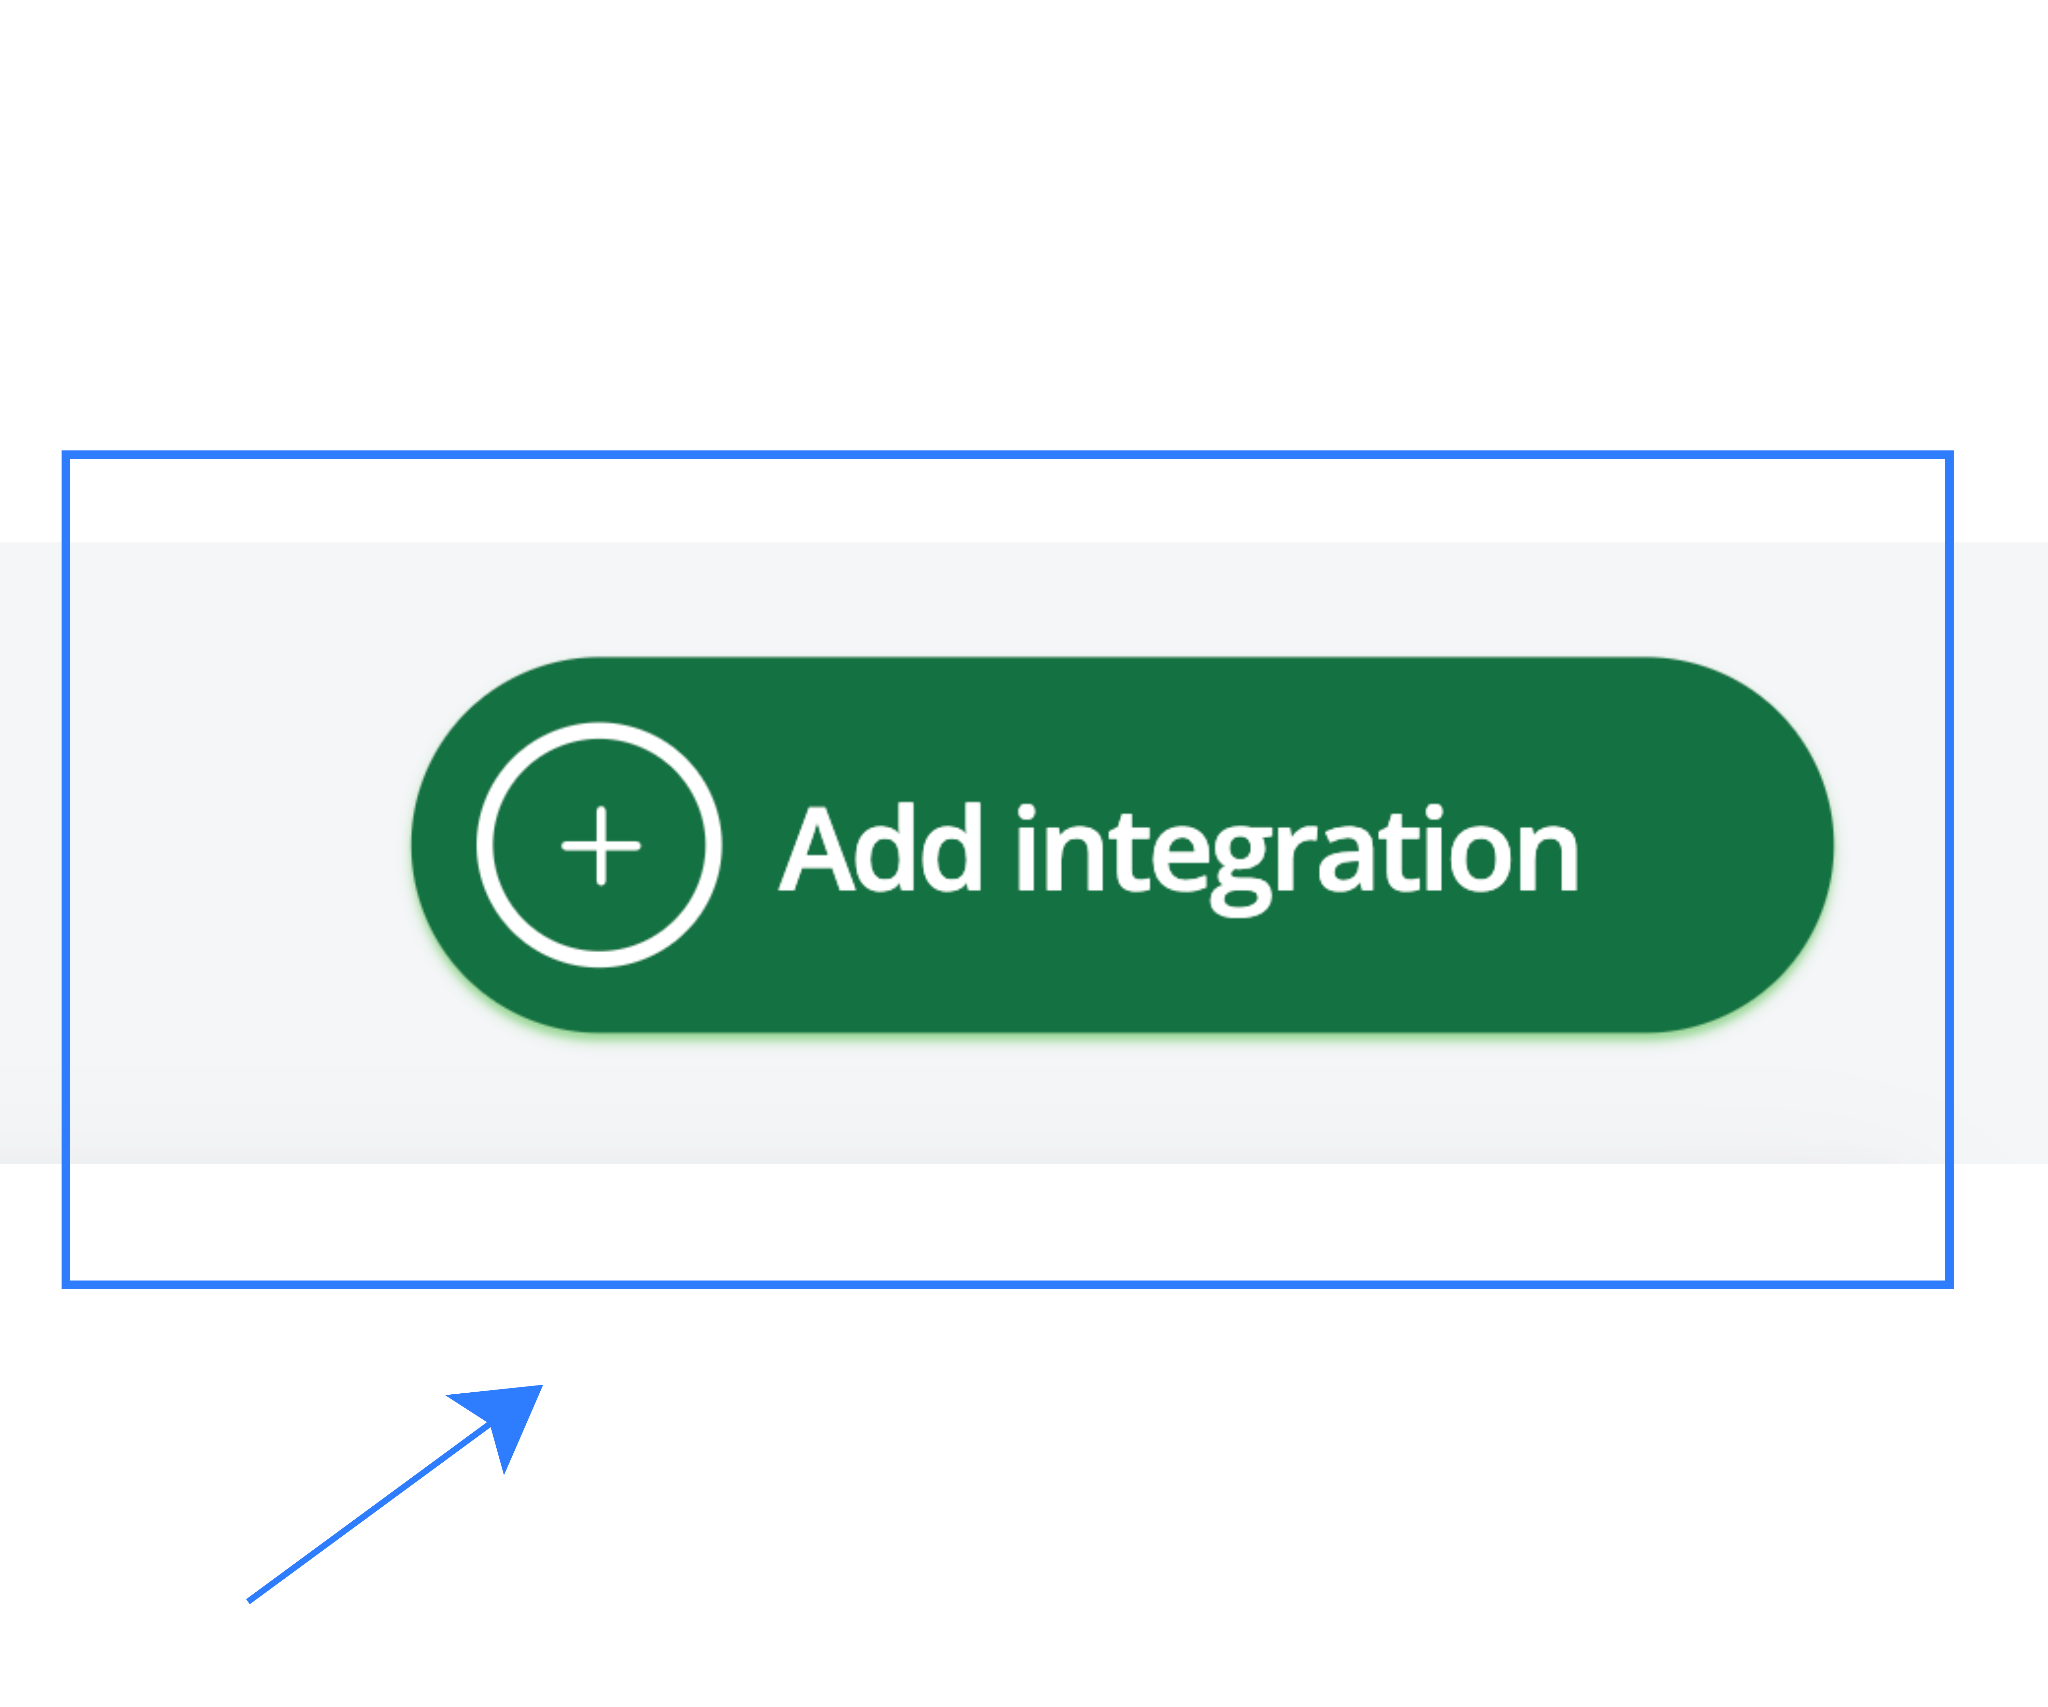
- Base Dashboard → Integrations → + Add Integration
The Integrations section is where Base manages all marketplace, courier, ERP, and partner connections. This screen lists both active and inactive integrations and allows sellers to add new platforms in a controlled manner.
Clicking + Add Integration opens the marketplace and partner catalog, where you can search for supported platforms like Blinkit.
This step is important because:
- Each integration is configured independently
- Permissions and data flow rules are applied at the integration level
- Base ensures no duplicate or conflicting integrations are created
Step 3: Select Blinkit
Inside the integration catalog:
- Search for Blinkit
- Locate the Blinkit integration tile
- Click on the tile to proceed
Selecting the Blinkit tile initiates a Blinkit-specific onboarding flow within Base. Unlike open marketplaces, Blinkit integrations are vendor-ID driven, so the setup screen is intentionally simple and focused.
At this stage:
- Base prepares to validate Vendor IDs against Blinkit
- No technical credentials are requested
- The system checks readiness for order and PO sync
This design reflects Blinkit’s invite-only, controlled vendor ecosystem, where access is governed centrally rather than through self-generated API keys.

Step 4: Enter Vendor ID(s)
This is the most critical step of the integration.
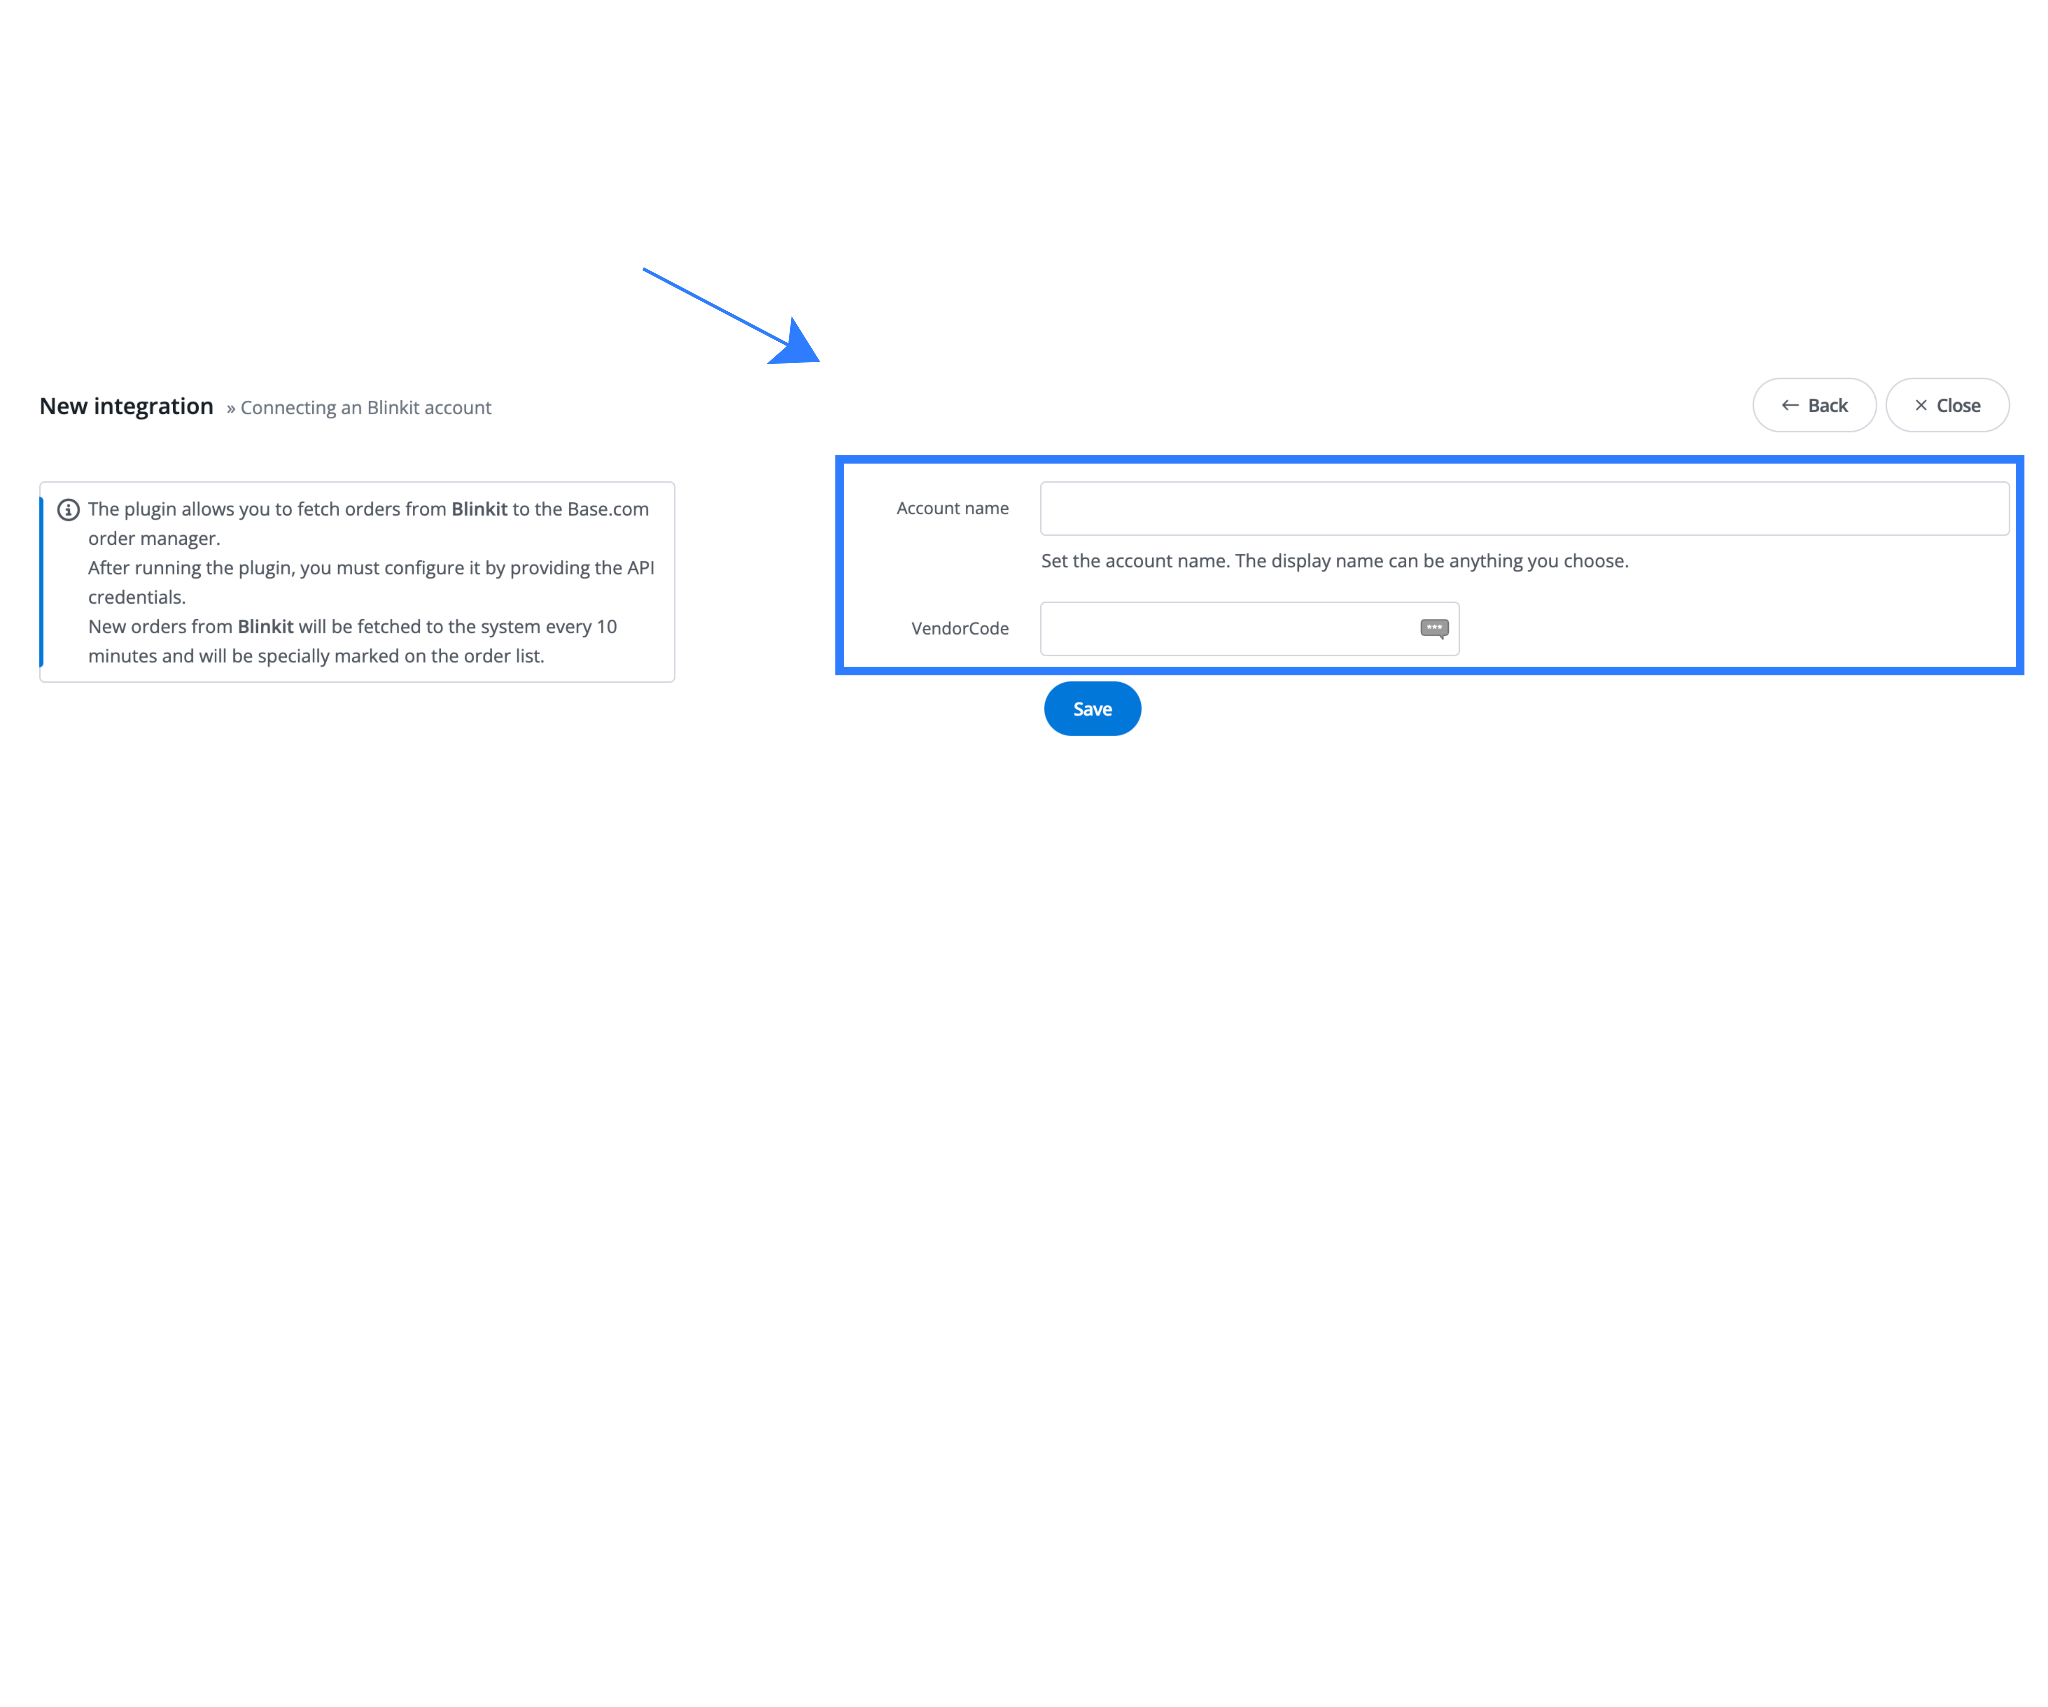
On the Blinkit integration setup screen, you will be asked to enter one or more Blinkit Vendor IDs that have already been whitelisted by Blinkit for Base.com.
What you need to do:
- Enter each enabled Vendor ID exactly as provided by Blinkit
- Add multiple Vendor IDs if your business operates across regions, categories, or dispatch locations
- Submit the Vendor ID(s) for validation
What Base does in the background:
- Base sends a validation request to Blinkit for each Vendor ID
- Blinkit confirms whether the Vendor ID is enabled for Base
- Dispatch location and fulfillment permissions are verified
Important points to note:
- No API keys, secrets, or tokens are required
- The Vendor ID alone is sufficient once Blinkit has approved it
- Vendor IDs that are not yet enabled will fail validation
- Each Vendor ID is treated as an independent fulfillment entity
This approach ensures:
- Secure, permission-based access to Blinkit POs
- Clean separation between different vendor operations
- Zero risk of unauthorized data access
Step 5: Integration Confirmation
Once all entered Vendor IDs are successfully validated, the integration moves into the active state.
What happens after validation:
- The integration status is marked as Active in Base
- Blinkit order and PO endpoints are automatically enabled
- Base begins fetching Blinkit purchase orders linked to the Vendor ID(s)
- PO data starts appearing in the Base order and fulfillment panels
From this point onward:
- Blinkit POs sync automatically without manual intervention
- Appointment scheduling, ASN, and dispatch workflows become available
- PO lifecycle tracking (completed, partial, ongoing, expired) is enabled
- Item or article-wise fulfillment visibility is activated
No additional configuration is required unless:
- New Vendor IDs are added later
- Dispatch locations change
- Blinkit introduces new fulfillment rules

Order Fulfillment Workflow in Base
Once the Blinkit integration is active, all Blinkit purchase orders automatically flow into Base, making it the single source of truth for fulfillment execution. Operations, warehouse, and planning teams no longer need to rely on multiple dashboards or offline trackers. One unified system manages every action—from order receipt to final dispatch—ensuring accuracy, speed, and compliance in Blinkit’s high-velocity quick commerce environment.
This centralized workflow ensures teams always operate on real-time PO data, reducing delays, miscommunication, and fulfillment risk while improving overall execution discipline.
1. Purchase Order Data Sync in Base
After integration, Base continuously syncs all critical PO data from Blinkit in real time. This includes the complete purchase order structure along with granular details required for execution.
Base syncs purchase orders along with article or SKU-level line items, ensuring item-wise quantities and specifications are clearly visible to operations teams. Delivery schedules and appointment windows are also pulled into Base, allowing teams to plan dispatch accurately. In addition, Base captures PO expiry timelines, which are crucial in Blinkit’s time-bound fulfillment model, and maps each PO to the relevant dispatch location associated with the vendor ID.
By consolidating this information in one system, Base ensures that operational teams are always working with the latest and most accurate data, eliminating the risk of outdated instructions or missed commitments.
2. Appointment Scheduling from Base
Blinkit follows a strict appointment-based PO fulfillment model, where vendors must deliver within predefined delivery windows. Base fully supports this model by enabling sellers to manage appointment scheduling directly from the platform.
Using Base, sellers can view all available delivery windows associated with each PO and select suitable slots based on warehouse readiness and transport planning. Users can schedule appointments directly from the Base panel without relying on manual emails or external coordination. They can then align dispatch plans precisely with Blinkit’s timelines, ensuring adherence to delivery commitments.
This structured scheduling process significantly reduces missed delivery slots, minimizes manual coordination with Blinkit hubs, and helps sellers avoid penalties or PO cancellations caused by late or incorrect scheduling.
3. ASN and Dispatch Management
Before dispatching goods, Base enables sellers to manage ASN (Advance Shipping Notice) and dispatch planning in a controlled and auditable manner.
Sellers can generate ASN directly from the Base panel and send it to Blinkit prior to dispatch. Base creates the ASN at the article or SKU level and communicates the exact quantities being shipped in advance. Once the system generates the ASN, it locks the dispatched quantities to prevent accidental over- or under-dispatch. Base also maps these quantities clearly to the scheduled dispatch date, ensuring consistency across planning, execution, and reporting.
This ASN-driven process ensures smoother goods receiving at Blinkit hubs, reduces discrepancies during GRN, and strengthens trust between vendors and the Blinkit fulfillment network.
4. PO Tracking and Performance Visibility
A key advantage of the Blinkit + Base integration is the depth of PO-level and item-level visibility it provides throughout the fulfillment lifecycle.
Base tracks each PO through clearly defined lifecycle states, including completed, partially fulfilled, cancelled, ongoing within the expiry window, and expired. This allows teams to immediately identify which POs require action and which are at risk of non-compliance.
In addition to status tracking, Base provides performance metrics such as item-wise fulfillment accuracy, on-time dispatch tracking, and fill rate percentages. Sellers can analyze these metrics by vendor ID and dispatch location to gain detailed insights into operational performance across regions and hubs.
This visibility is essential for internal performance reviews, structured discussions with Blinkit Category Managers, and long-term capacity and inventory planning.
5. Managing Multiple Vendor IDs and Dispatch Locations
Blinkit vendors often operate across multiple regions, categories, and fulfillment centers. Base is built to handle this complexity without compromising clarity or control.
Sellers can add multiple Blinkit Vendor IDs under a single Base account, with each Vendor ID mapped to its respective dispatch location. The system tracks purchase orders independently for each Vendor ID, allowing teams to manage execution at a granular level. At the same time, Base provides consolidated reporting across all Vendor IDs, offering leadership a unified view of overall performance.
This structure enables sellers to scale their Blinkit operations confidently while maintaining complete visibility and operational discipline.
6. Compliance and Operational Safeguards
Blinkit enforces compliance centrally across its vendor ecosystem, and Base ensures that every fulfillment action aligns with these rules during execution.
Base supports GST-aligned invoicing flows, FSSAI-compliant SKU handling, and APOB-compliant dispatch tracking. It also enforces PO expiry rules and validates dispatch actions against scheduled appointments. These safeguards ensure that no fulfillment step violates Blinkit’s platform requirements.
By working entirely within Blinkit’s operational framework, Base eliminates compliance conflicts while providing sellers with a structured, reliable execution layer for quick commerce fulfillment.
Testing the Integration
After setup, sellers should run a controlled test.
Recommended checks:
- Test PO received in Base
- Article quantities visible correctly
- Appointment scheduling functional
- ASN generation successful
- Dispatch reflected correctly
- PO status updated post-fulfillment
Testing ensures smooth scale-up once live POs increase.
Final Thoughts
The Blinkit + Base integration is designed for high-velocity FMCG fulfillment, where speed, accuracy, and visibility are critical. By centralizing PO execution, scheduling, ASN, and performance tracking inside Base, while fully respecting Blinkit’s platform controls, sellers gain operational clarity without compliance risk.
For Blinkit vendors operating at scale, Base becomes the operational control tower for quick commerce fulfillment.
Click here to integrate Base Printer with Base.com.
Frequently Asked Questions (FAQs)
Q1: How do I connect my Blinkit vendor ID with Base.com?
To connect your Blinkit vendor ID with Base, you must first request Blinkit to whitelist your vendor ID for the Base.com platform. This enablement is handled by Blinkit internally. Once confirmation is received, you can add the vendor ID inside Base under the Integrations section to complete setup.
Q2: Can one Blinkit seller have multiple vendor IDs on Base?
Yes, a single Blinkit seller can operate multiple vendor IDs, often for different regions, categories, or dispatch locations. Each vendor ID must be individually enabled by Blinkit for Base. Once enabled, all vendor IDs can be added separately within Base and managed under one seller account.
Q3: Why can’t I just add the vendor ID myself on Base?
Blinkit follows a controlled, invite-only vendor ecosystem. Vendor IDs must be explicitly enabled by Blinkit for any external system, including Base. Until Blinkit completes this internal enablement, Base cannot activate order endpoints or accept PO data, even if the vendor ID is entered manually.
Q4: How long does Blinkit vendor enablement usually take?
Vendor ID enablement timelines vary depending on Blinkit’s internal processes. In most cases, enablement takes a few business days. However, during peak periods or additional compliance reviews, it may take up to one or two weeks before the vendor ID is fully enabled for Base integration.
Q5: What should I do if orders are not syncing after integration?
If orders are not syncing, first verify that the vendor ID is correctly whitelisted by Blinkit and entered accurately in Base. Check whether order endpoints are active and dispatch locations are mapped correctly. If the issue persists, use Base’s vendor ID diagnostics or contact Base support for further validation.