DPD Meta is an integration that allows you to send parcels through the DPD network across many European countries from one place. Through the connection with BaseLinker, you can manage labels, track shipment status, and use services of various DPD branches (including DPD Poland, DPD Germany, Chronopost, SEUR). Below you will find the instructions for connecting and configuring the integration.
How to connect the DPD Meta integration?
- Log in to your BaseLinker panel and go to the Integrations section.
- Click the green button + Add integration
- From the list of available integrations, select DPD Meta. You can find the plugin in the Couriers section.
- After logging in, complete the shipping account form:
- Account name – any name displayed in the system;
- Login / Password – DPD API login details (contact DPD Meta to obtain them);
- DPD Business Unit – selection of the DPD branch (e.g., DPD Poland, DPD Germany, BRT IT (Bartolini), Chronopost France, etc.);
- Customer ID – customer identifier (contact DPD Meta);
- Client account number – customer account number in the DPD system (contact DPD Meta);
- Client sub-account number – optional;
- Payer – sender, recipient, or third party;
- Sender:
- Phone,
- Email,
- Company name (for units requiring full address),
- Contact person,
- Street,
- House number,
- Postal code,
- City,
- Country;
- Sender address ID – for DPD CZ, SK, HU, SPEEDY BG/RO, DPD EE/LT/LV units (address defined in the courier’s system);
- Incoterms – required for international shipments (DAP, DDP, EX Works, etc.);
- Exporter data – name, contact person, street, house number, postal code, city, country, phone, email;
- Parcel collection location – if “Shipping from sender’s address” is selected:
- Collection account ID (for selected units),
- Name, street, house number, postal code, city, country,
- Contact person, phone, email, fax;
- Shipping depot ID – required for BRT IT (Bartolini);
- COD Data (for DPD CZ, SK, HU):
- Collection type (cash, check, card, default),
- COD account number (IBAN),
- Bank code,
- Bank name,
- Account owner;
- Domestic / International service – default service for domestic and international shipments;
- Reference number – default source of the reference number (required for BRT IT (Bartolini));
- Reference number 2 – second reference number;
- Combining company name and recipient – option to merge data;
- Label format – print type (PDF, ZPL, etc.);
- Print size – label page format;
- Print page layout – orientation and arrangement of labels;
- Collection type – full label, QR code, or both;
- Fixed packaging weight – calculation method: percentage or fixed value; both values are added to the weight of each sub-package. The percentage value is calculated separately for each sub-package. Provide the fixed value in kg;
- Fixed packaging weight value – value consistent with the option selected above (number only, without %/unit);
- Conditional fields (visible depending on the business unit):
- Client ID / Client Secret – for DPD Portugal, SEUR (ES);
- SFTP login / password – for DPD Slovakia (status update);
- DPD UK – System – API selection (DPD.co.uk API or DPD Local API) for DPD UK;
- Additional barcode on the label – for SPEEDY (BG, RO);
- Additional data – for SEUR (ES), DPD SK, DPD UK.
List of DPD branches supported in the integration:
| DPD Unit | Sending parcels | Downloading labels | Tracking | Manifests |
|---|---|---|---|---|
| BRT IT (Bartolini) | X | X | X | X |
| Chronopost France | X | X | X | |
| DPD Austria | X | X | ||
| DPD Belgium | X | X | ||
| DPD Bulgaria (SPEEDY) | X | X | ||
| DPD Croatia | X | X | X | |
| DPD Czech Republic | X | X | X | |
| DPD Estonia | X | X | X | |
| DPD Germany | X | X | X | |
| DPD Hungary | X | X | X | |
| DPD Ireland | X | X | ||
| DPD Latvia | X | X | X | |
| DPD Lithuania | X | X | X | |
| DPD Netherlands | X | X | ||
| DPD Poland | X | X | X | |
| DPD Portugal | X | X | X | X |
| DPD Romania (SPEEDY) | X | X | X | |
| DPD Slovakia | X | X | X | |
| DPD Slovenia | X | X | X | |
| DPD Switzerland | X | X | ||
| DPD UK | X | X | X | |
| SEUR (ES) | X | X |
“DPD Meta” Integration
If you have successfully connected the integration, after going to Integrations → “DPD Meta”, you will see the sections described below.
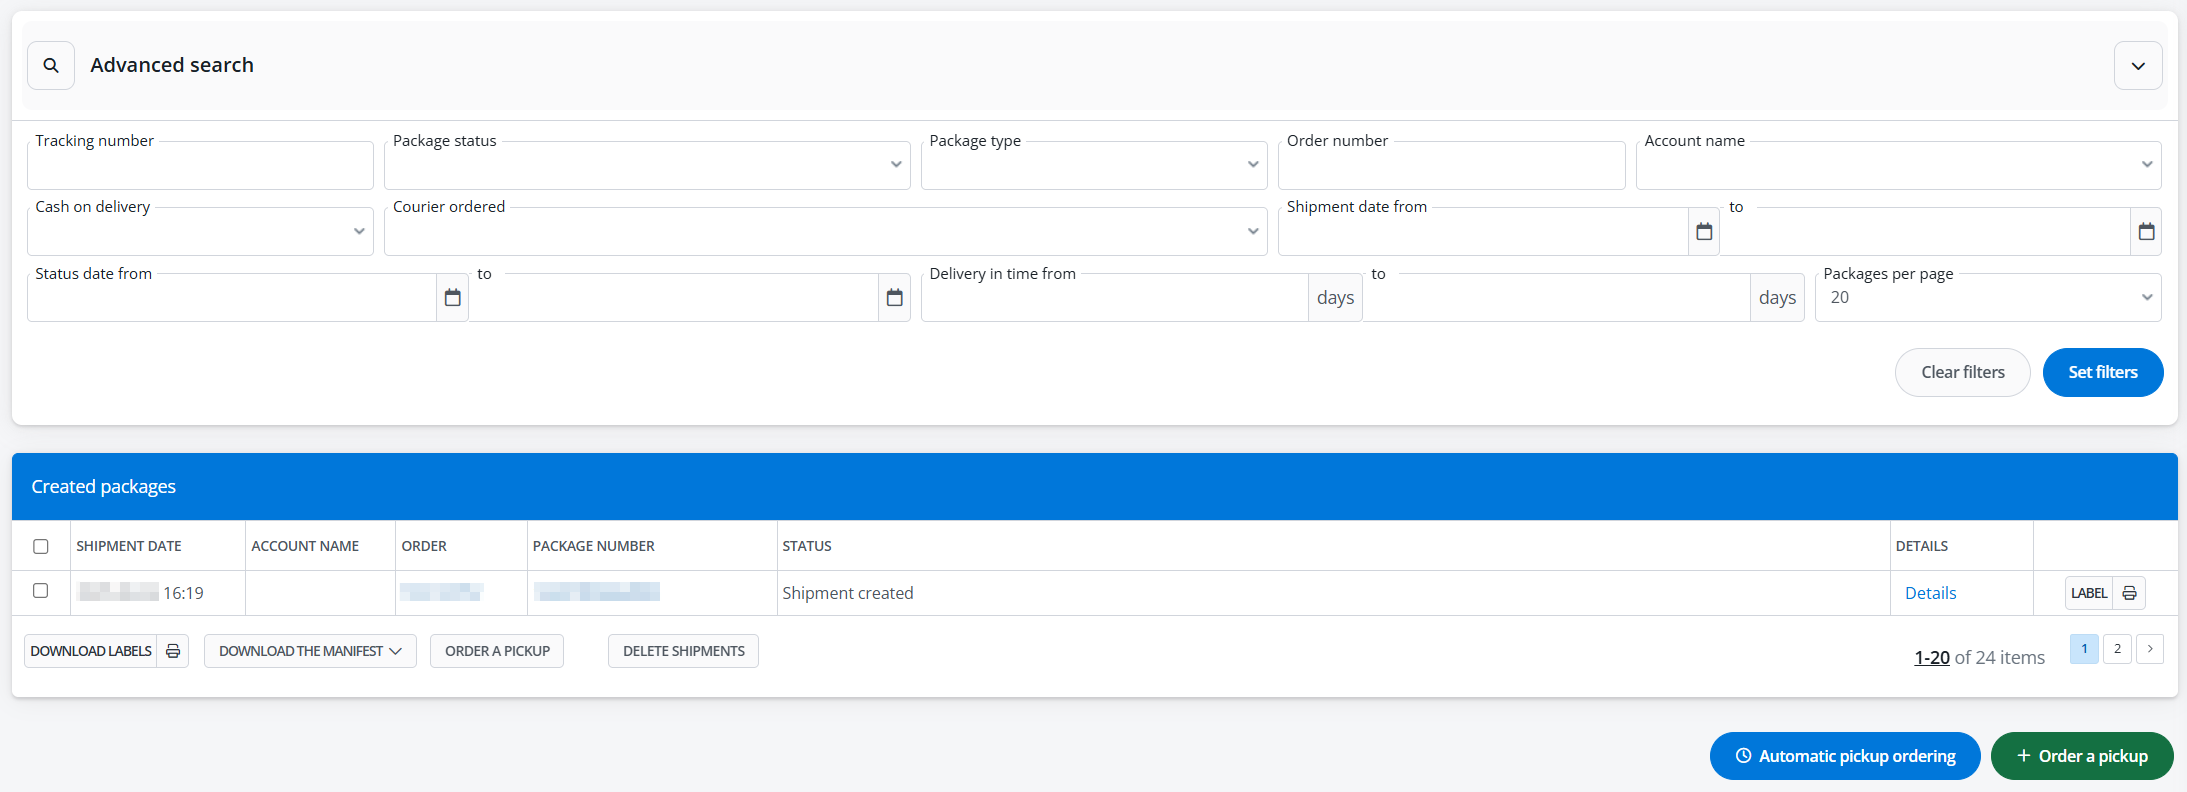
Created Shipments and Courier Ordering
This is where the list of all shipments sent using the DPD Meta integration is available. For each of them, you can download the label, check the status, and order a courier. Above the table, Advanced Search is available, where you can filter selected parcels.
Accounts in the courier system
This is where the list of all courier accounts connected to the system is available. If you have more than one, you can change their positions using the arrows on the right side of the table. It is also possible to clone, edit, and delete each account. In the editing window, all fields that were available when connecting the integration are accessible.

Above the table, there is a +Add new account button which you can use to connect another DPD Meta account to the system.
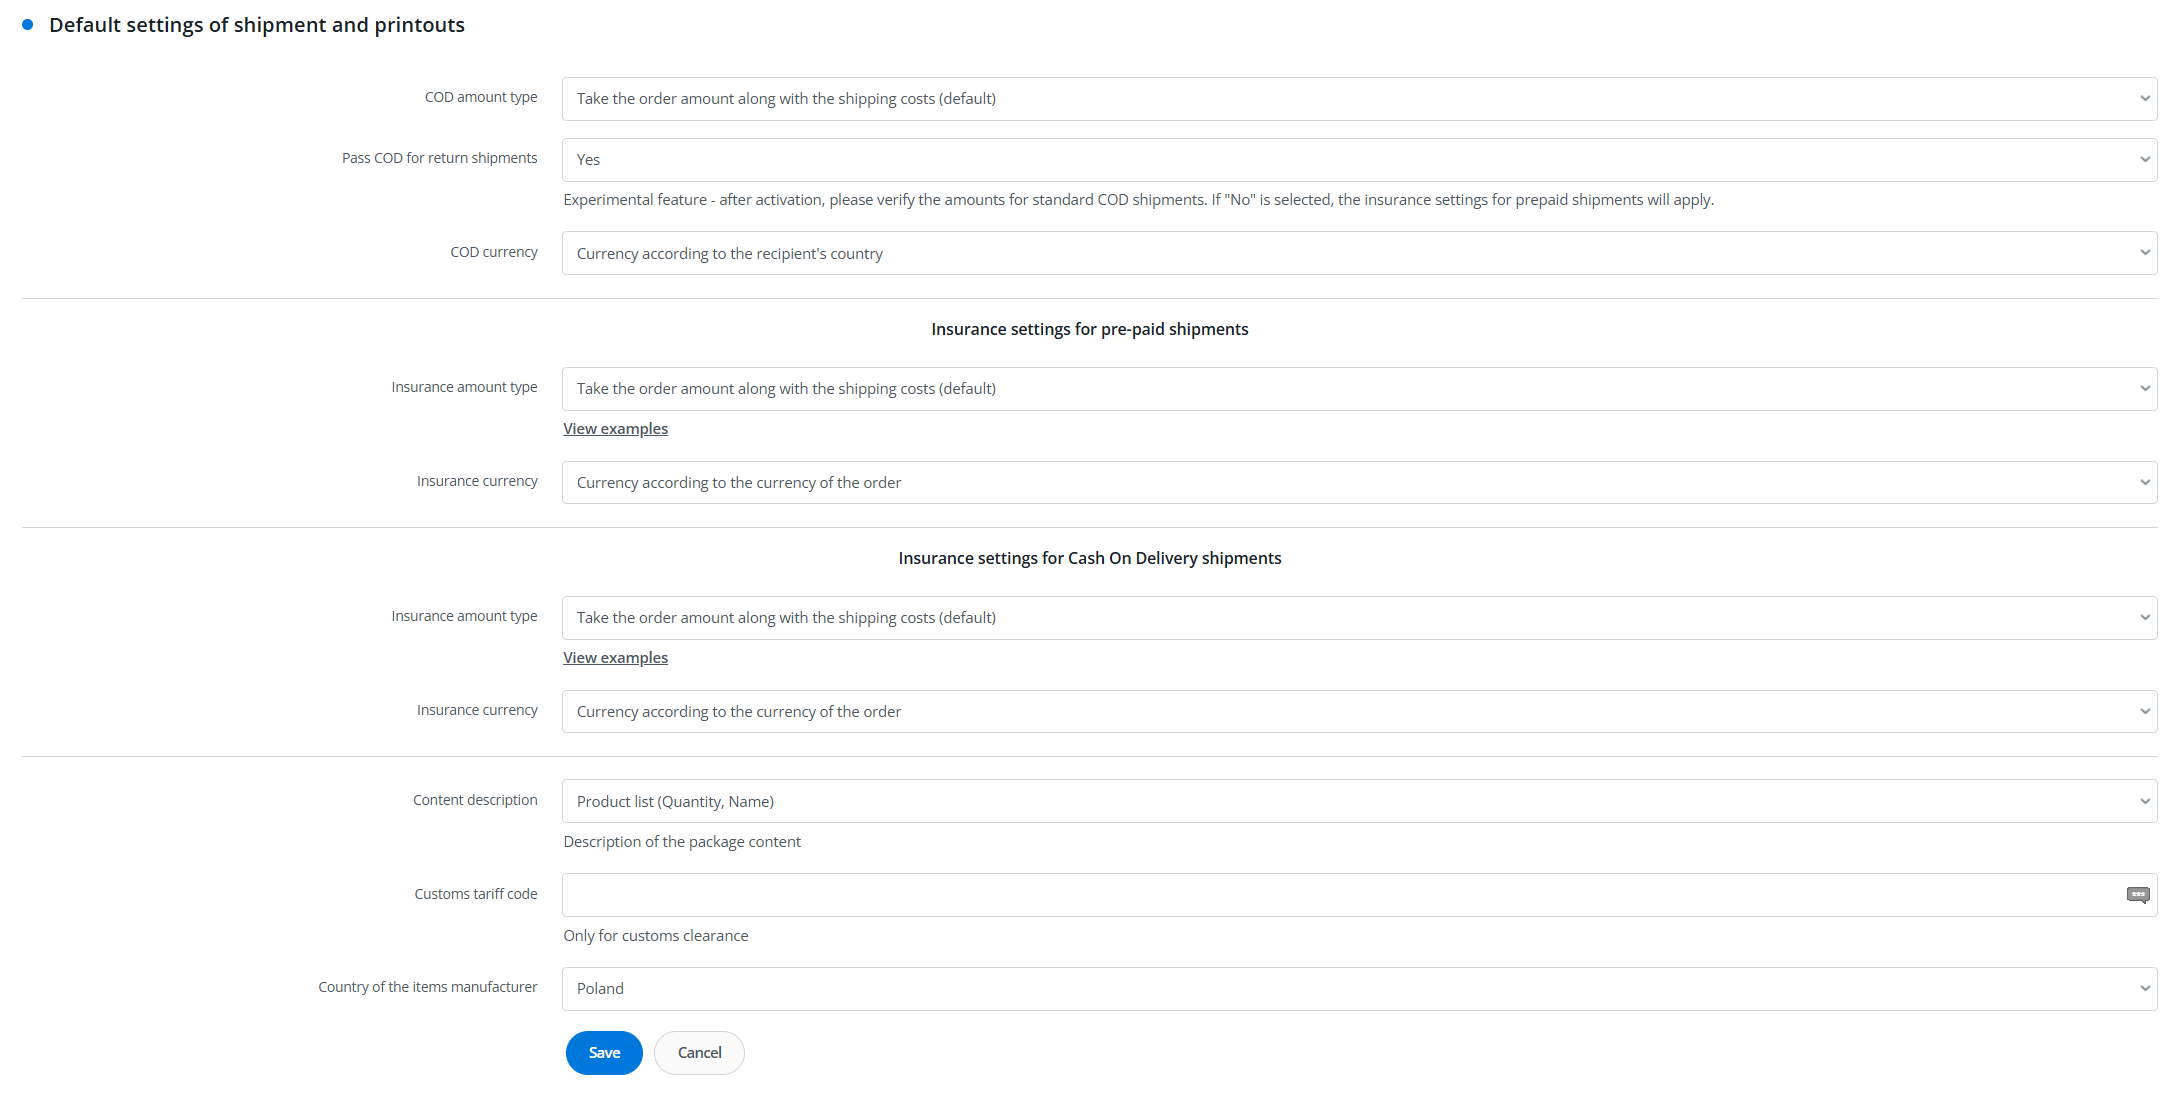
Default Shipment and Print Settings
The settings defined in this section will be applied by default to all shipments sent using the integration. However, they are subordinate – if you enter different values on the shipment submission form or in an automatic action, the values defined here will be overwritten.
Dimension and Weight Templates
In this section, you can define the package dimensions and weight using the +Add new template button. A template created in this way will be available for selection when submitting a shipment.
Sending parcels
For the DPD Meta integration, similar to other courier integrations, parcel submission is possible from the order card, the order list (or returns), and also using automatic actions.