BaseLinker provides several dozen types of automatic actions that can be triggered by:
- system events (e.g., order fetched, order paid);
- custom events (triggered by the user).
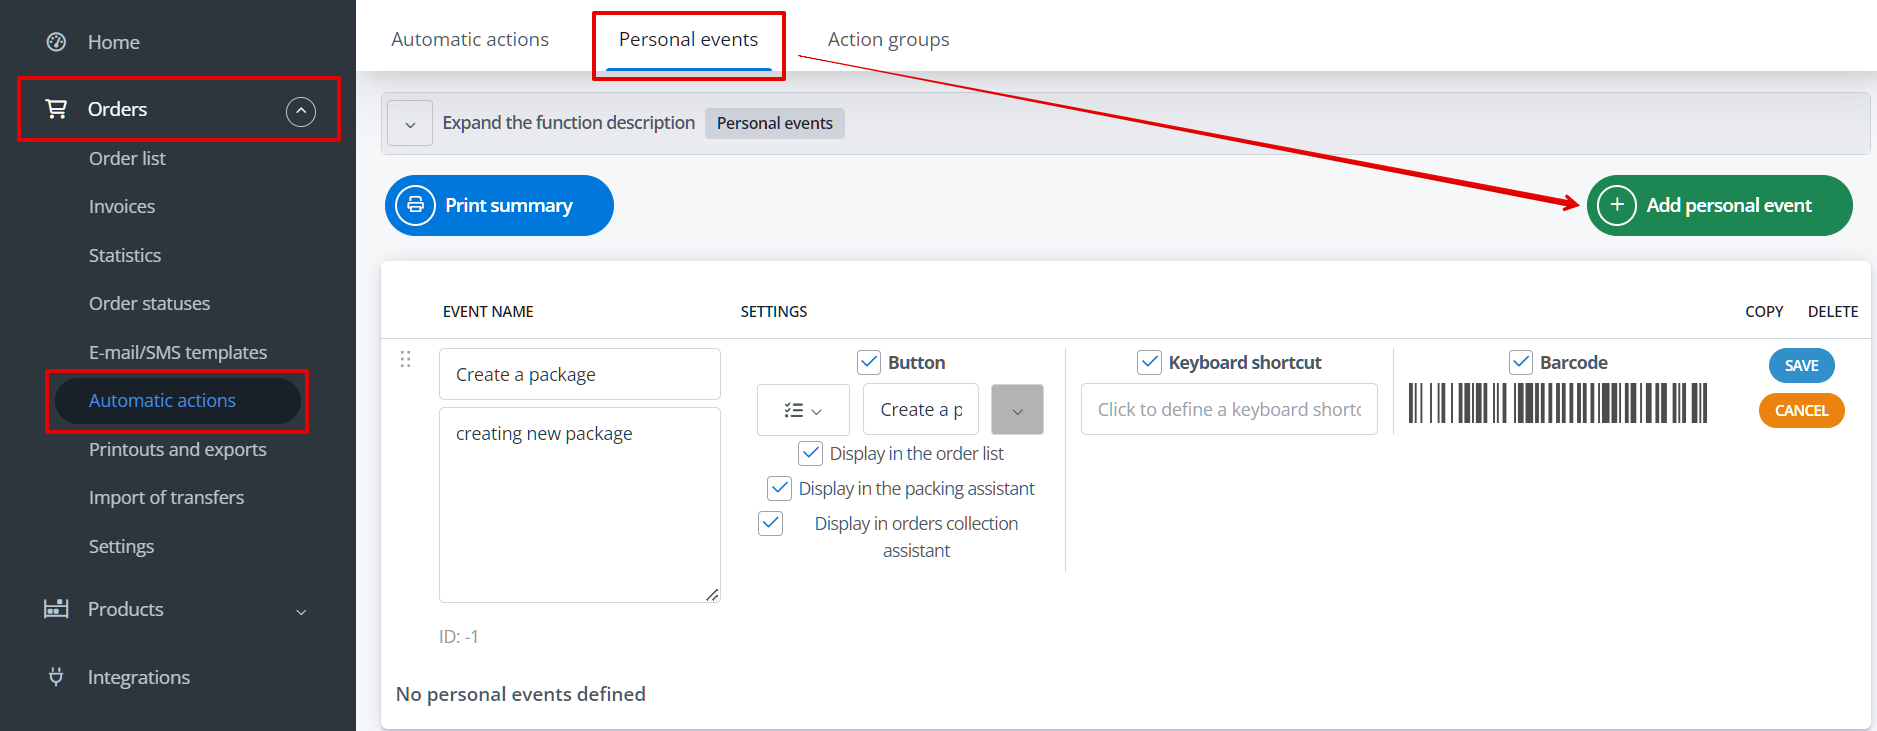
You can configure custom events in the Orders/Products section → Automatic actions → Custom events.
Unlike system events, actions associated with custom events are triggered only when the user:
- creates automation invoking the custom event;
- manually clicks the created button;
- chooses a custom keyboard shortcut;
- scans the barcode of the event.
How to create a custom event?
- Add an event in the Orders/Products section → Automatic actions → Custom events → +Add custom event.
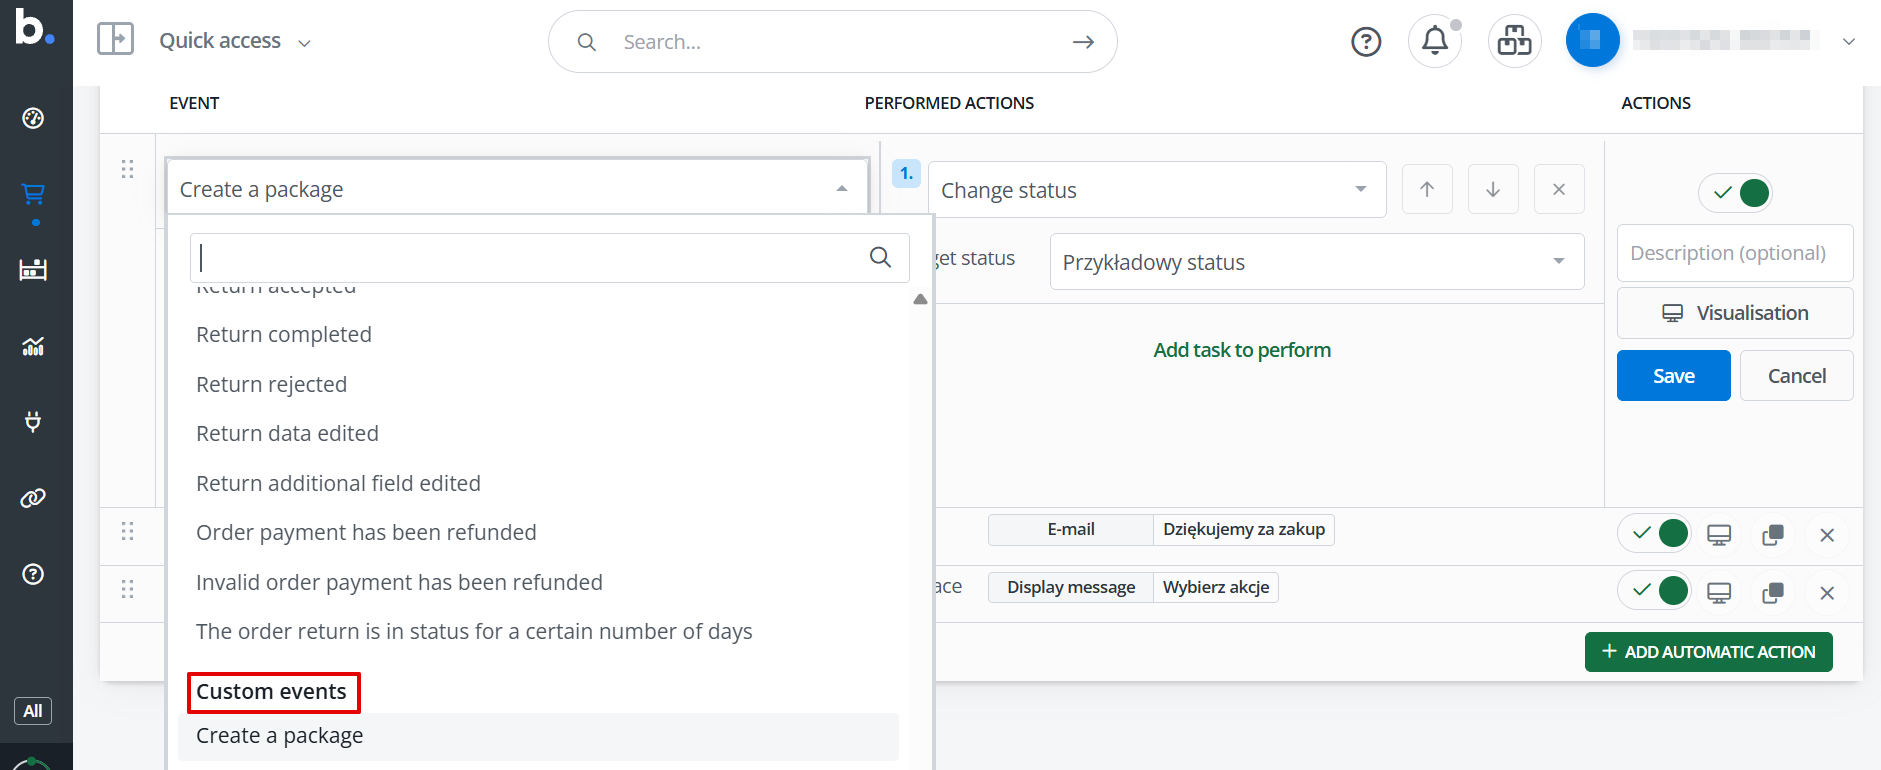
- Go back to the Orders/Products section → Automatic actions. Your custom events will appear on the dropdown list of available events (at the very end). Proceed as usual, just like with regular events – add conditions and select the actions to be performed.
- Done! If you’ve created your custom button, you’ll see it on the order card and in the list of orders under the Actions button.
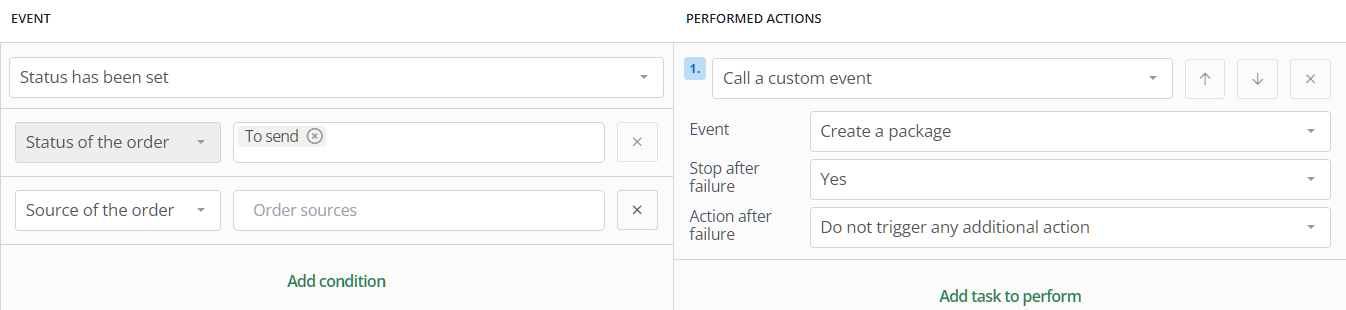
Automation triggering a custom event
A custom event can be triggered automatically by a system event. This feature allows for the generation of complex sequences of automated actions using conditional logic (if/else).
Button
A custom event can be triggered by a button available in selected places of the panel. For each button, you can choose an icon, color, and name.
Such a button can be displayed:
- in Picking Assistant,
- in Packaging Assistant,
- in Returns Assistant,
- on the order card,
- on the return card,
- on order page,
- on the return page,
- on the order list,
- on the return list.
For the first 5 locations, you can additionally condition the display of such a button depending on the status of the order:
- Always display regardless of order status,
- Display only if the order is in one of the statuses listed below,
- Display only if the order is in a status other than those listed below;
based on the workstation the employee is logged into:
- Display regardless of workstation,
- Display only if a user from the workstations listed below is logged in,
- Display only if a user from workstations other than those listed below is logged in;
or only to selected employees:
- Display regardless of employee profile,
- Display only if a user from the profiles listed below is logged in,
- Display only if a user other than those listed below is logged in.

In the section Orders → Settings → Order card → Merge custom events buttons, there is an option to group buttons displayed on the order card.
Custom event buttons will also be available on the list of orders/returns under the Actions button.

Clicking the button will trigger the actions that have been configured for the custom event.
Keyboard shortcut
In the Orders/Products → Automatic actions → Custom events section, you can set which key combination should trigger an action (e.g., ‘ALT + P’).
You can use keyboard shortcuts both from the order list and the order card. Selecting a key combination from the order list will perform actions for the currently selected orders at that moment.
However, we recommend avoiding shortcuts that are equivalents of letters or numbers, such as ‘B’ or ‘SHIFT + B’. Otherwise, there may be issues when scanning codes that contain letters or numbers associated with such shortcuts.
Barcode
During the creation/editing of a custom event, you can also enable its triggering using a generated barcode.
You can scan a barcode from the order/return list, order/return card, as well as in the Picking and Packing Assistant.
When you scan a barcode from the order or return list, the automation will be executed for all currently selected orders. When you scan a barcode on the order/return card, the action will only be executed for that specific order.
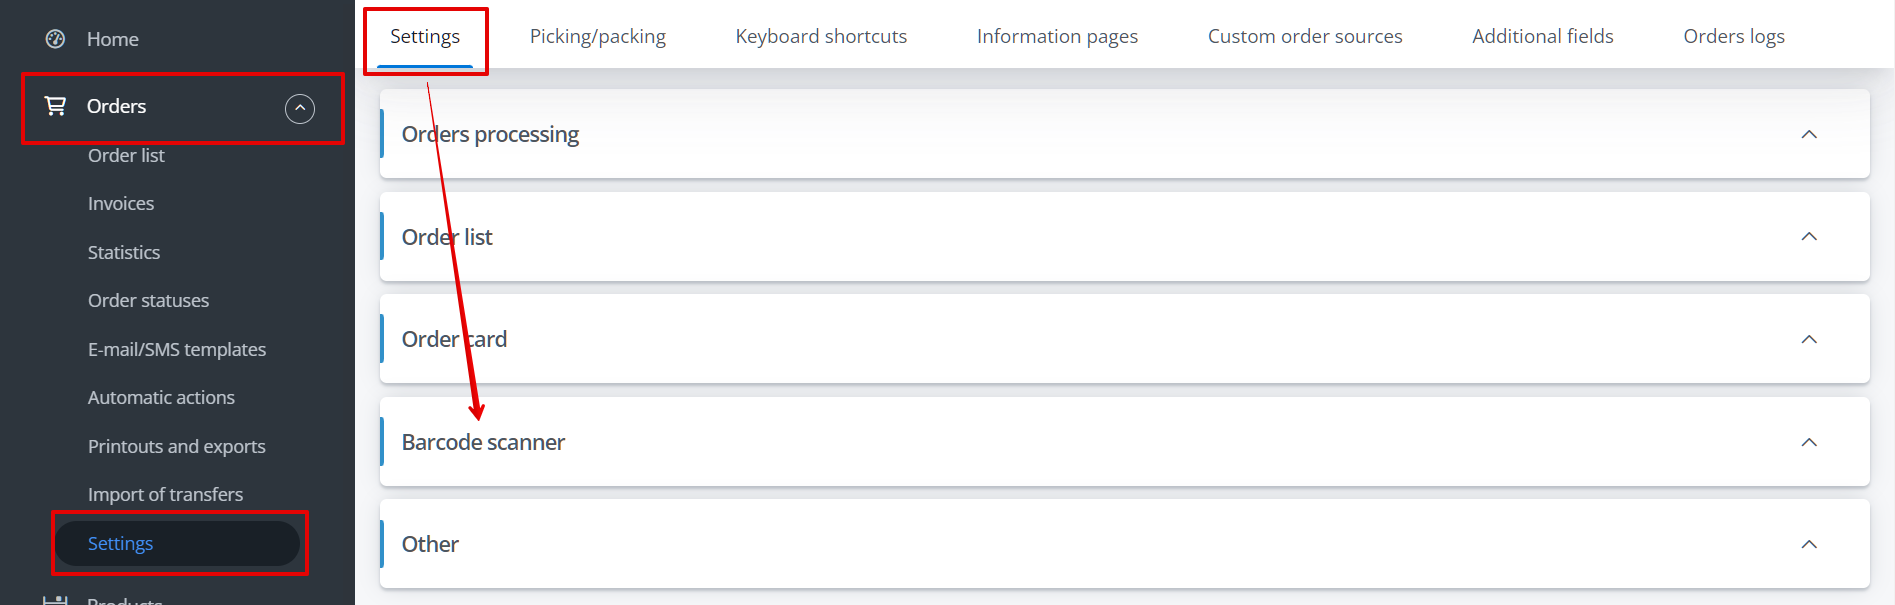
In the Orders → Settings → Barcode scanner section, you can choose a custom event that will be triggered after scanning the order or shipment barcode. Order or shipment barcode