Myntra PPMP is a fulfilment model that doesn’t require sellers to block inventory. Several sellers favor it on account of greater control, quicker payments and returns resolution. Unlike JIT, Myntra PPMP does not charge sellers pick-and-pack fees. As a purely B2C model, some benefits of using PPMP are :
- Complete control over order fulfillment, including the ability to select the best and fastest shipping method.
- Sellers are paid within 7 days of the order being delivered.
- Access to priority seller support for assistance pertaining to orders.
- Reduced cancellations.
- Payment files can be directly uploaded onto the PPMP portal to validate transactions.
- Easier tracking into pending returns and issuing refunds within 2 business days.
Pre-requisites
- If you are using an OMS (order management system) partner, make sure to raise a ticket to the Myntra team to request migration.
- You will need to process pending orders and reduce your stock to 0 which will be validated by the Myntra team before accepting migration requests.
Integration Configuration
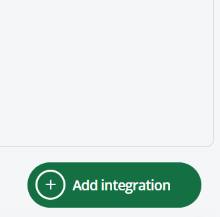
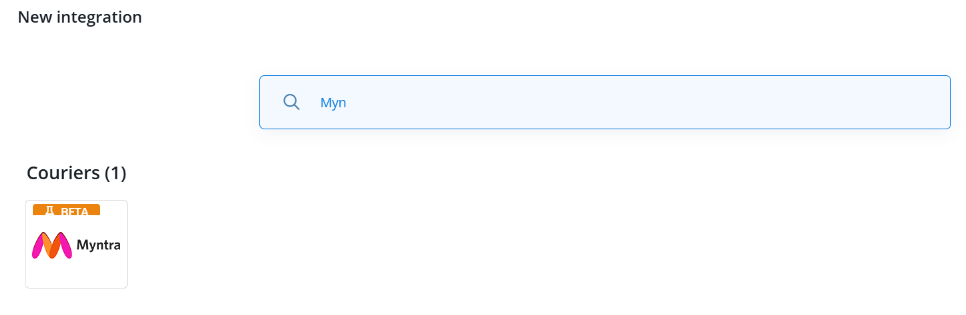
- To start using the Myntra Pure Play Marketplace integration (PPMP / Dropship), use the Add integration button to find and select it from the Marketplace section.
 2.Enter the Account name of your choice. Initially, the merchant ID and Client Secret fields will be empty. The store code aka warehouse code is an optional field that the seller can fill using their own code or request Myntra to assign a random code. It is compulsory to enter the SLA,i.e. the length of time in days to fulfill orders. Myntra alerts you and prompts action if the days are exceeded. Remember to save the setting.
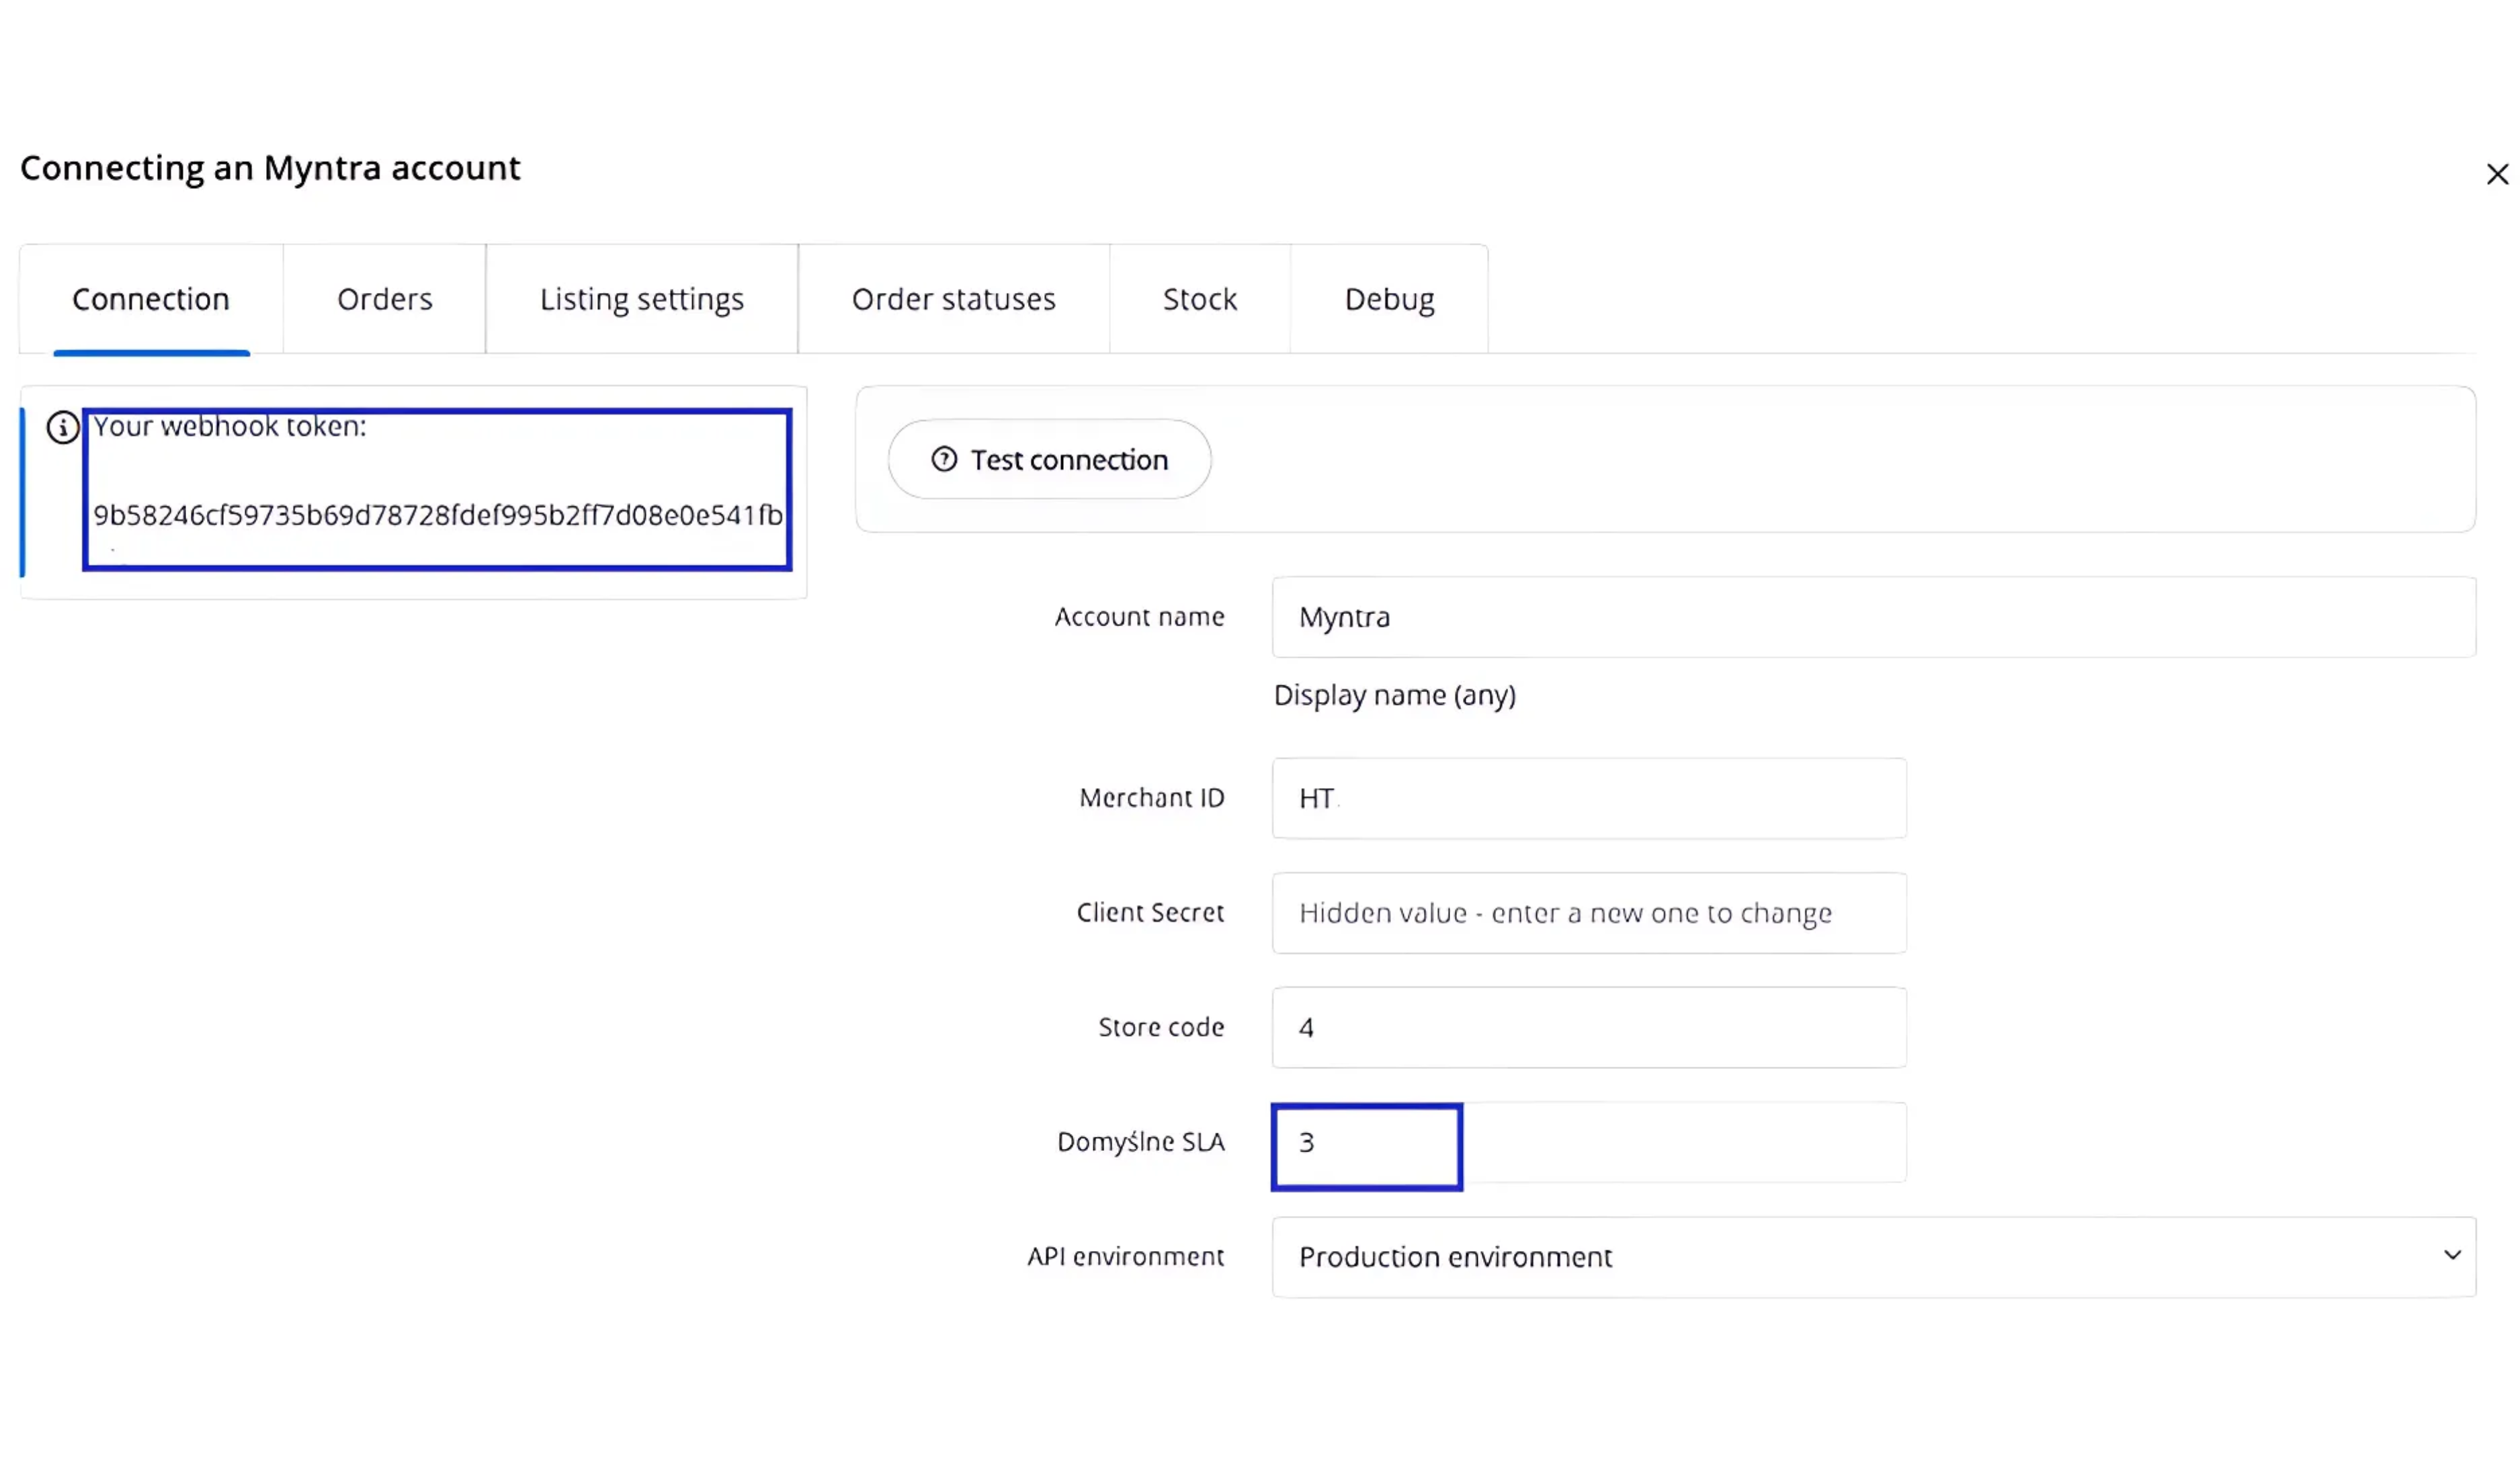
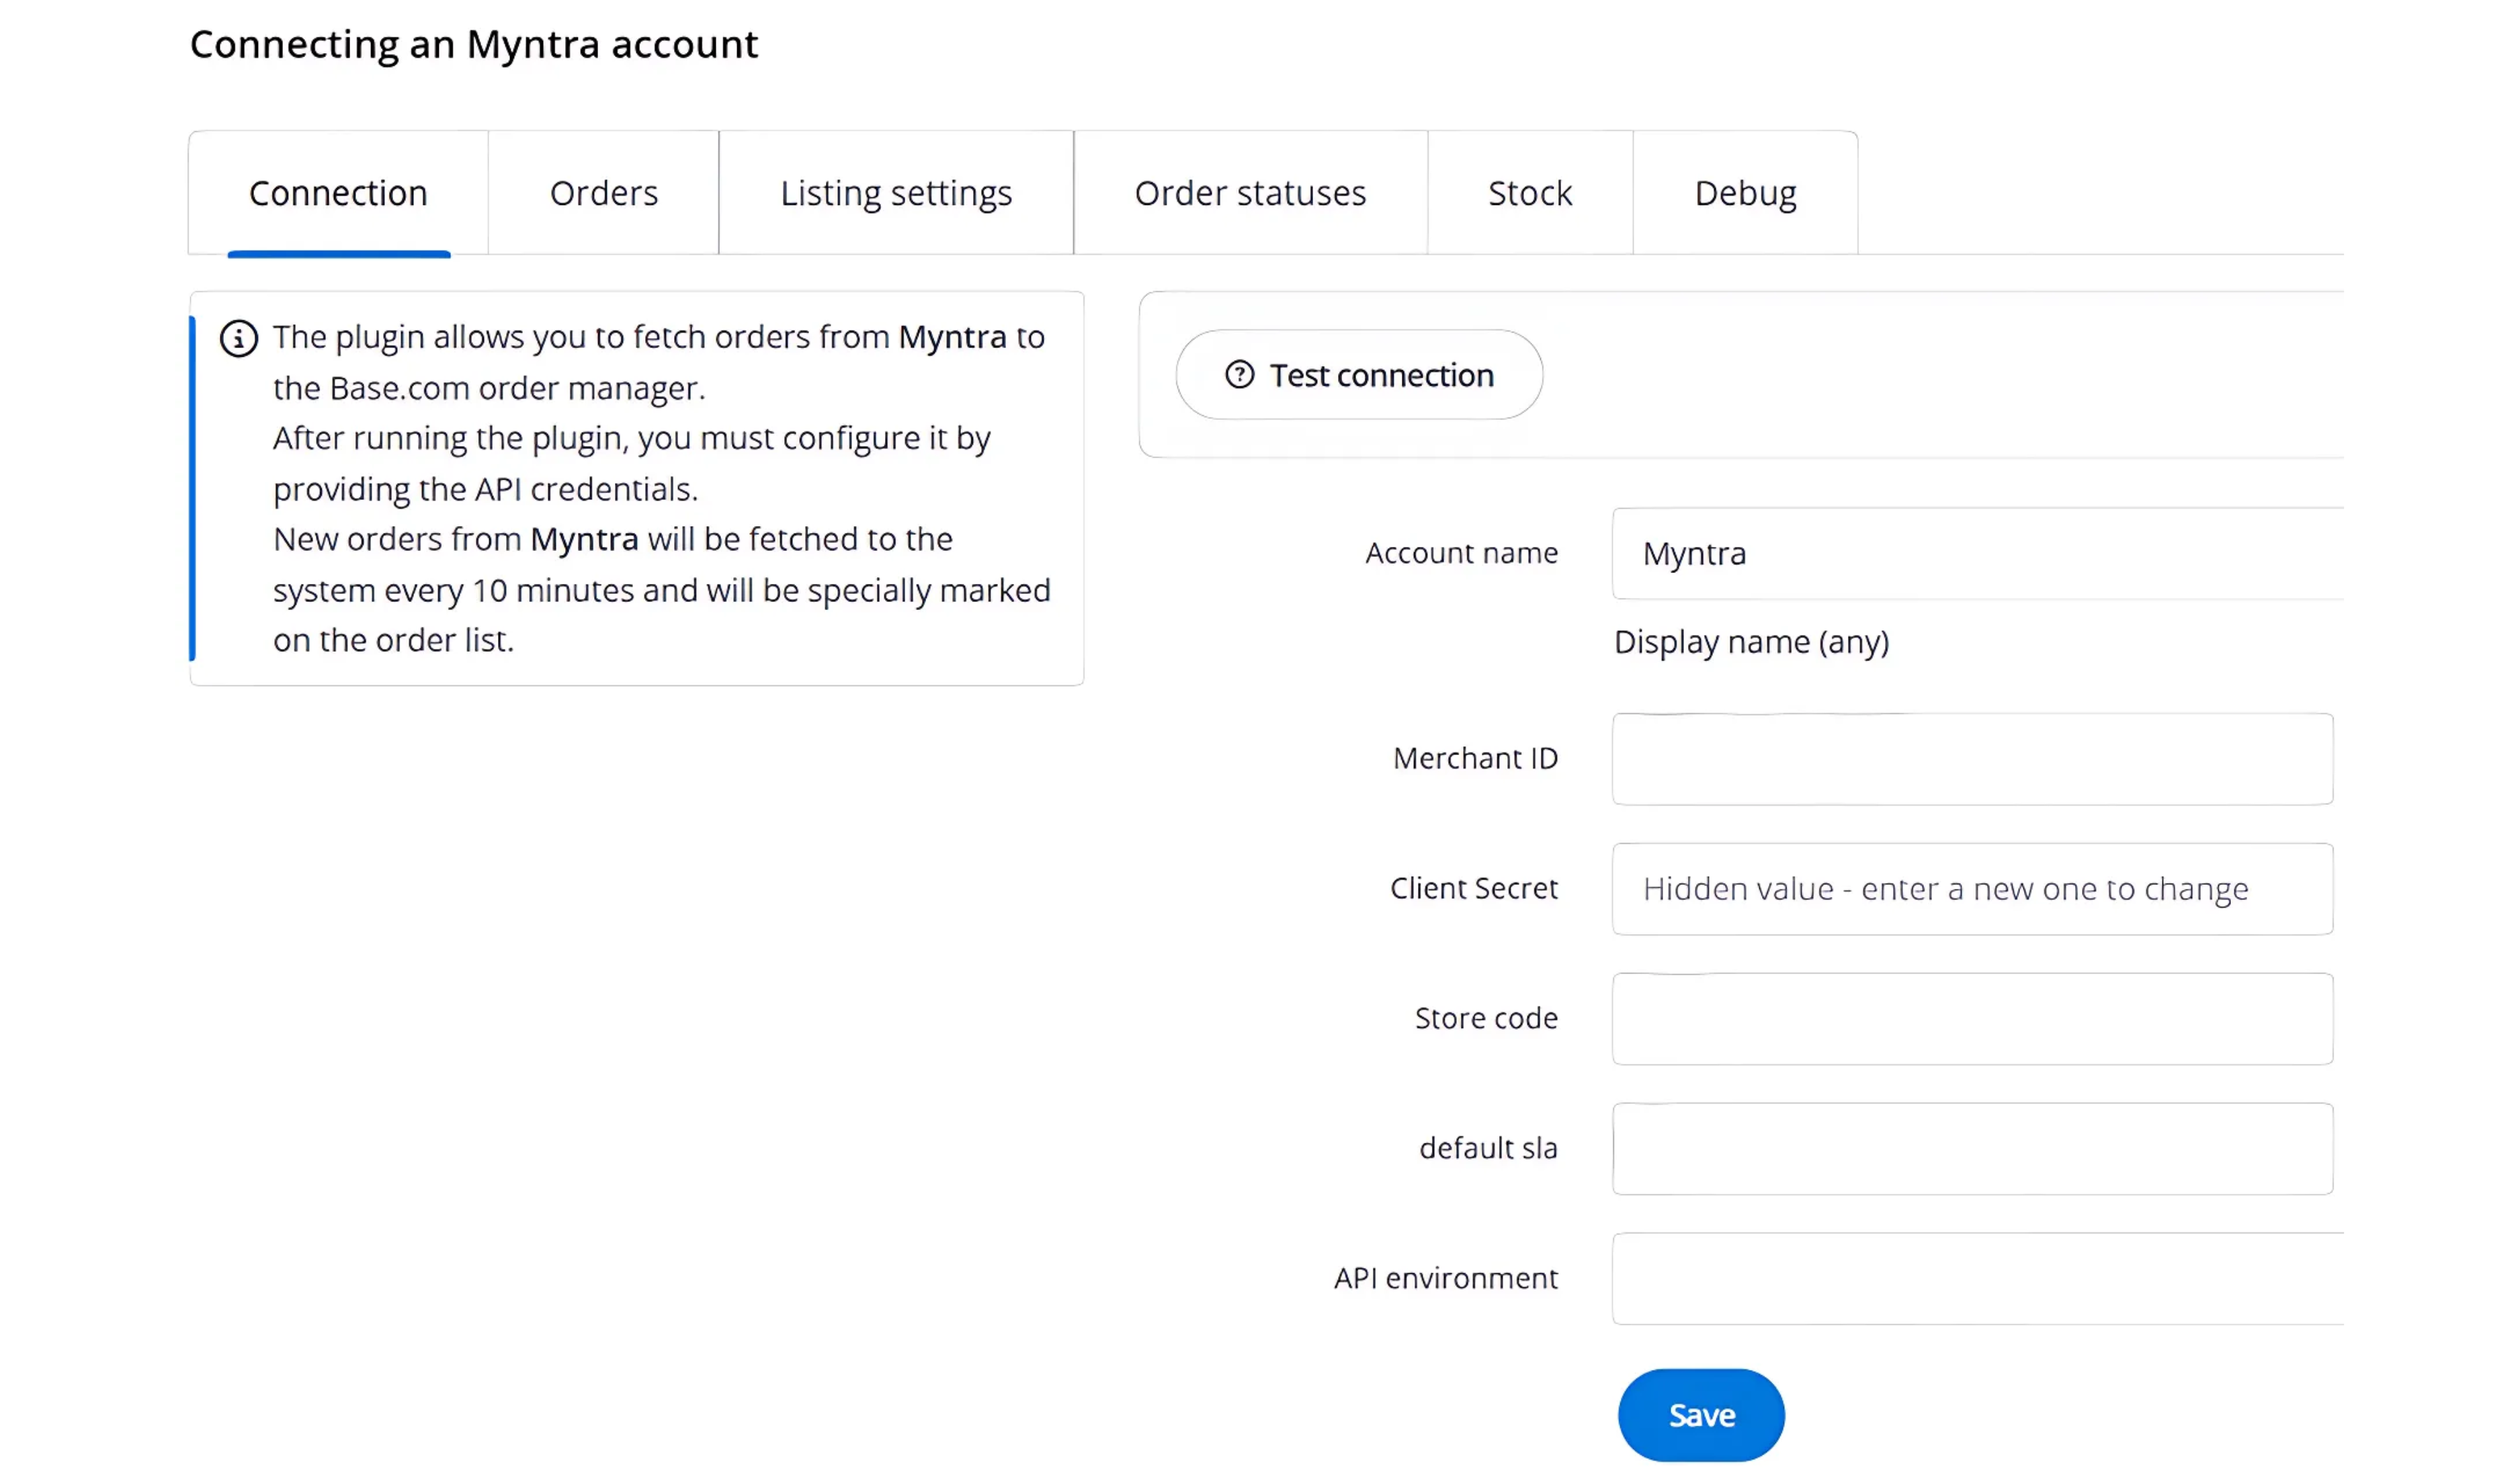 3. Base generates a webtoken which has to be subsequently quoted in tickets raised to Myntra in order to approve the OMS connection request.
4. Base, repeat Step 1-3 to add Myntra Courier as the logistics partner.
5. Sellers specializing in high-value garments can optionally enter the tag ID to activate the tagloop feature so that Myntra can reject returned items that have been visibly tampered with.
6.Once the integration is completed, create order statuses as per your convenience.
That’s all the steps to setting up your Myntra PPMP account on Base!