UPS (United Parcel Service) is a global logistics company specializing in package delivery and supply chain management. Through its extensive transportation network, UPS offers both domestic and international shipping, as well as additional services such as package tracking and insurance.
The UPS integration in Base allows for automatic generation of shipping labels, tracking shipments directly in the system, and selecting appropriate delivery methods without having to visit the UPS website. This enables faster order processing and shipping management in one place.
How to connect the integration?
- Log in to your Base panel and go to the Integrations section.
- Click the green +Add integration button.
- From the available integration list, select UPS. You’ll find the plugin in the Couriers section.
- Click the green +Connect UPS account button.
- After being redirected to the UPS website, enter your courier system login credentials and accept the authorization consent for the Base application.
- After logging in, you’ll return to the Base panel, where you need to fill in the following fields:
- Account name – any name displayed in the system;
- Sender:
- company name,
- address,
- postal code,
- city,
- state – required for sender country: United States, Canada, Puerto Rico,
- country,
- phone,
- email;
- For returning to sender shipments – choose how to save return shipment data (ignore, overwrite waybill number, add as new shipment);
- Validation of addresses when sending the parcel – Yes/No;
- Forward client’s region – Yes/No;
- Printout type – label print format (options: PDF, ZPL, EPL);
-
Default hours for ordering pickups – from/to in HH:MM format;
-
WWE UPS Service Center;
-
Additional charges are incurred – options: Charge the receiver for duties and taxes, Shipper’s UPS account, Recipient’s UPS account, Third party UPS account;
-
Payer – only when charges are paid by Recipient’s UPS account/Third party UPS account:
-
client number – Additional charges payer number (UPS customer number),
-
postal code,
-
country code (when paid by Third party UPS account);
-
- Transport costs are paid for by – options: Sender, Recipient, Third party;
-
Payer – only when charges are paid by Recipient’s UPS account/Third party UPS account:
-
client number – Additional charges payer number (UPS customer number),
-
postal code,
-
country code (when paid by Third party);
-
- Link to the customs clearance card – if you always attach the same customs clearance form to customs shipments, you can upload it to an external server. This will automatically attach it to the shipment. Important! The pasted link must start with https:// and be secured with a valid SSL certificate;
- Block max. weight of the package – package won’t be created if this value is greater than 0 and the shipping package weight exceeds this value;
- Fixed package weight;
- Block max. shipment cost – enter the upper amount above which shipping will be blocked. Note! The UPS account manager must activate API transmission of negotiated rates (NegotiatedRatesIndicator);
- COD Label type – cash on delivery shipment label format (PDF or GIF);
- How to calculate the fixed weight of a cardboard – percentage or fixed value, in both cases the value will be added to each subpackage weight. Percentage value is calculated separately for each subpackage. Fixed value should be entered in kg;
- Value of the fixed weight of the cardboard – enter appropriate value depending on the option selected above (number only, without %/unit).Click Save and done!
UPS integration
If you’ve correctly connected the integration, after going to Integrations → UPS you’ll see the sections described below.
Created packages
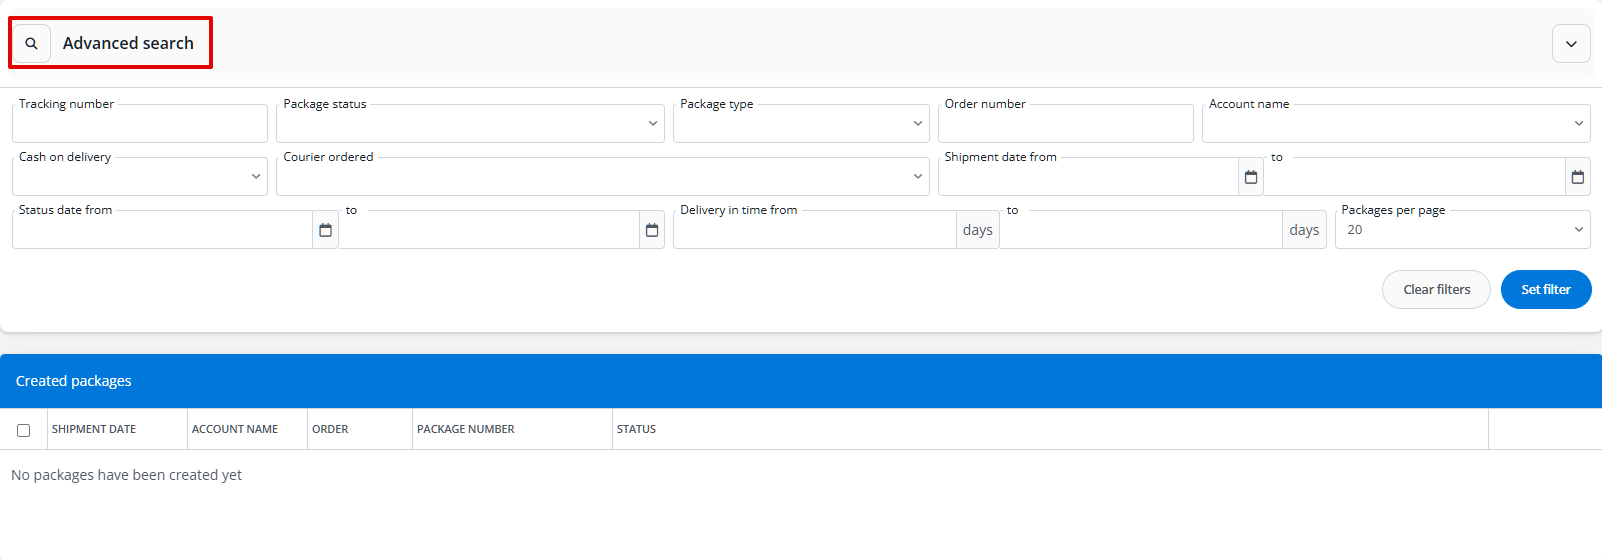
Here you’ll find a list of all shipments created using the UPS integration. You can download the label and check the status for each of them. Above the table, there’s Advanced search where you can filter selected packages.
Package pickup orders
Here you’ll find a list of all courier accounts connected to the system. If you have more than one, you can change their positions using arrows on the right side of the table. You can also clone, edit, and delete each account. In the edit window, all fields that were available during integration connection are available. Accounts in the courier system (API connection)
Above the table, there’s a +Add new account button which you can use to connect another UPS account to the system.
