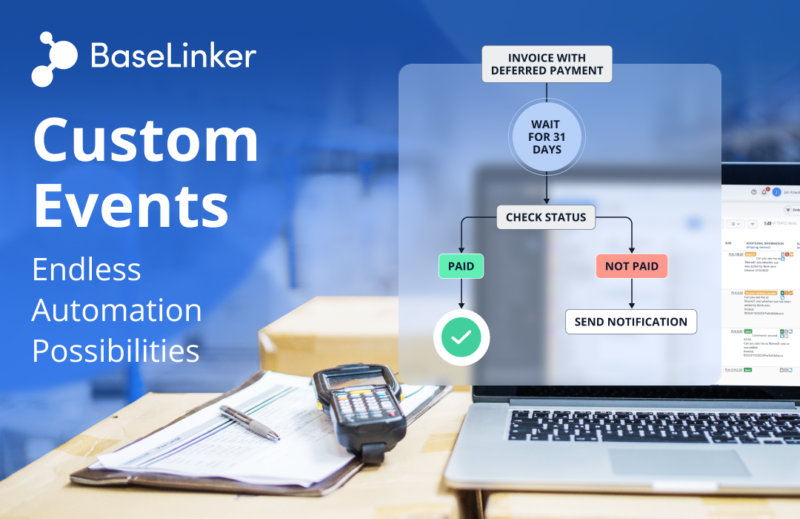
We recently added a comprehensive update to BaseLinker’s Automatic Actions. In this post, we want to take a closer look at the Custom Event option and the new possibilities it offers when combined with the Wait For feature. It’s worth noting that this text is inspired by the exchange of ideas on our suggestion portal.
Custom events are a well-known element of our system and an integral part of Automatic Actions. Many users can’t imagine their daily work without Custom Events in the form of buttons on the order card, in the Pick and Pack Assistant, or on the return card. Custom Events offer a wide range of capabilities, allowing you to handle simple events as well as entire sequences of operations. Triggering a Custom Event in an automatic action, instead of pressing a button, opens up entirely new use cases.
Custom Events now offer much more
Firstly, triggering Custom Events as part of an automatic action allows for logic compression. This means that now various events can be handled with fewer automatic actions than previously required. Therefore, it makes the list of automatic actions clearer and easier to edit.
Secondly, when a custom event is triggered, the conditions defined when creating it are checked. This is particularly useful when setting up an automatic action based on the Wait For function.
One custom event, many applications
We will now create one custom event that will generate the appropriate shipping labels depending on the shipping method on the order card.
1. Add a custom event “Create shipping label”.
2. Add an automatic action – Royal Mail

3. Add an automatic action – Amazon Shipping

4. Add an automatic action – Change status

The last step is to add an automatic action that will trigger the custom event “Create a package” when changing status. It’s here that we introduce a novelty in the way we create automatic actions. We no longer need to configure any additional conditions since we specified them in the second and third step. BaseLinker will automatically recognize the shipping method set in the order and generate the previously specified label based on it.
This relatively simple example is intended to demonstrate the logic of triggering custom events in automatic actions. We can add many additional conditions such as weight, products in the order, shipping time, and based on that, generate the appropriate shipping label as part of a single custom event.
The most important conclusion is that when we trigger a custom event during a status change, BaseLinker will recognize all the previously specified conditions and take them into account during the execution of the custom event.
Interestingly, if we configure a button together with a custom event, pressing it on the order card will have the same effect as in the automatic action. If the shipping method is Royal Mail, pressing the button will generate a shipping list for Royal Mail; similarly for Amazon Shipping.
Wait, check conditions, execute action
Triggering a custom event in an automatic action, combined with the Wait For function, is a tool for simple conditional if/else programming. The logic is as follows: we create a custom event with specific conditions, pause the execution of the action for a specified amount of time, and the conditions are checked only when that time has elapsed. The custom event will only execute if the conditions are met at the time of execution – and not, as before, at the time the event is initiated.
Send a Slack notification after a specified time
Let’s look at an example of how the aforementioned mechanism works. We will set up an automatic action that will send a Slack message when an order has been in a certain status for 11 minutes.
1. Set up a custom event “Check status and send notification”, with the condition “Order status: To be shipped”.

2. Set up an automatic action that will send a notification after 11 minutes if the condition is still met.

The key point is that if the order status changes within 11 minutes, the custom event will not be executed. The condition defined in the first point must be met for the notification to be sent. In other words, 11 minutes after changing the order status to “To be shipped”, the system checks if the order is still in this status. The notification will only be sent if the order is still in that status.
Remind the buyer about payment automatically
Another example is sending a message to the buyer when the payment deadline for an invoice is exceeded. First, you need to set the appropriate day of payment. Information about invoice payment settings can be found in this post.
1. Create an email template informing the buyer about the payment deadline being exceeded, you can name it “Notification”.
2. Create a Custom Event “Check payment and send notification”, with the condition “Payment status: Unpaid”.

3. Create an Automatic Action that will send the buyer a payment reminder 31 days after the invoice is issued.

The reminder will be sent 31 days after the sales document is issued, but only if the payment status remains “Unpaid”. Thus, avoiding sending a notification to a customer who has paid their order on time.
Custom Events – Summary
These are just a few examples of using the option to trigger custom events in automatic actions. Combined with the Wait For action, we get a ready-made tool for building advanced automatic actions. This combination provides a wide field for automating order processing. We encourage you to experiment with custom events to create your own, advanced automatic actions.

